April 2, 2018.
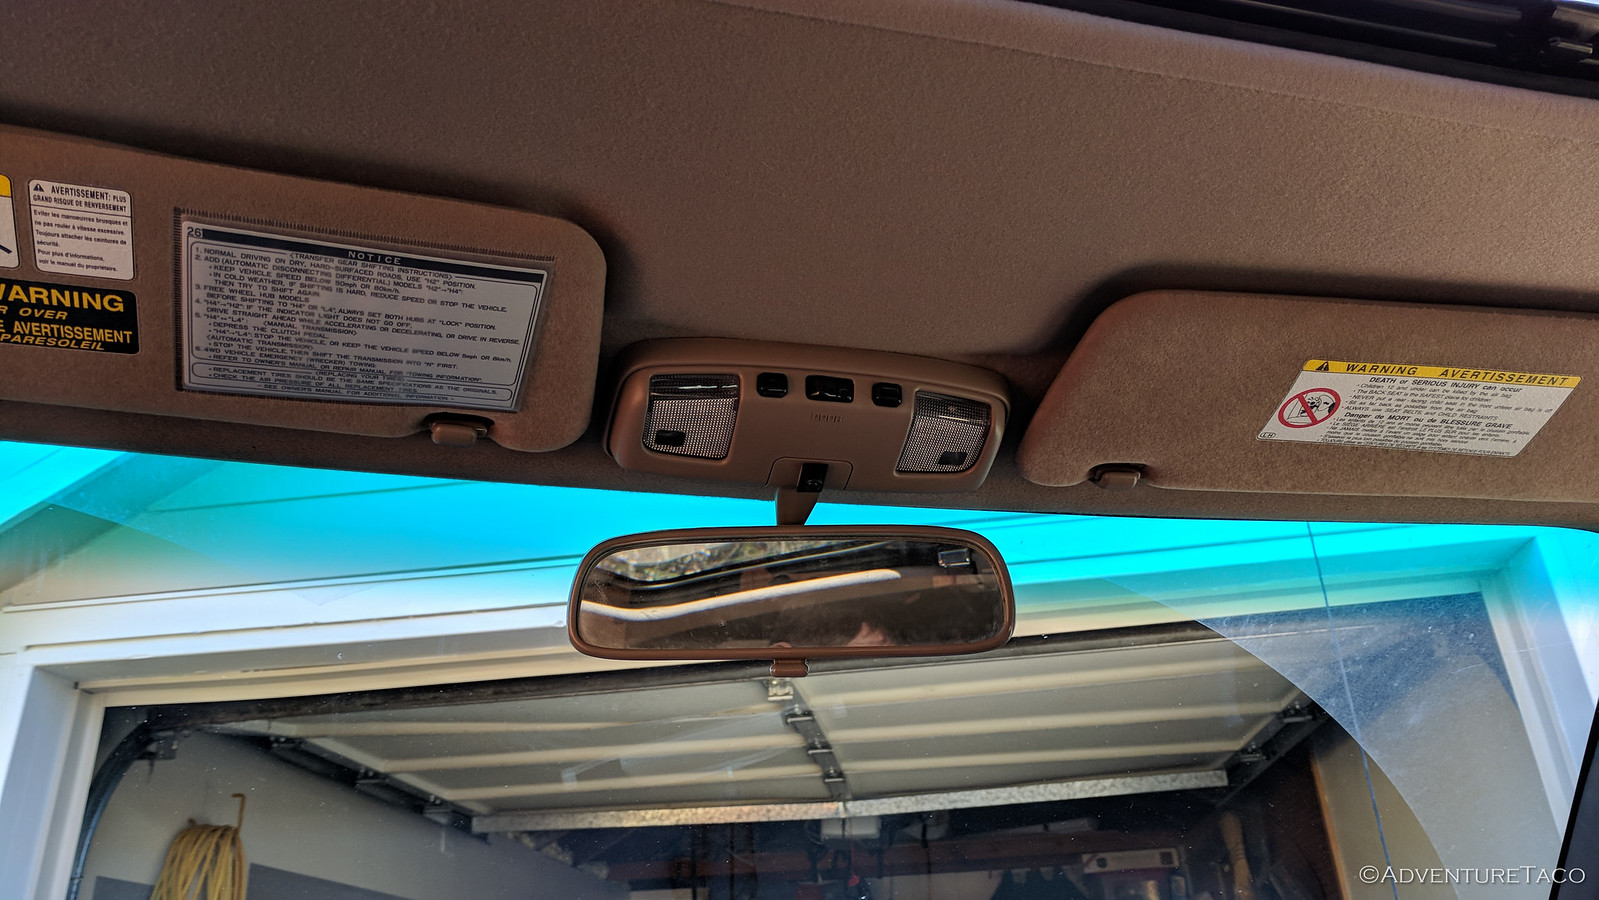
A while back, I somehow stumbled on @jberry813's post where he installed a garage door opener in his headliner (Homelink in a 1st gen) near the map lights. Having the same issues - a garage door remote that floats around in the center console; @mrs.turbodb's car that has it built into the sun visors) - I decided that this was something I needed to do right away.
That was a little over a year ago. Rightly, other mods took priority - and I'm glad they did. See, I never should have done this mod, but most other first gen Tacoma owners should!
I got started by ordering a Homelink® remote on eBay. There are tons of them for a a bit over $20 with shipping, so you can choose the color you like - just make sure to get one that supports "rolling codes." It arrived reasonably quickly and I made a plan:
- Program and test the remote to make sure it worked, before cutting up my headliner.
- Prep the remote for installation (basically, separate the fascia and wire it for power).
- Remove the map lights and sun visor clips to free up the headliner.
- Cut an access hole in the headliner for the remote buttons.
- Insert the Homelink remote, connect the power (to the map lights), and press on the fascia,
- Reinstall the map lights and sun visors.
Couple hours tops, I was sure.
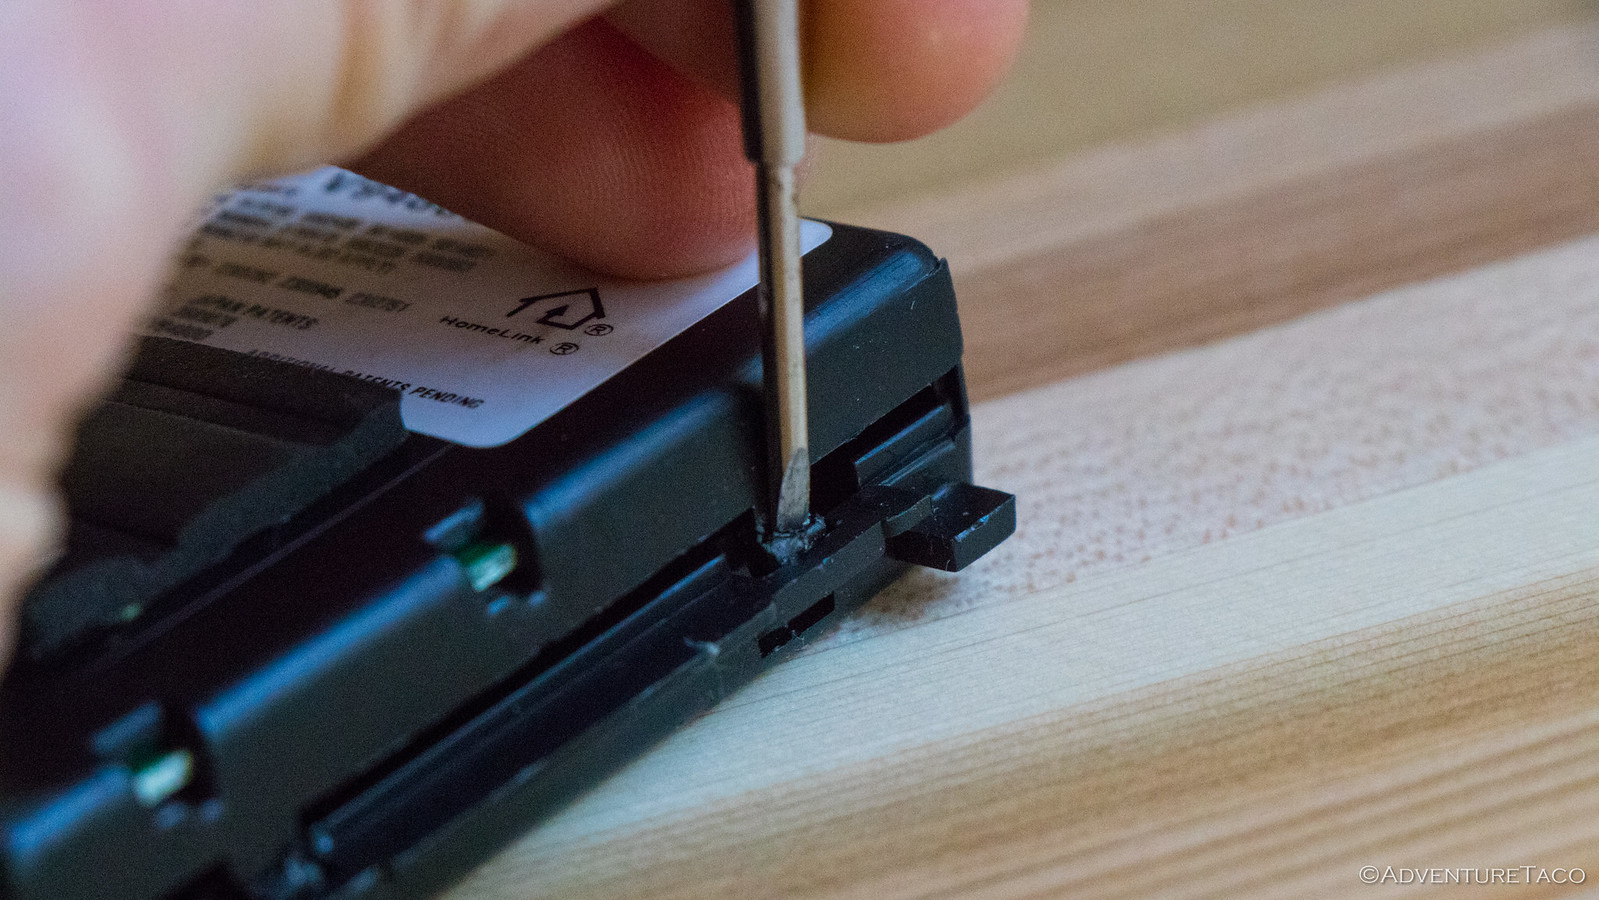
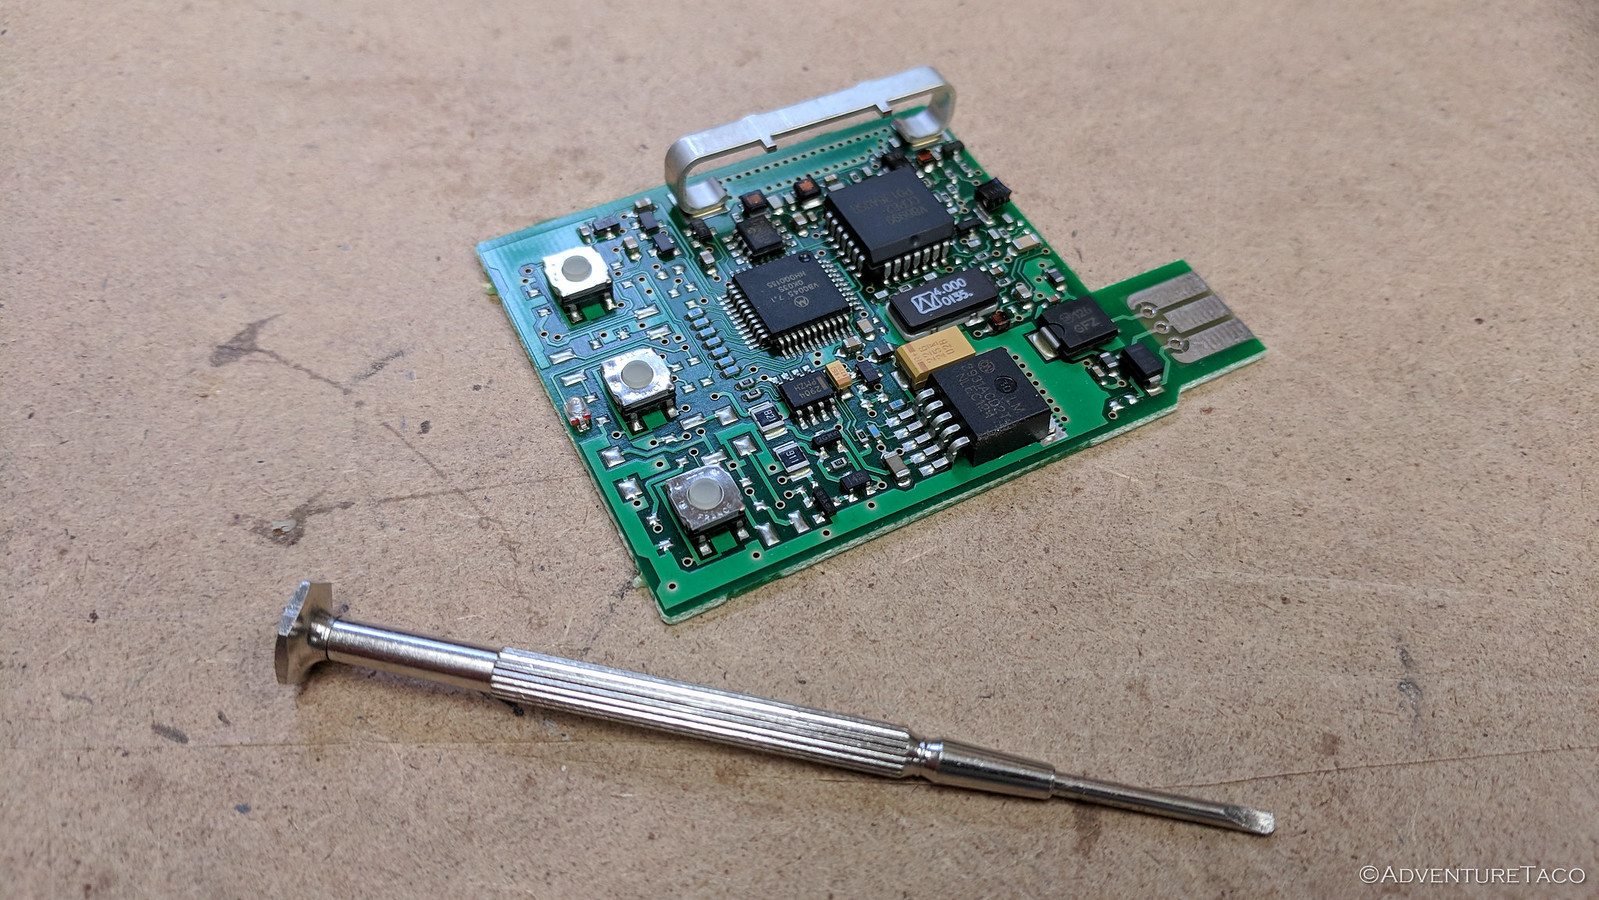
The first couple steps went as planned - programming the Homelink remote was relatively easy (instructions), as was opening up the remote and separating the fascia with some jewelers screwdrivers.
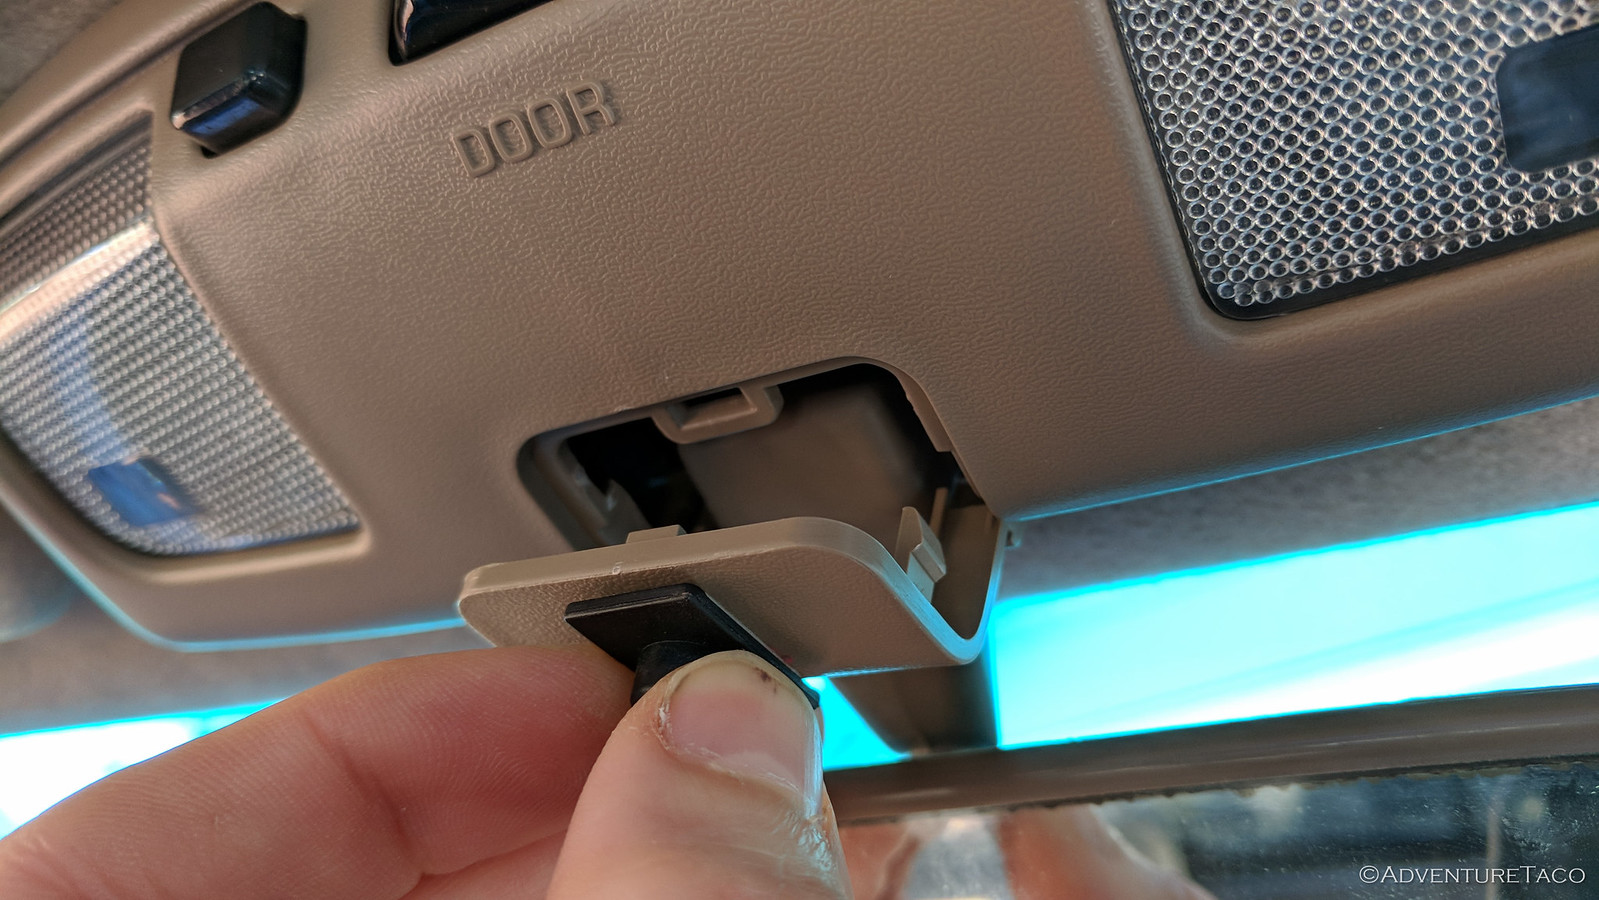
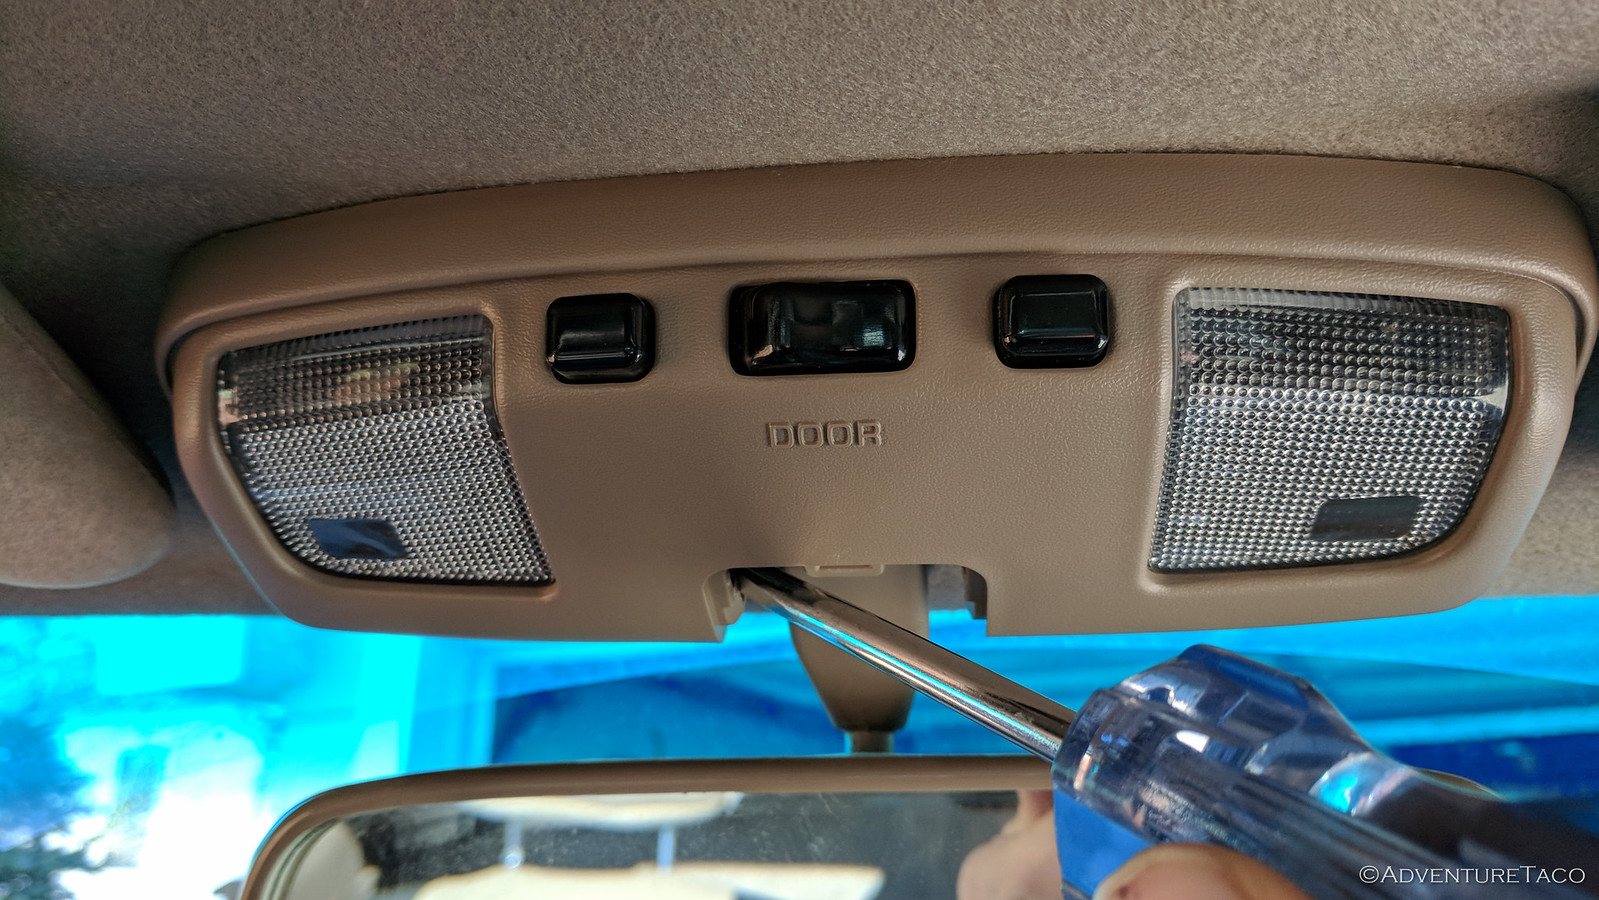
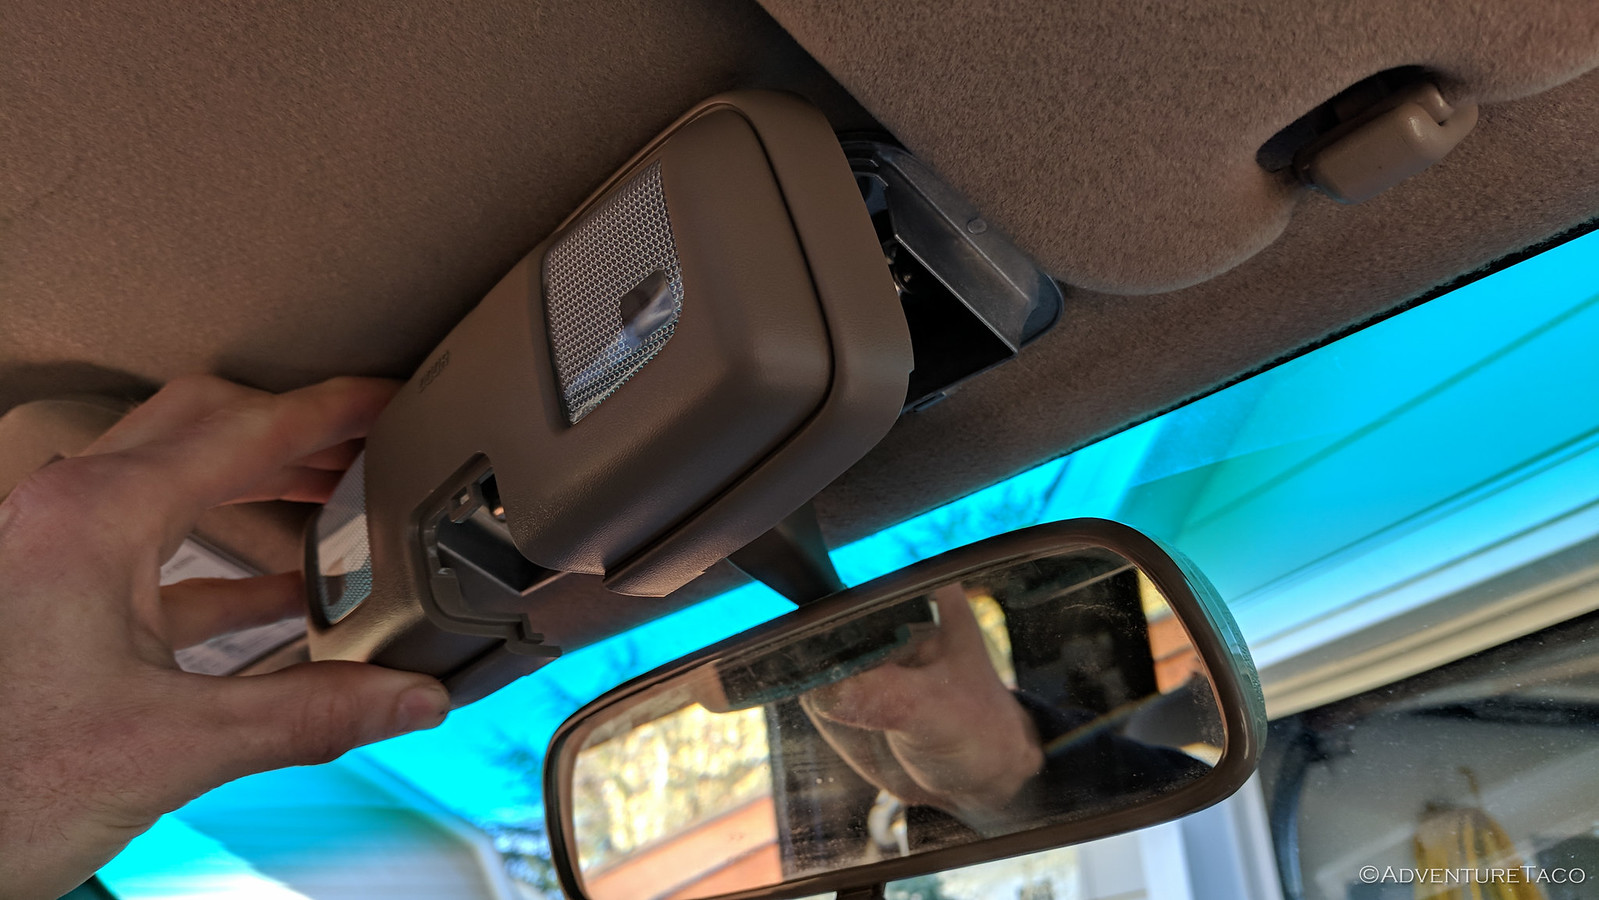
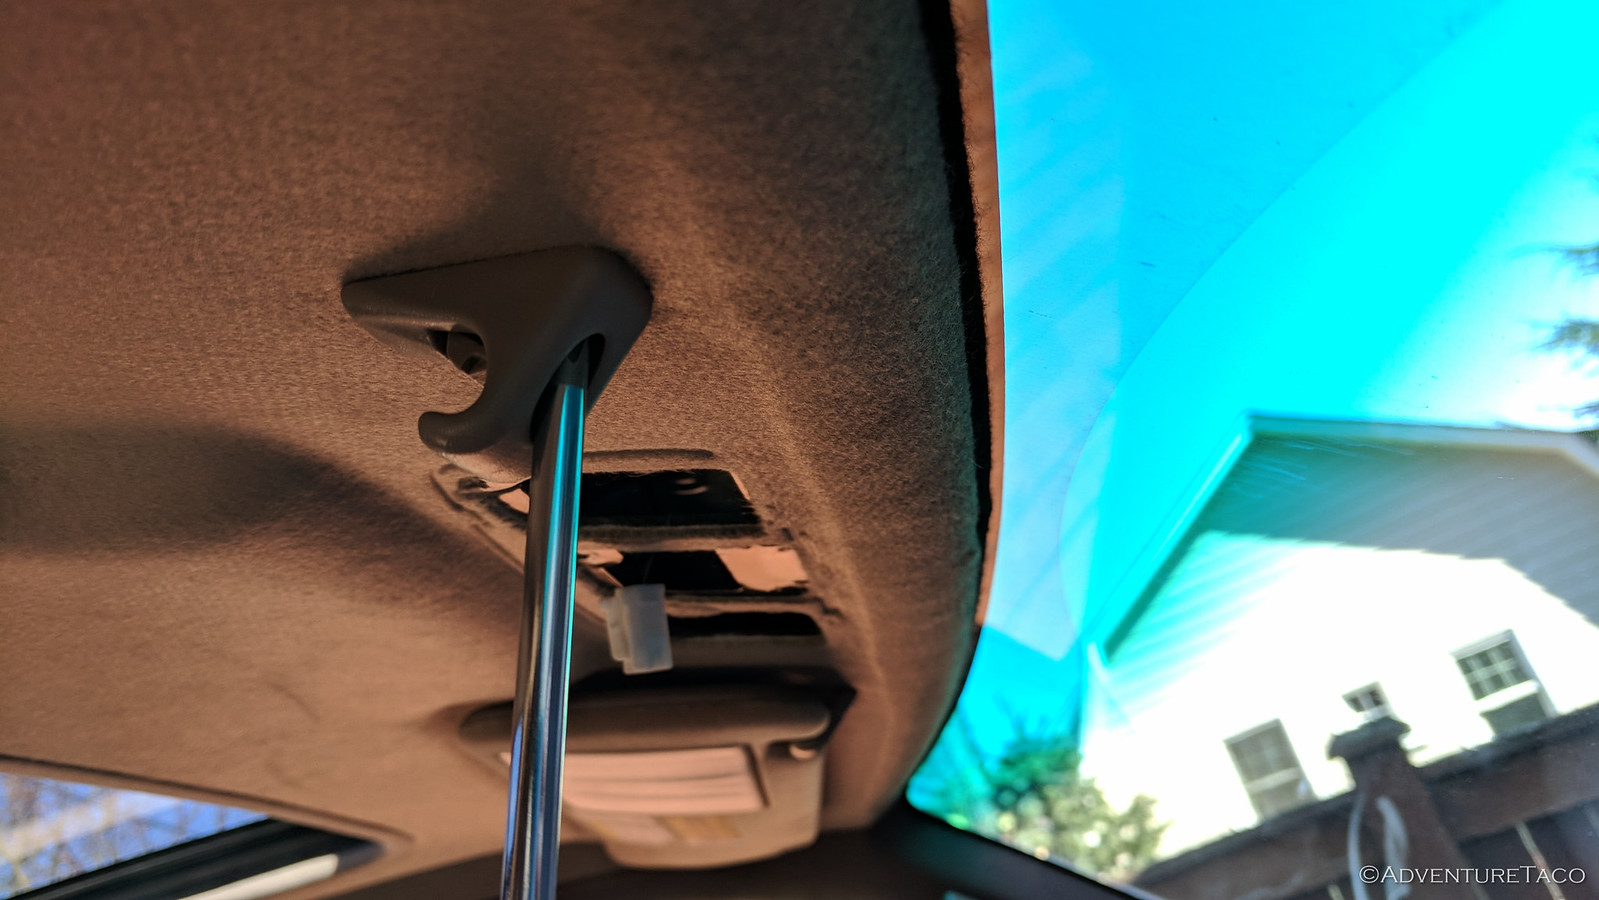
Then it was time to remove the map lights and get access to space between the headliner and roof. I always dread this type of work because I seem to break clips every time, but I lucked out and everything went smoothly. To do it, first remove the center clip (around the rear view mirror) from the map light trim - there are two clips on the side that can be pried out using a screwdriver inserted from the front of the vehicle.
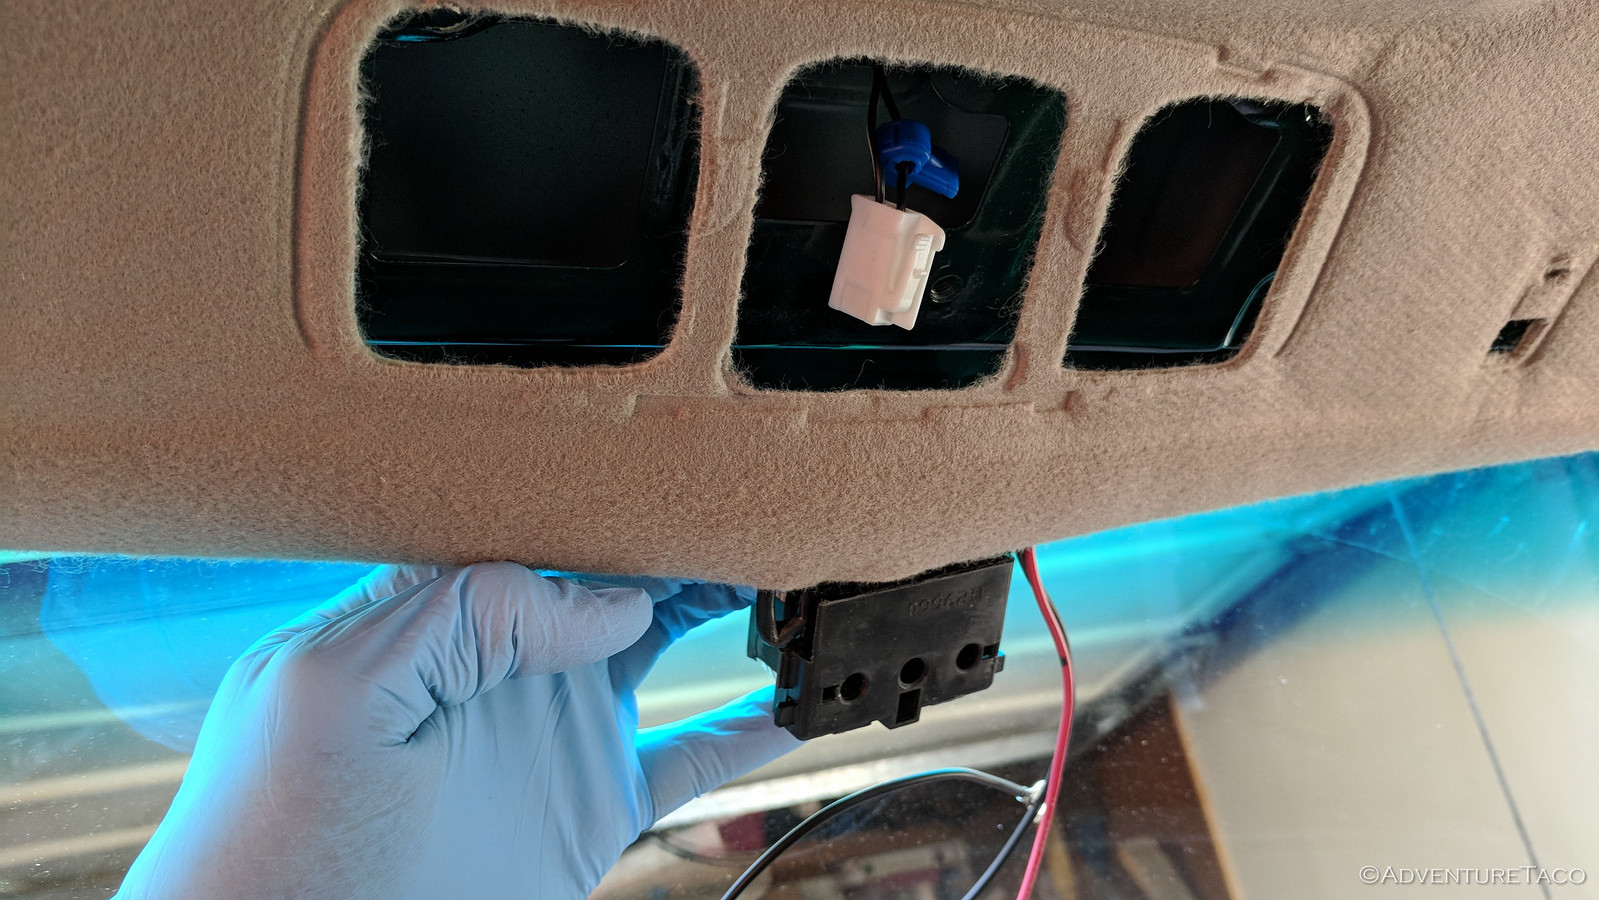
Next, use the same screwdriver to pry the front-facing edge map light trim forward just enough to release the two tabs that secure it. The are small, so you don't need to pry much. When you release them, you can rotate/hinge the map light trim down and back to remove it (there are two tabs on the back that it will hinge on).
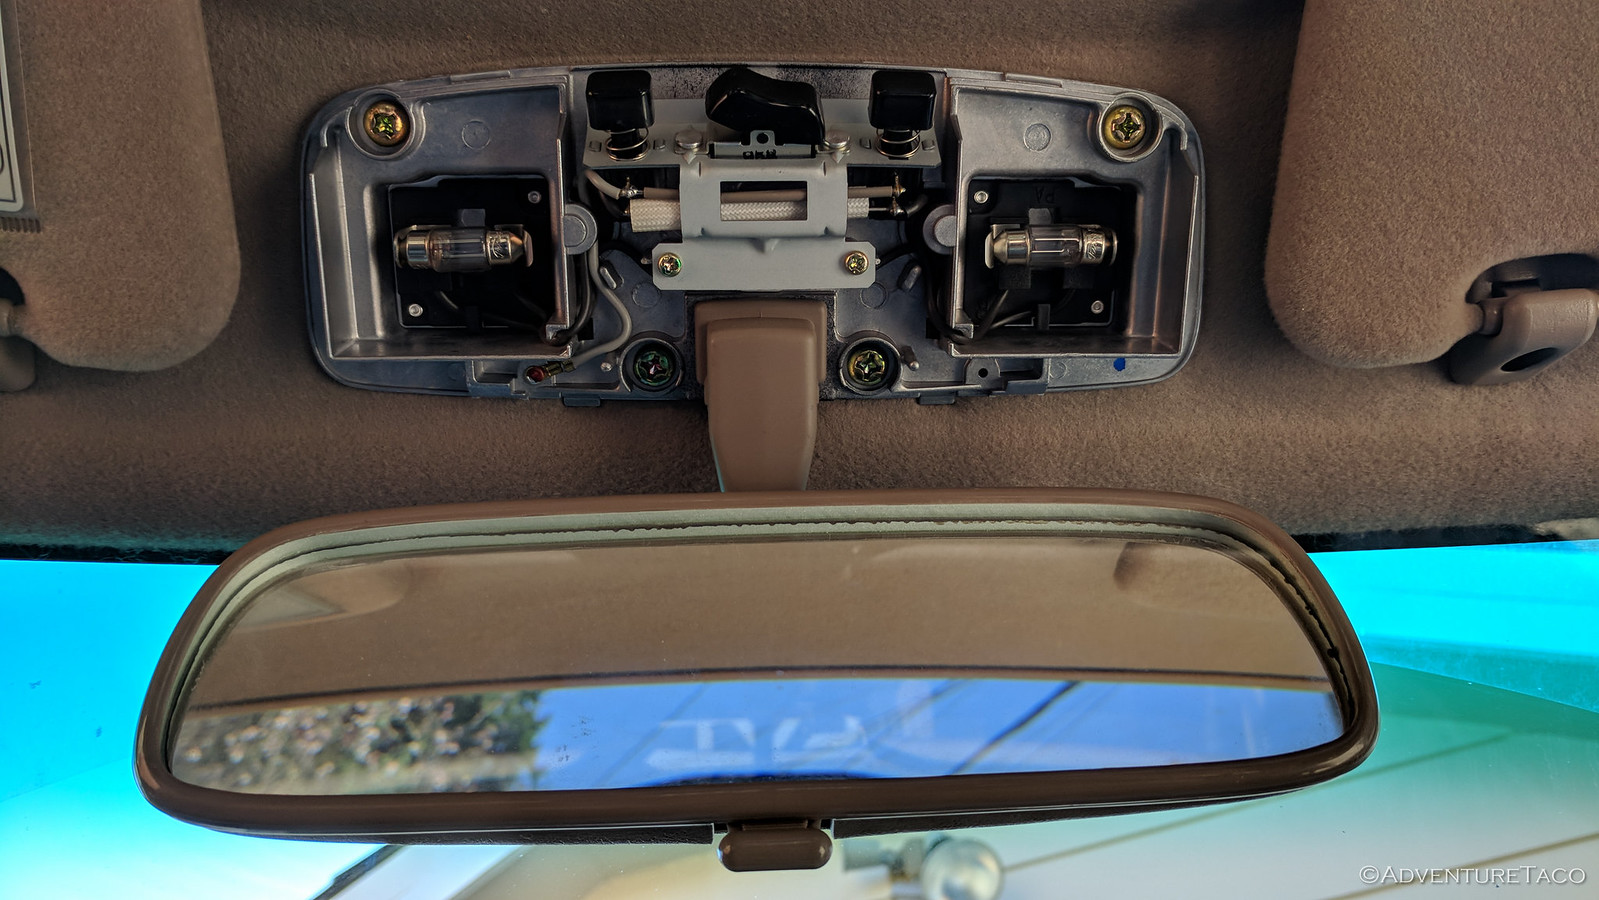
At this point, you'll see the four screws that hold the map light module to the roof. They are JIS heads, but if you're careful, you can use a Philips #2 driver to remove them. Note that the machine threads are forward, and the course threads are rearward for re-assembly.
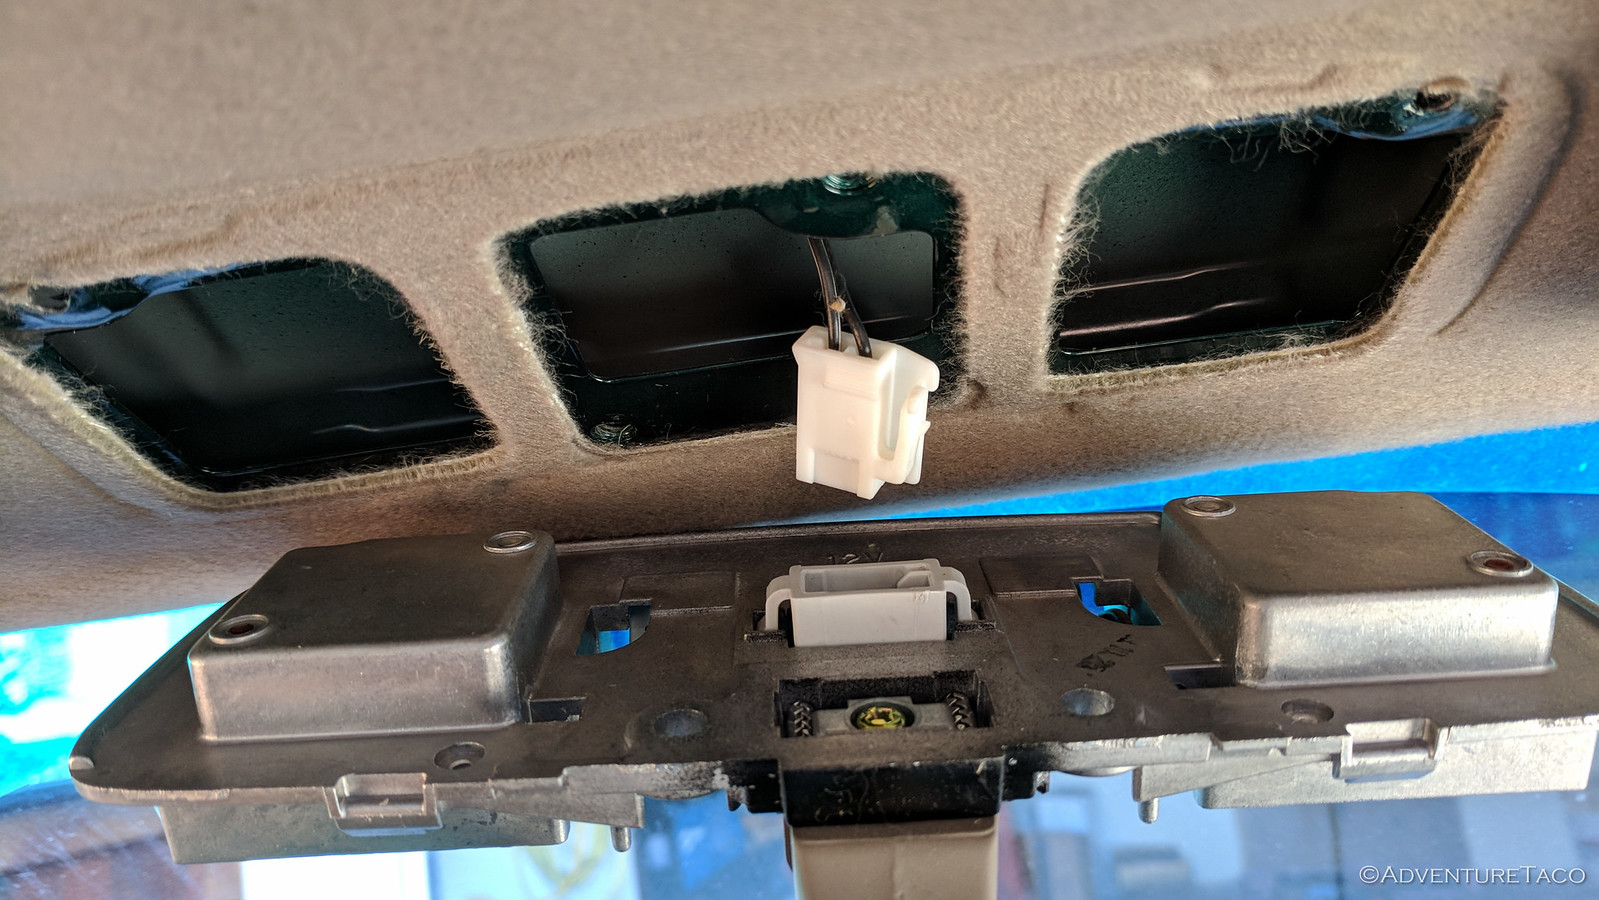
With the screws removed, pull out the map light module and rotate it 180º so you can unplug the power connector.
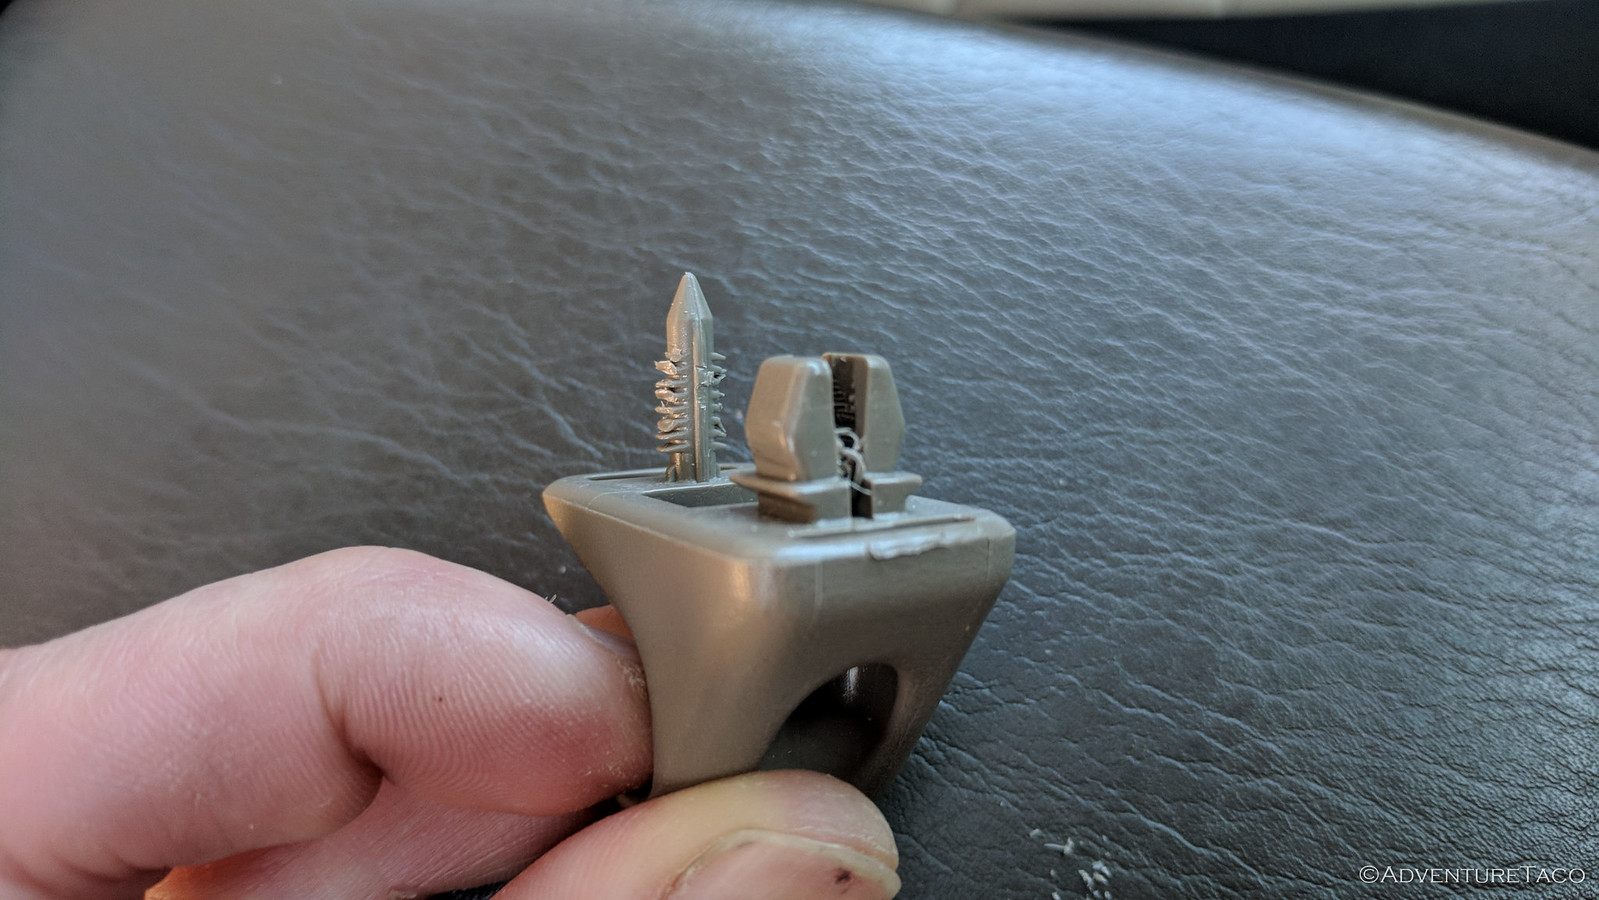
The last bits to remove are the sun visor clips. Remove the single Philips #2 screw from each, and then pull (really, wiggle) them out. Mine were super-tight, but eventually came out.
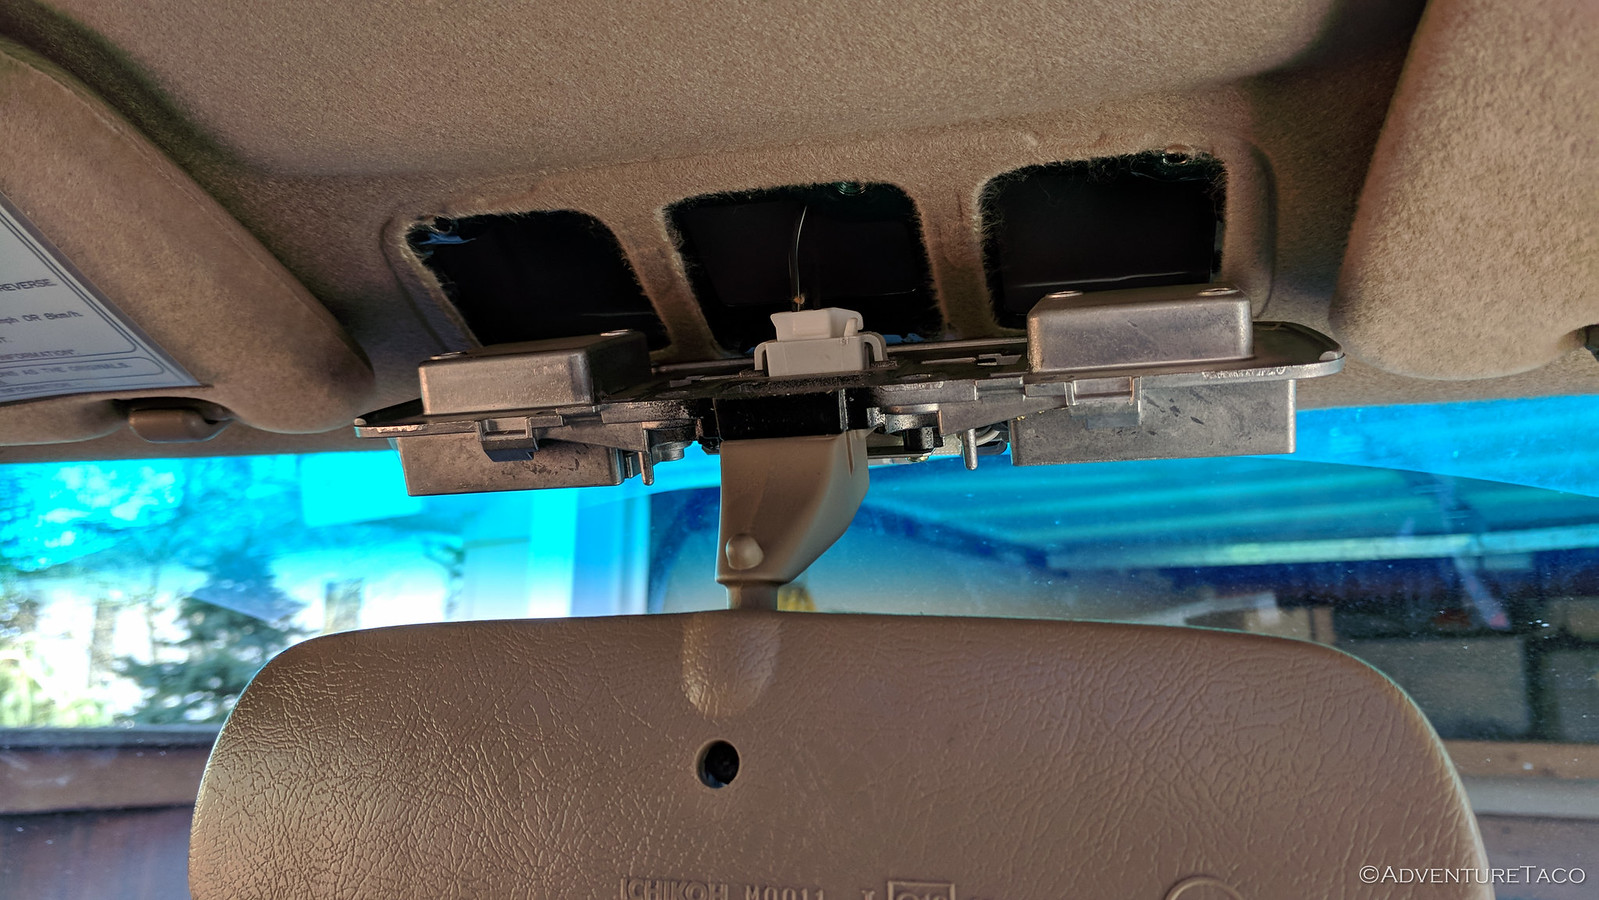
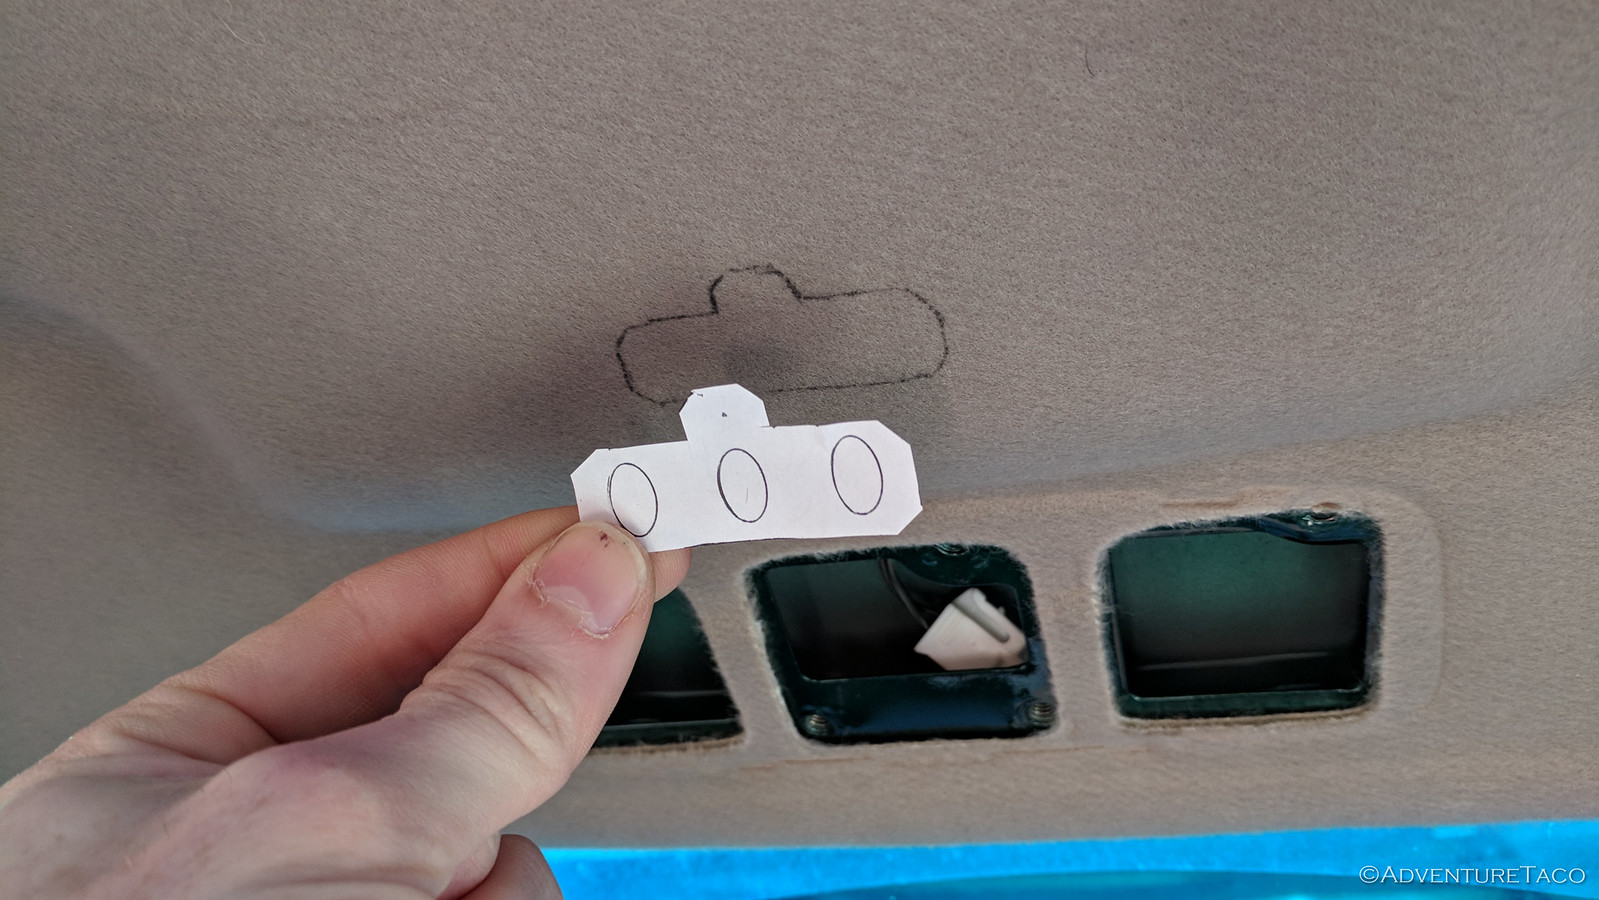
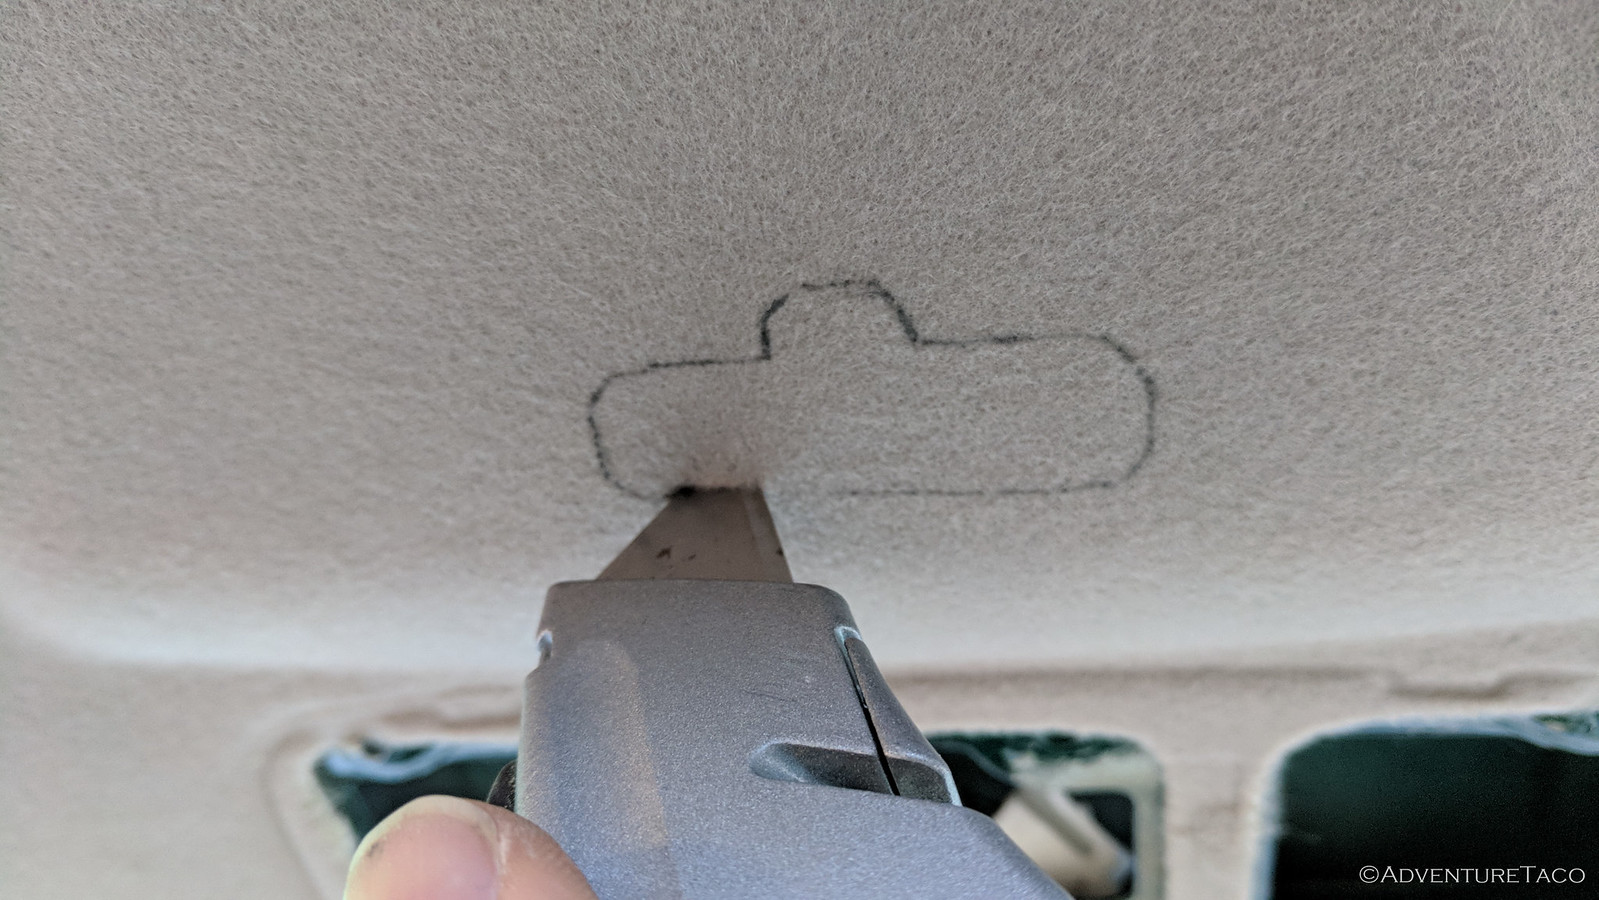
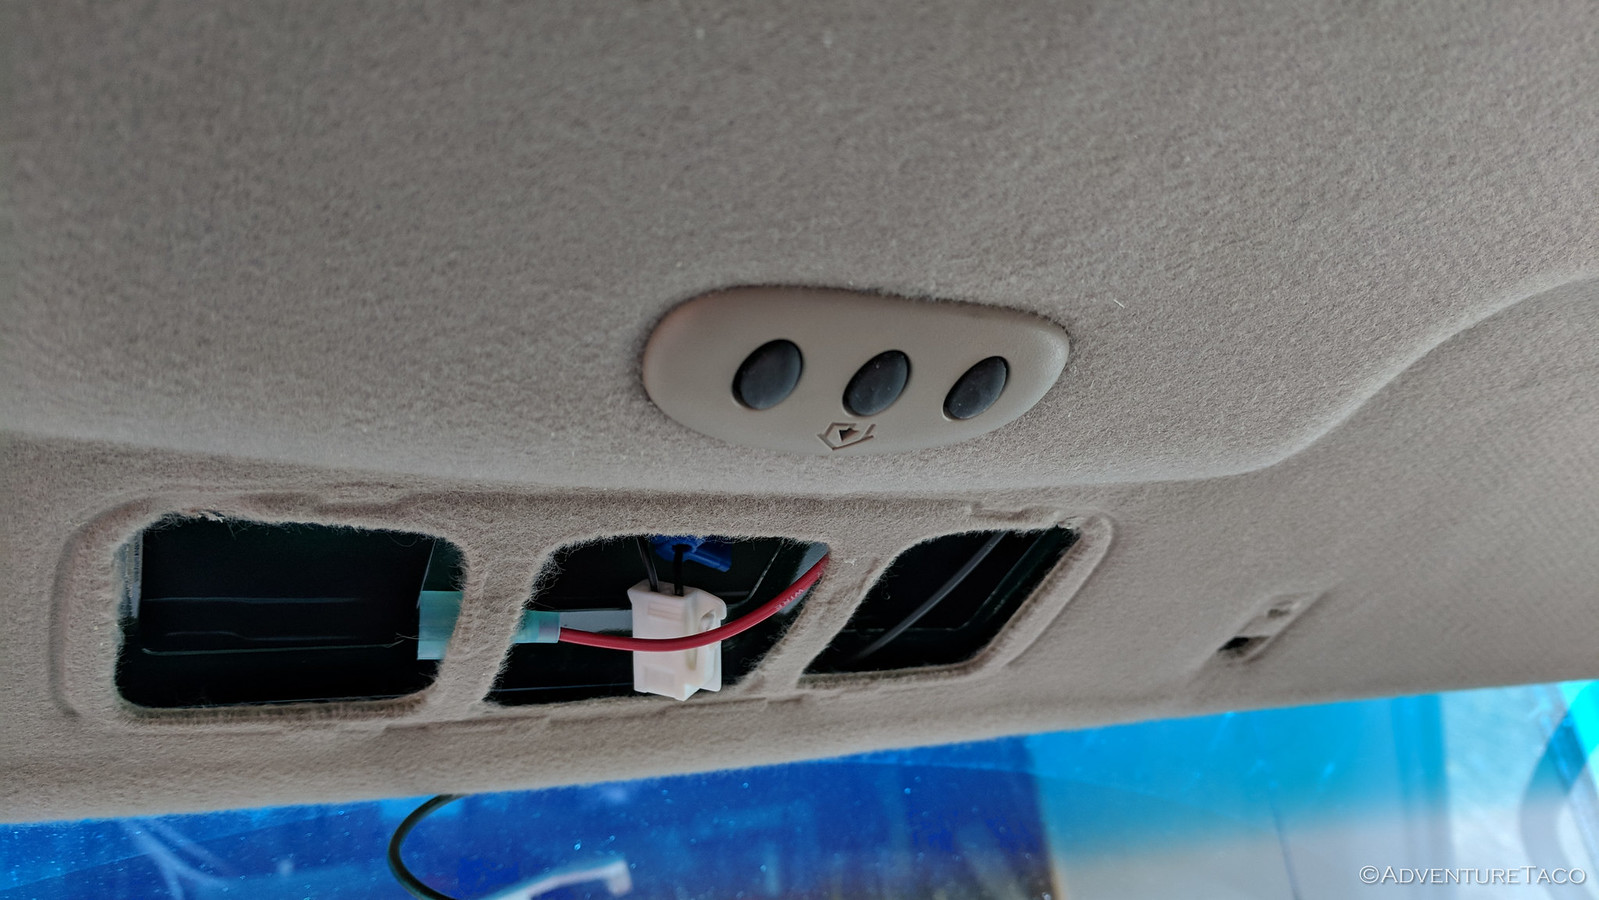
Next, it's time to cut a hole in the headliner for the buttons on the Homelink remote. I created a paper template that I could position and then trace onto the headliner, and I proceeded to trace and cut a hole. You'll note that I traced it backwards - don't make the same mistake. Luckily, my trim piece covered the mistake, but the "bump" should be forward-facing, not rearward.
And here's why I shouldn't have done this mod...
At this point, I slid the Homelink opener into the headliner and realized I had a problem. See, I have a unicorn Tacoma - one with a sun roof. And that means that I have extra reinforcement/supports in my roof, to support the opening. So, when I slide in the remote, it didn't fit. In fact, if I'd paid more attention in the beginning, I'd have realized that there wasn't any way to make it fit between the map lights and sunroof, due to the supports (which aren't there for non-sun roof models, which makes this a great mod).
Shit.
Shit. Shit. I mean, I had a hole in my headliner at this point. How can I recover? (without buying a new, $700 headliner)
I set everything aside, remembering something that Eric @relentlessfabrication said when I was there - "Slower is faster." - and I figured that slowing down and thinking things through for a day or two was probably a good idea at this point.
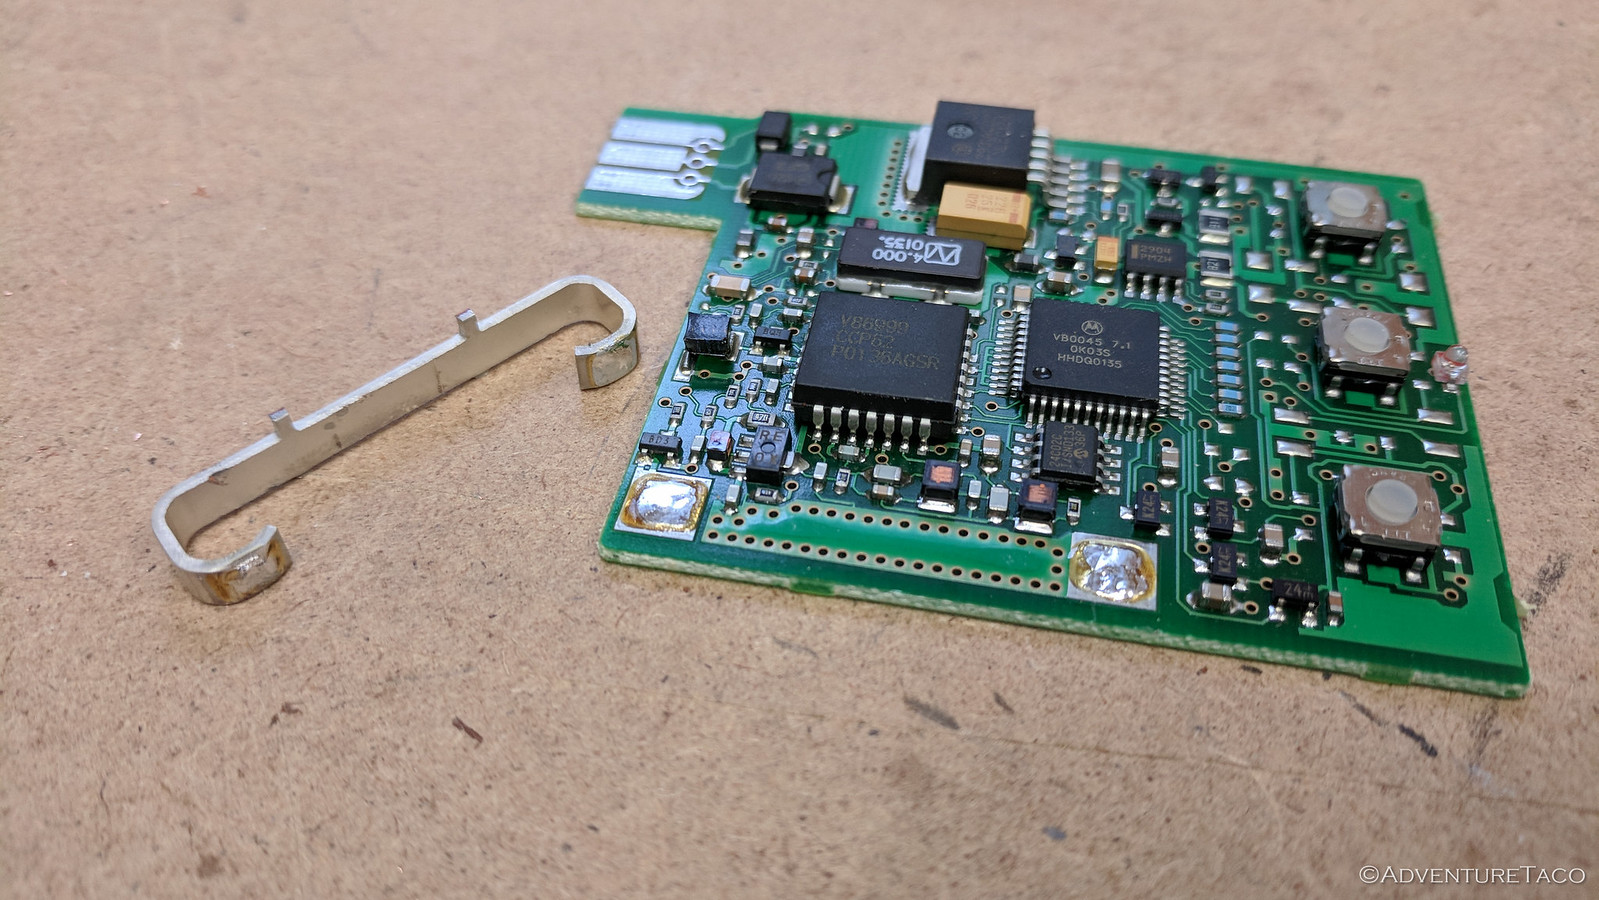
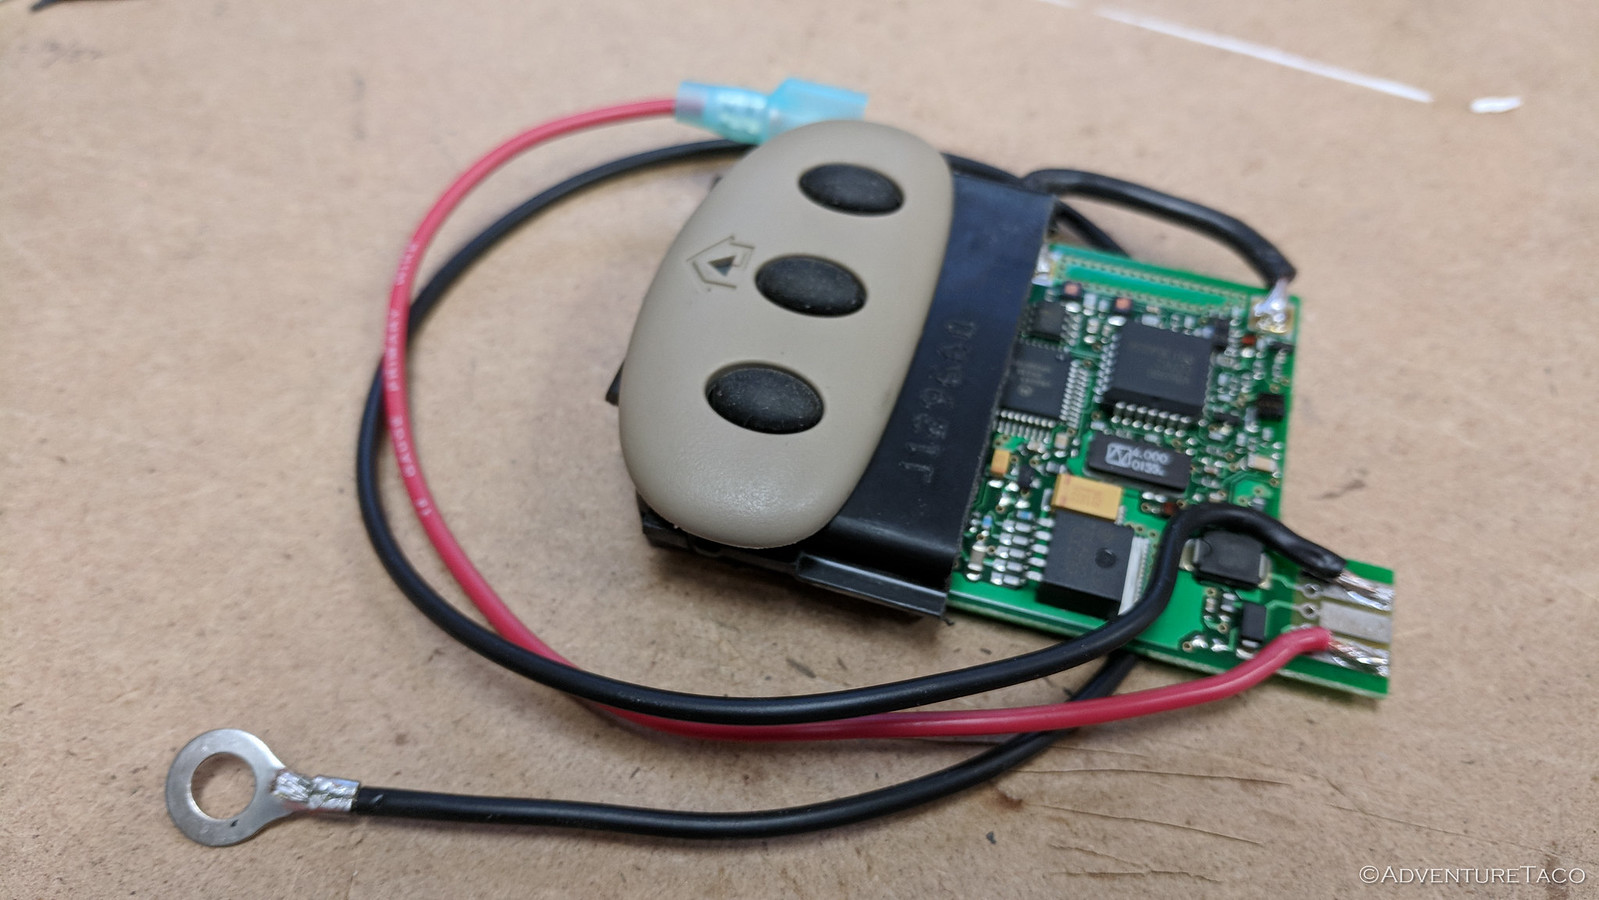
Ultimately, I spent some time looking at the internals of the Homelink remote, puzzling through options. I realized that the antenna was the thing that made the unit as "thick" as it is - so I knew I needed to address that. And, I knew I'd have to do something about the enclosure itself - again, since that thickness needed to go. I came up with three possibilities.
- Remove the board from the enclosure and "squish" the antenna so it would be flatter on the board.
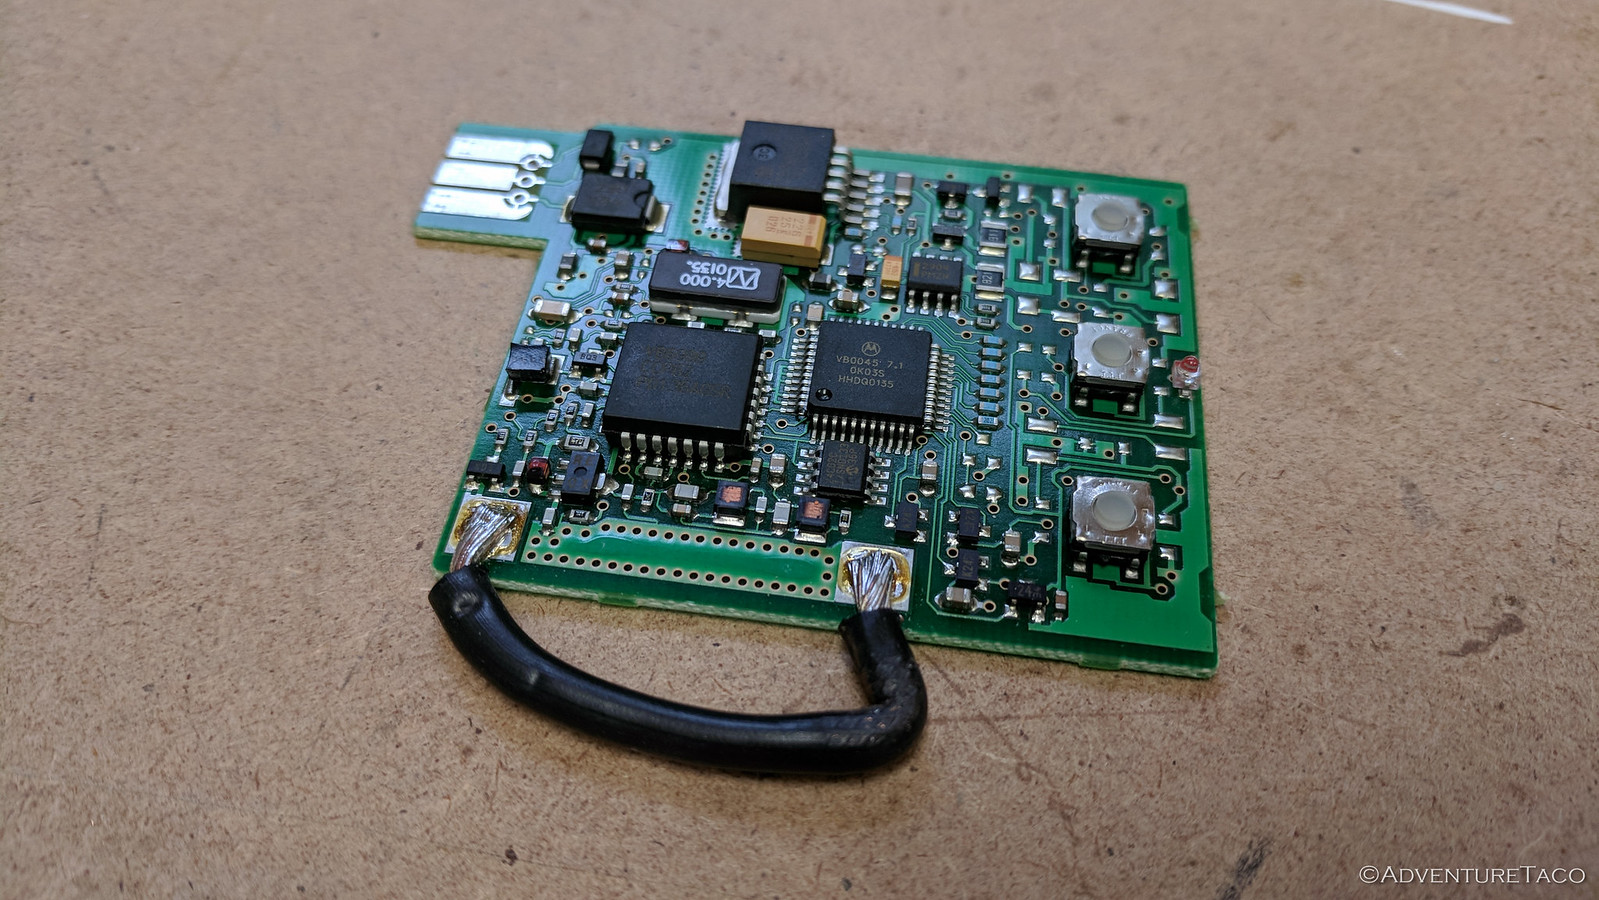
- Unsolder the antenna, and then solder in a wire "in-plane" with the board, so that the board could be thinner.
- "Remote" the buttons so that I could mount them in the planned space in the headliner, running wires to the transmitting brains, which I could stash somewhere else (in the headliner).
The first two options might allow me to slide the board between the headliner and roof support - pushing the liner down nearly imperceptibly if I was successful.
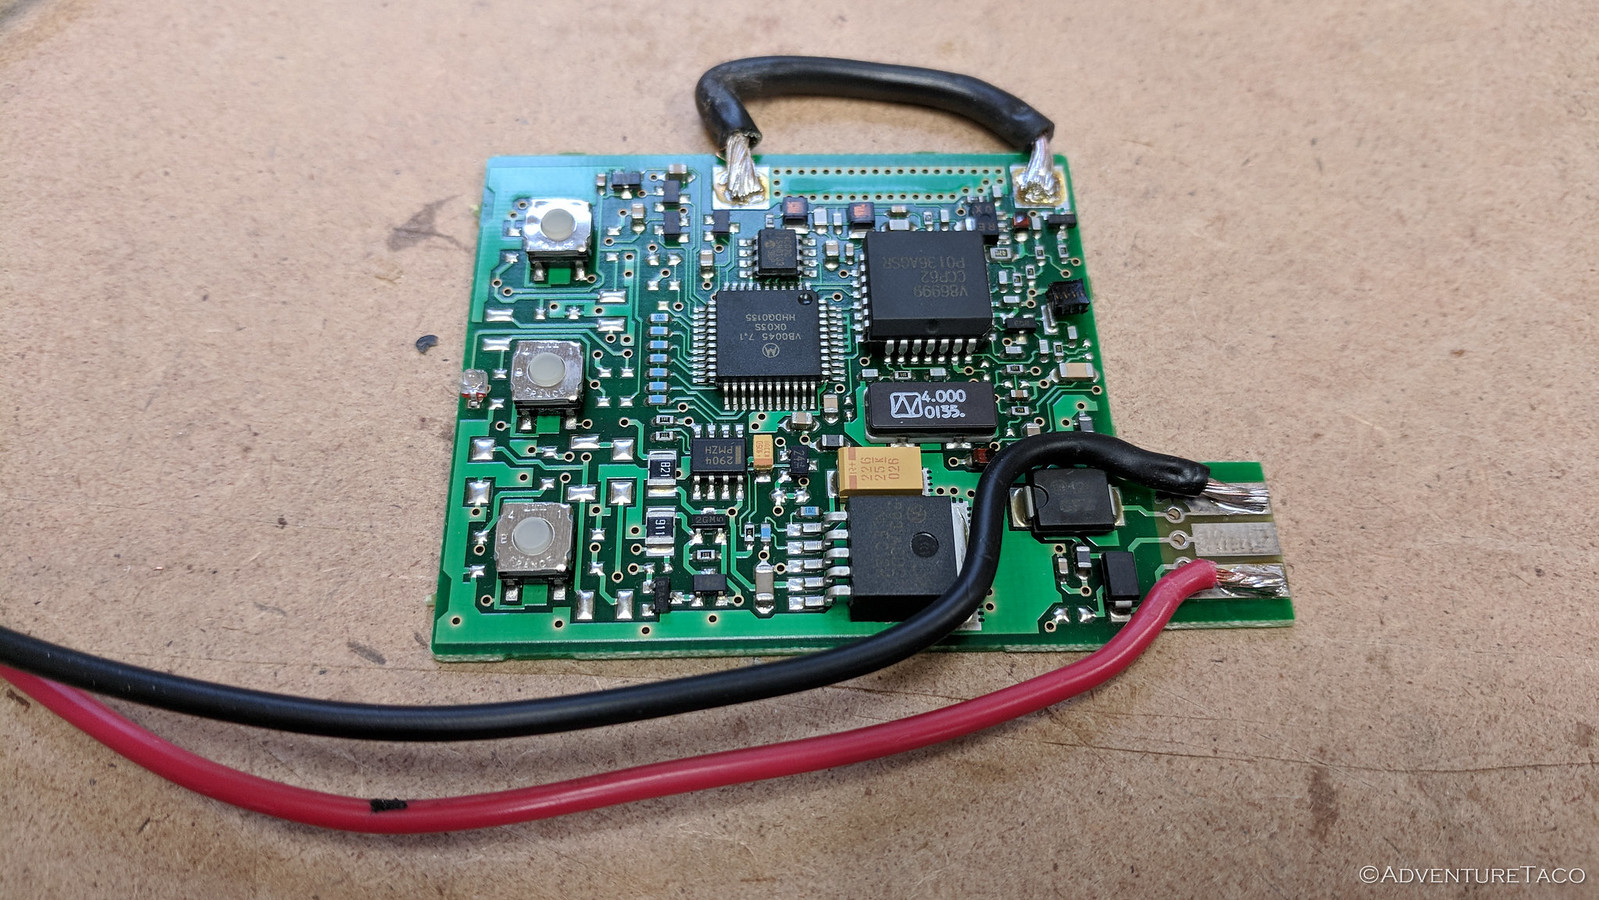
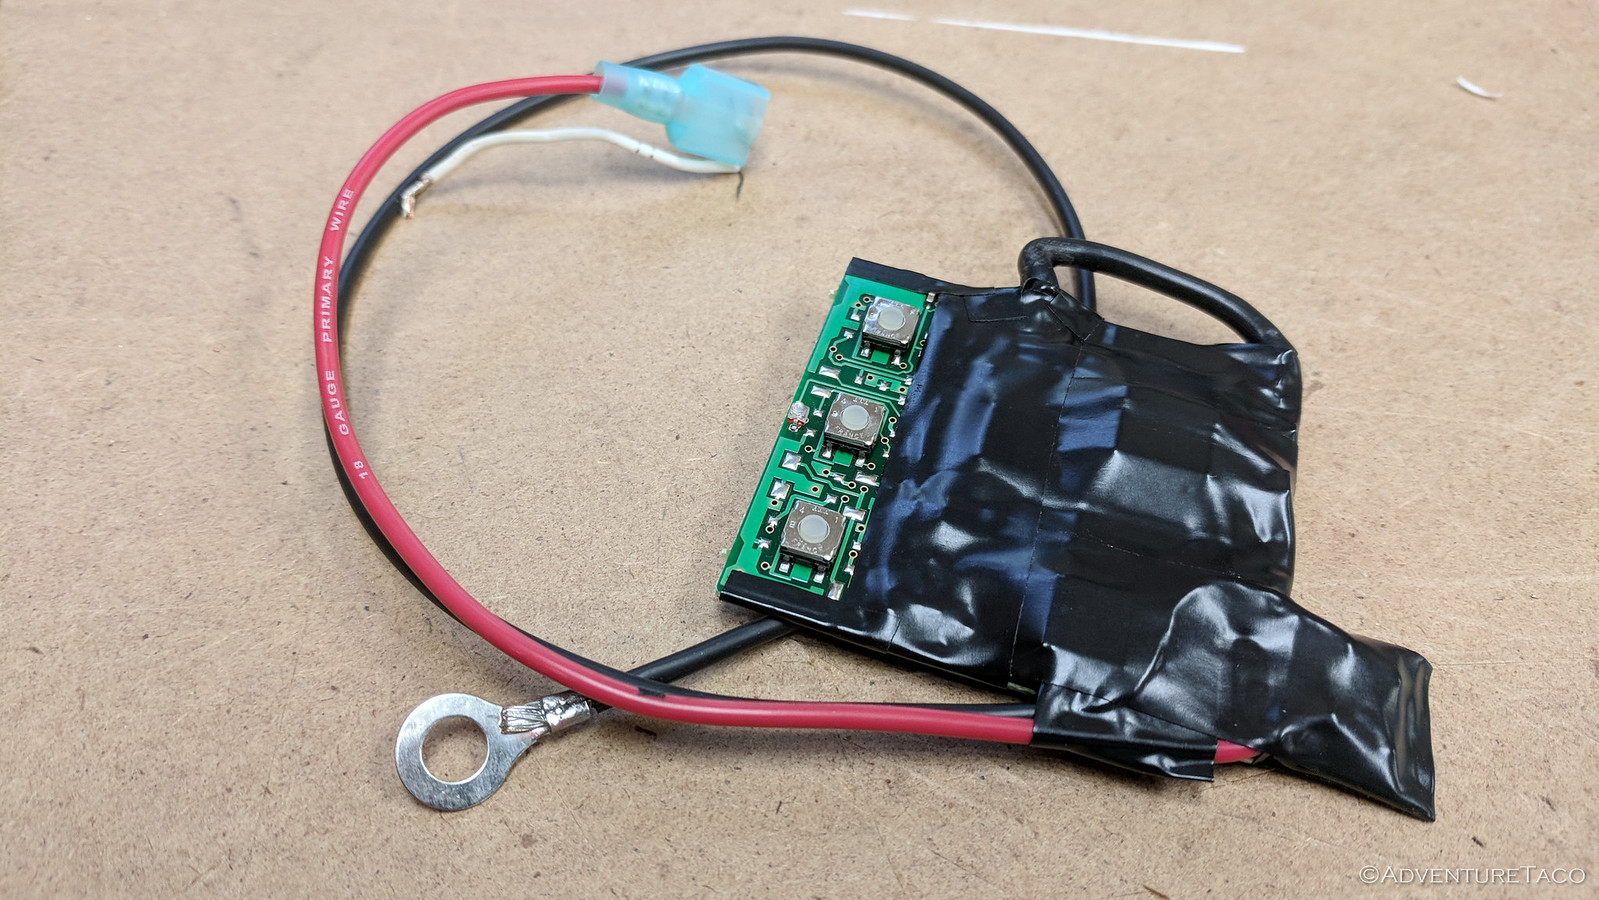
I decided to go with option 2, since it seemed the safest (easiest to recover from). I cut a piece of 12 gauge wire the same length as the stock antenna and got to work unsoldering the antenna and soldering on the wire, which went smoothly. At the same time, I also soldered on the +12v and ground wires, since the factory connector was another "thick" element I needed to remove.
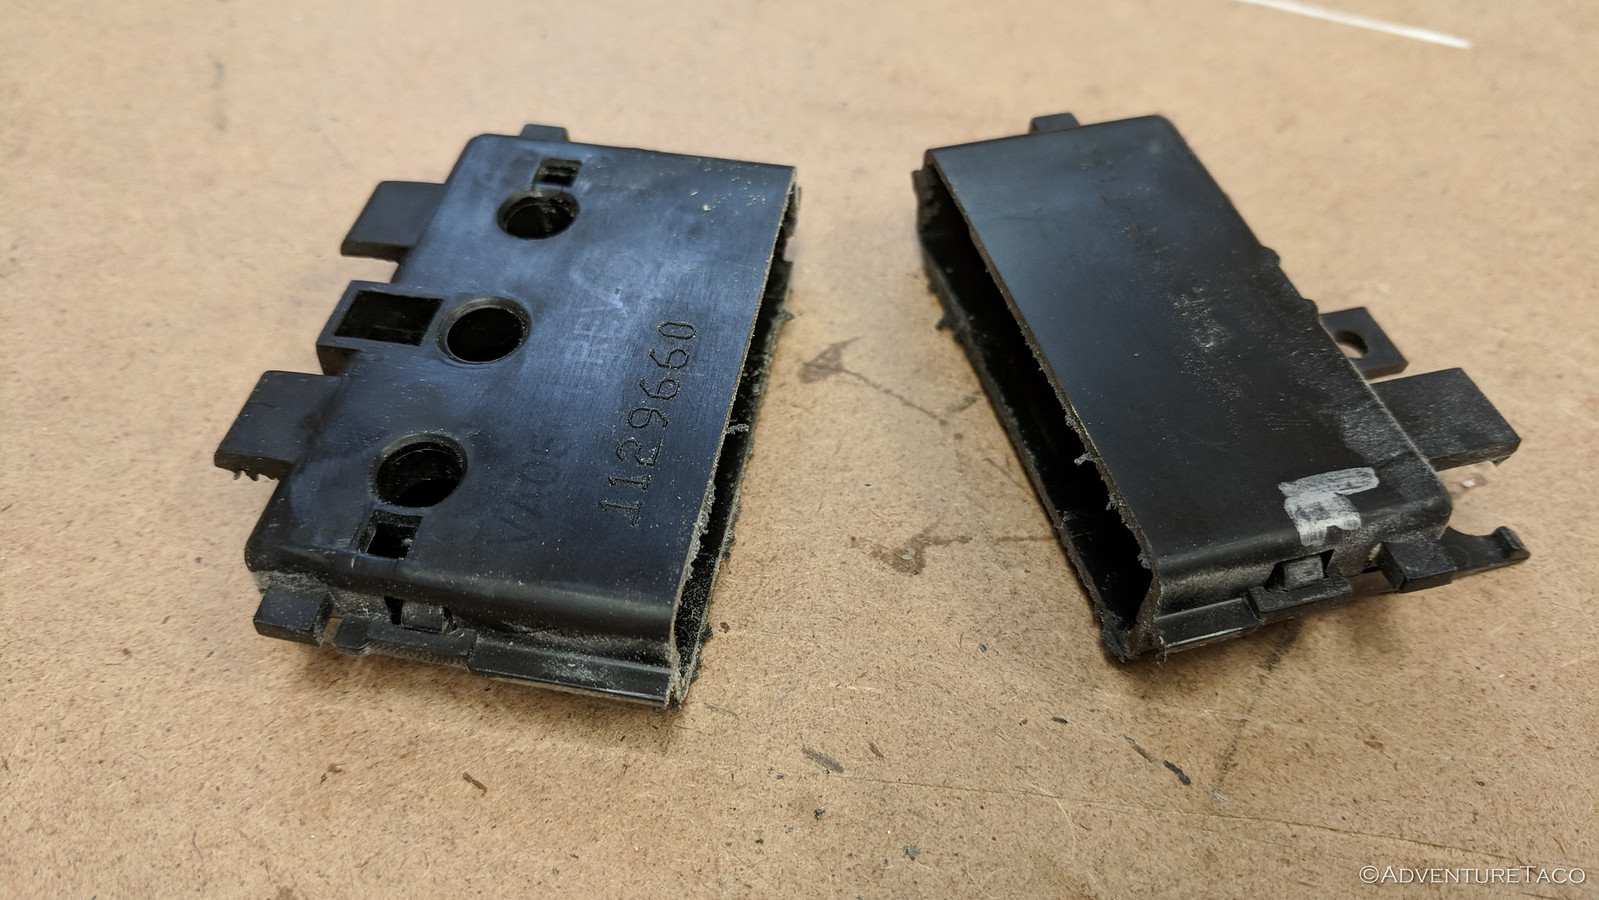
At this point, I tested everything to make sure the opener was still functioning - it was, whew! - and then I got to work on the enclosure. I still needed the front half, since that's what housed the buttons, and anchored the trim, so I cut it down using the chop saw to get a clean cut, and cleaned up the edges with a bit of sandpaper. And then, I test fit everything.
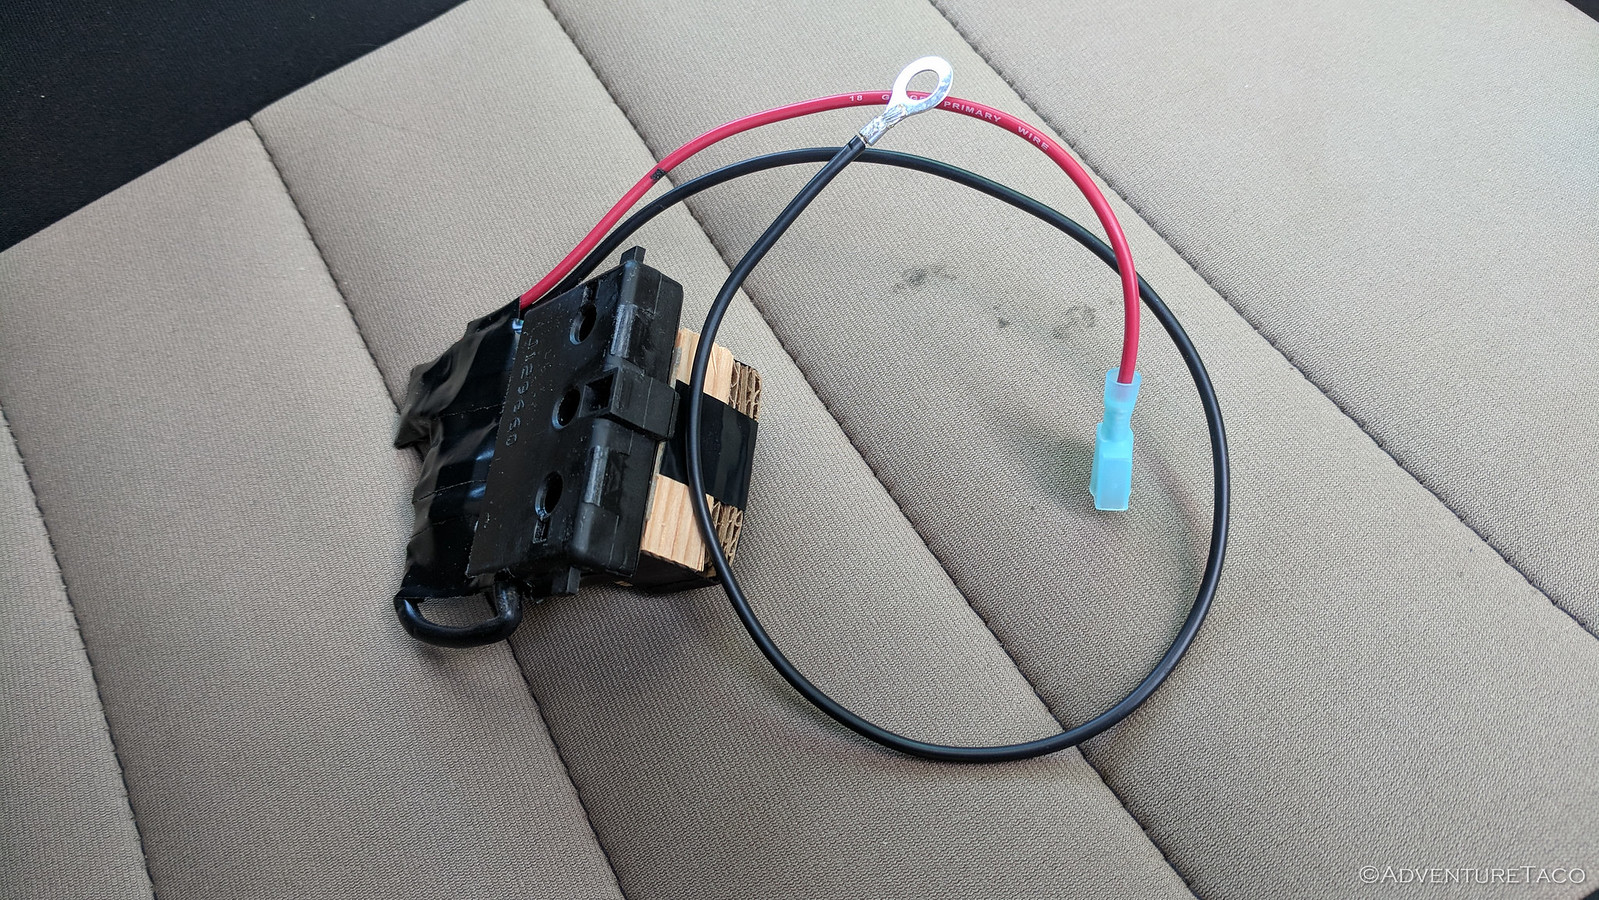
Satisfied that this was a reasonable solution, I applied a layer of electrical tape to most of the board - this tape would act as a thin enclosure for the components that would now be unprotected above the headliner (so they won't short out on the roof). I also measured the space between the headliner and roof so I could add a "spacer block" to the top of the opener to support it when a button is pressed.
Carefully (and wearing nitrile gloves since the headliner is made of fiberglass that easily embeds itself in the nooks between your fingers - ask me how I know), I pushed down the headliner and slide the Homelink opener into place, connecting the wires (my red wire tapped into the black +12v wire for the map lights; my black wire grounded by a map light screw) and installing the fascia. It was starting to look good!
All that was left was to reinstall the map lights and sun visor clips, which was simple enough, given everything I'd just been through. And now, I can open the garage door with the press of a button. A button that looks factory.
- - -
Programming a Homelink® Remote
- Make sure the remote has power (light illuminates when you press a button).
- Hold the two outer buttons for 30 seconds until the light flashes rapidly to clear any previously learned codes.
- Press and hold the button on an existing, working remote that opens/closes the garage door.
- While holding the button in #3, press and hold the button on your Homelink remote (that you want to open/close the garage door) for 20 seconds.
- Release both buttons and test the Homelink remote by pressing the newly learned button. Repeat if it didn't work.


I believe your take over of the garage is nearly complete.
bwahahahahaha
My garage door opener came with a clip presumably for clipping it on the visor (1.8 seconds). The problem I've seen with clipping it on the visor is that it can twist or even fall off from time to time. Solution: clip on remote, flip down visor (1.2 seconds), get duct tape (30 seconds), tape on the clip (8 seconds) (can't even see it unless you're a smashed bug on the windshield), flip up visor (1 second). Total time needed for lifetime installation: 42 seconds.
Ingenious! But definitely less fun 🙂