Any time a major component of your A/C system is replaced, it's a good idea to also replace the Receiver/Drier. This component of your system removes water (vapor) from the internals of the system that can freeze when the refrigerant in the system is below 0°C, causing the system to become blocked and preventing it from keeping you cool.
It's not an expensive part (relatively speaking), and replacing it is easy - and here's how you do it.
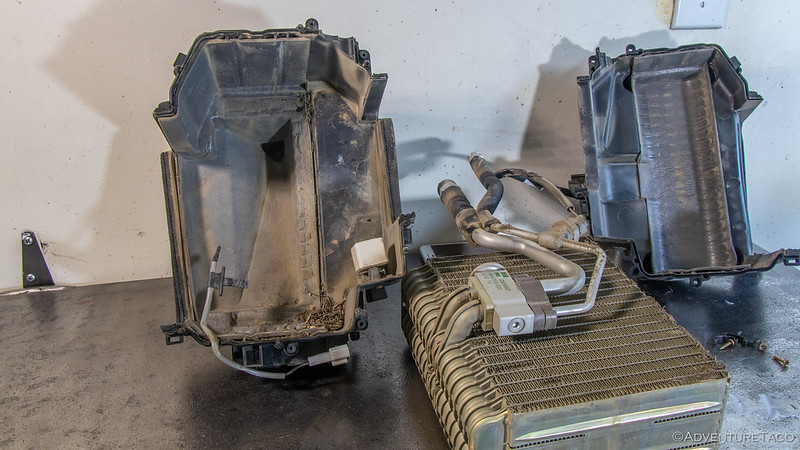
And, if you're doing it as part of replacing other parts of your A/C system, here's how you do it all:
Trouble with Your Air Conditioning?
The Part and Supplies
There's only one part, and a few supplies you'll need for this job:
- A/C Receiver Drier (88471-34010) - this is the part to replace.
- Santech MT2580 A/C System O-Ring and Gasket Kit - I figured that I might as well replace any o-rings that I came across during this process, and this Santech kit is made specifically for our Tacomas.
- A/C PAG46 Oil - 8oz - this oil is used to lubricate various parts of the system, and you need some for the new Receiver/Drier. Note that ND8 oil is equivalent to PAG46, if that's easier to acquire.
- 10ml (10cc) syringe - used to measure the right amount of PAG46 oil into the Receiver/Drier.

Tools You'll Need
Doing the Job
OK, so I'll start by saying that this job wasn't nearly as hard as I'd made it out to be in my head, nor as difficult as I'd been led to believe by several fellow compatriots. Except for a couple bad-luck moments - the first manifold gauge and evap core I received were both defective - the entire process was reasonably straight forward and fun. Something I totally recommend doing yourself if you know your evap core - or any other A/C component - is on the fritz.
As always, start by disconnecting the battery.
Replacing the Receiver/Drier
As with any component of your A/C system, ensure that the system is evacuated (correctly) prior to working on the system.
The work in this replacement is actually in accessing the Drier, and starts with removing the grill by releasing all the clips that hold it to the core support, at which point you are tantilizingly close to the Drier.

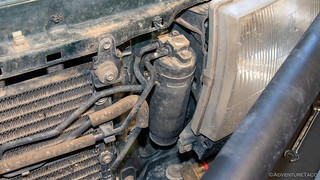
So close, and yet the rear bolt on the A/C Receiver Drier is only accessible if the headlight is out of the way.
Removing the headlight starts with removing the side marker light. Remove a single Philips screw from the top of the light, and then pull the housing toward the front of the truck to remove it from the clip on the headlight housing.


Next, remove the small filler plate below the headlight. This is secured with a 10mm bolt, and a plastic clip. Remove the bolt first, then the clip. Note that the plastic clip is just barely visible poking through the bottom of the filler near the end closest to the outside of the truck. Carefully push it up with a flat head screwdriver, so the bottom edge of the filler can be slid forward over it, and then rotate the filler up and off of the top part of the clip.

With the filler removed, removal of the headlight is easy. A 10mm bolt at the top inside corner, a 10mm bolt along the bottom of the headlight, and two 10mm nuts on the side of the headlight are all that hold it in place. As you remove the headlight assembly, don't forget to unplug the wiring harness from the rear.


With the headlight removed, the A/C Receiver/Drier is easy to remove. Simply remove the two bolts securing the lines to the top, and the single bolt in the strap that secures it to the core support, and drop it down out of the way. Note: at this point, you don't want to get a bunch of dust into your lines, so be reasonably careful.


New vs. Old.
Replacement is easy. It's a good idea to replace the o-rings at this point, so remove them from the two lines that enter the receiver/drier and find a couple the same size in the Santech kit. Oil them up with a little bit of the PAG46 oil and place them onto the lines.
Using a syringe, add 20cc (20ml) of PAG46 oil to the OUT side of the Receiver/Drier. Then, bolt the new Reciever/Drier in. Torque spec on these bolts is low - 52 in-lbs, so don't over tighten.

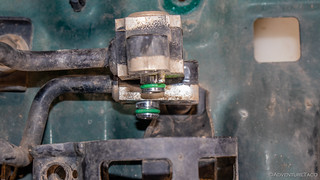
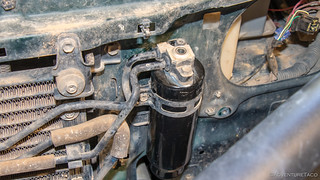
If you're doing this as part of a larger overhaul, wait on putting anything back together until you're done with everything and can test the system. Or, if you're just replacing the Receiver/Drier, reinstall everything you've removed, and then Charge the System (or take it to get charged).

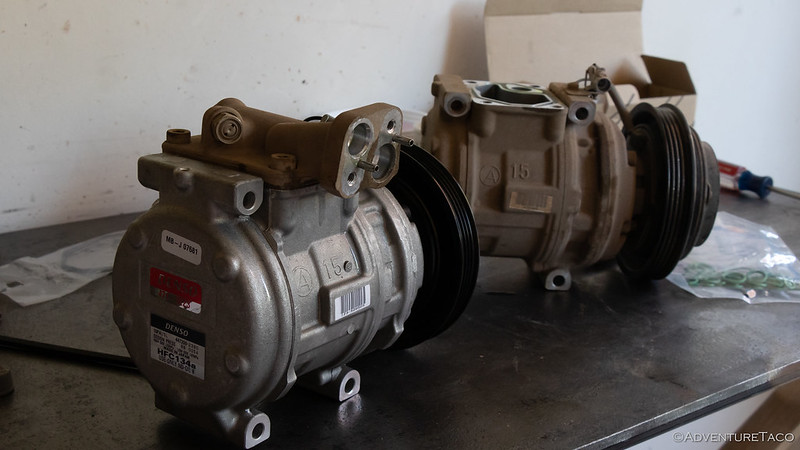

test
Fantastic write up! Thank you! How do I know which is the "IN" and "OUT" to the receiver dryer when adding the oil?
That's a great question, sorry for not having it better labeled. My A/C Receiver Drier (88471-34010) came with labels on the ports, so I figured it was "obvious," hahaha. At any rate, I've updated a couple of the photos above to label the "in" and "out" ports. Included one here as well for quick reference. Let me know if you have any more questions!
Thanks so much. Right now I have the compressor out and filling with oil with the syringe. Thanks for the great instruction will let you know how it turns out!
Update: Job done, SUCESS! Following your site and love the tutorials! Keep up the great work!
Wonderful write up, thanks for everything you have done. It is everything I needed to replace the compressor, drier, and evaporator and all the belts. Have awonderful day.
You're welcome! Glad you found the write-ups and that they were helpful for you. Feel free to reach out any time if you have questions!
The AC system has to be evacuated first before removing the drier for replacement, correct?
Yes, it does!
Thanks again turbodb
I'll be adding 20cc of oil to the out port on the dryer like you recommend
Nice! Glad you're finding these useful!
Great write up, very helpful. My Tundra I did not have to remove power steering pump.
Awesome, glad it was helpful! More room in that Tundra engine bay, probably makes working on a lot of bits here and there, easier. 👍