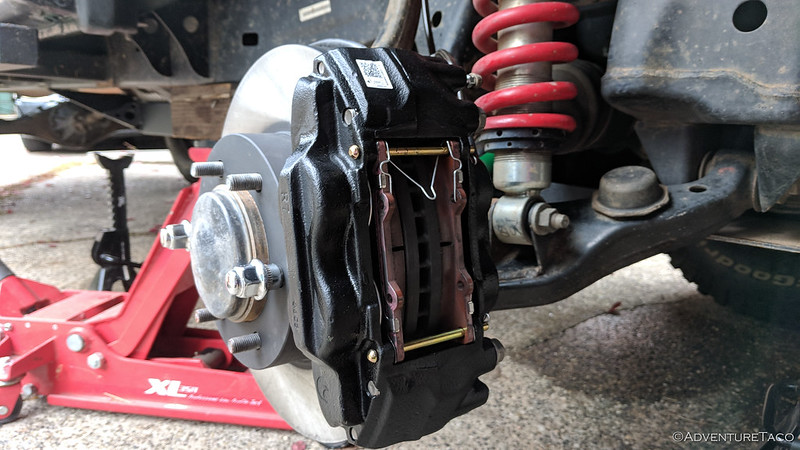
Adding Tundra brakes to your 1st gen Tacoma (1996-2004) or 3rd gen 4Runner (1996-2002) is one of the easiest upgrades you can make. The larger calipers, pads, and rotors give your truck significantly more stopping power and at the same time decrease brake fade since the larger rotors are able to better dissipate heat. The entire process takes only a couple hours, and requires little in the way of special tools. After doing this work on both my 1st gen Tacoma and 3rd gen 4Runner, as well as helping several friends with their brake upgrades, I figured that it was…
78 CommentsTag: how-to
I've discussed the trade-offs between disposable and rebuildable shocks in the past as I've replaced spherical bearings in my ADS coilovers, but I've never walked through the process of actually rebuilding the internals of a smooth body shock before. But, now that my shocks have absorbed some ~50K miles, it's time to rebuild and revalve them - so they can provide the same great service in the years to come, as they carry me and my stuff over thousands of miles of dirt roads. Related Guides Every shock manufacturer makes their shocks a little differently. I originally learned how to…
2 CommentsI've discussed the trade-offs between disposable and rebuildable shocks in the past as I've replaced spherical bearings in my ADS coilovers, but I've never walked through the process of actually rebuilding the internals of a smooth body shock before. But, now that my shocks have absorbed some ~80K miles, it's time to rebuild and revalve them - so they can provide the same great service in the years to come, as they carry me and my stuff over thousands of miles of dirt roads. Related Guides Every shock manufacturer makes their shocks a little differently. I originally learned how to…
Leave a CommentOver time, rubber bushings wear out and need to be replaced. This happened for me recently when I Replaced All the Bushings on my Tacoma, and I figured that others could benefit from a quick little guide that shows the entire process and lists all the necessary parts for the front diff bushings. Parts Durobump Front Diff Bushings are the only parts you need for this job. Tools Misc sockets (I recommend this set from Williams, a Snap-On brand) 12mm, 14mm socket - to remove the skid plate. 19mm socket to remove front diff brackets. 21mm socket - to remove lug…
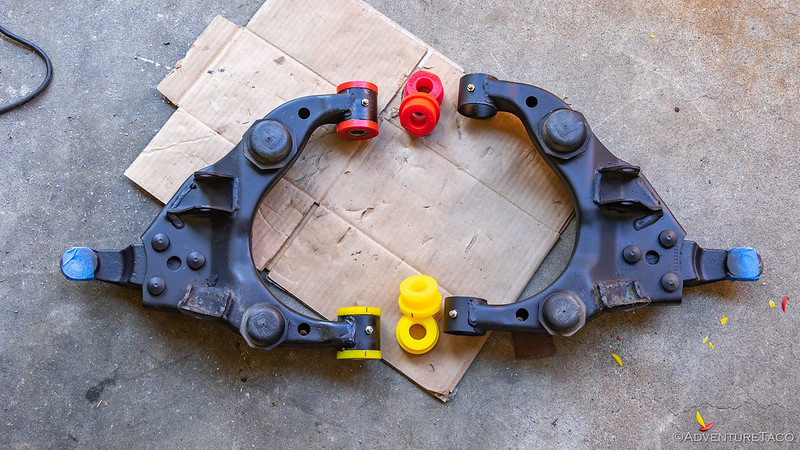
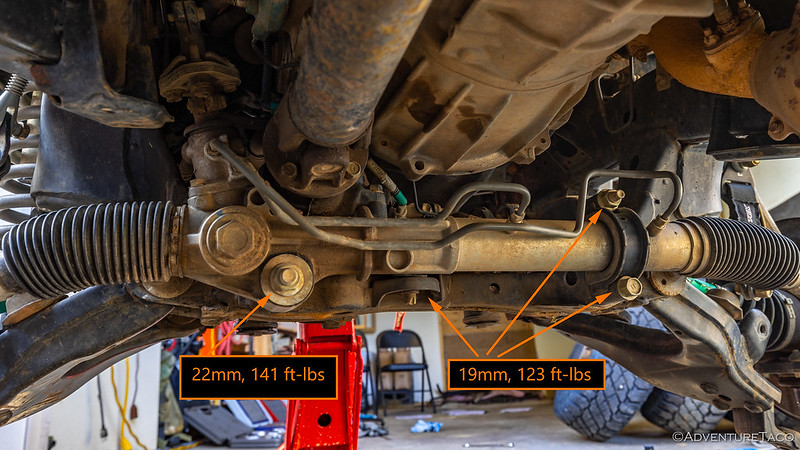
8 CommentsOver time, rubber bushings wear out and need to be replaced. This happened for me recently when I Replaced All the Bushings on my Tacoma, and I figured that others could benefit from a quick little guide that shows the entire process and lists all the necessary parts. Before getting started, I should note that when replacing the Lower Control Arm (LCA) bushings, one must remove the steering rack from its mounts. As such, this is also a good time to refresh the bushings that secure it as well, which is not a difficult process: Step-by-Step Steering Rack Bushing Replacement on a…
62 CommentsOver time, rubber bushings wear out and need to be replaced. This happened for me recently when I Replaced All the Bushings on my Tacoma, and I figured that others could benefit from a quick little guide that shows the entire process and lists all the necessary parts for replacing the bushings in the steering rack. Parts One thing to be aware of when replacing the steering rack bushings is that 1st gen Tacomas have two different bushing configurations depending on the model year - with the change happening around the 2000 model. Earlier trucks - it seems - use a…
15 CommentsOne of the easiest - and often overlooked - maintenance jobs on a Tacoma or 4Runner is replacing the PCV valve. This is a one-way check valve that allows blow-by crank case combustion gases back into the engine to be combusted, rather than vented to the atmosphere (where they would cause pollution). As a check valve, the part is quite simple, but over time the spring in the check valve can wear out, and the grommet that holds the PCV Valve onto the engine can harden due to constant heat/cool cycles. When that happens, replacing it becomes difficult, as bits…
9 CommentsIn the last post, I outlined the Materials and Prep necessary for sound deadening a 1st gen Tacoma. This time, we'll walk through the specifics on how to do the actual deadening. As a reminder, all you really need to do this job are the following: RAAMAudio Package 2 30 sheets of RAAMmat BXT II (56.25 sq ft). 4 1/2 yards Ensolite Foam (62.43 sq ft). 3/8" split loom - you only need about 4' to house the interior door handle rods. A sharpie, utility knife , and scissors to cut the material. A screwdriver with a plastic handle to…
10 CommentsWhile I believe the saying, "They don't make them like they used to," generally does apply to a 1st gen Tacoma, it most definitely does not apply to the sound deadening of these old trucks. Nearly any vehicle you get today will have better sound deadening than a 20-year old truck and after thousands of freeway miles, I decided it was finally time for some peace and quiet in the cab. Or at least, that was the plan. Oh, and while I'm definitely no audiophile, I figured I might as well put in some new speakers while I was at…
11 CommentsAny time any component of your A/C system is replaced, it's a necessary to recharge the system with refrigerant. This generally costs in the $150 range at the shop, but you can do it yourself for under $100 the first time, and have the necessary tools to do it for $20 any time after that! And, if you're doing it as part of replacing other parts of your A/C system, here's how you do it all: Tools and Supplies To recharge your A/C, you'll need the following tools: A/C Diagnostic Manifold Gauge Set - this gauge set would allow me…
10 CommentsAny time a major component of your A/C system is replaced, it's a good idea to also replace the Receiver/Drier. This component of your system removes water (vapor) from the internals of the system that can freeze when the refrigerant in the system is below 0°C, causing the system to become blocked and preventing it from keeping you cool. It's not an expensive part (relatively speaking), and replacing it is easy - and here's how you do it. And, if you're doing it as part of replacing other parts of your A/C system, here's how you do it all: The…
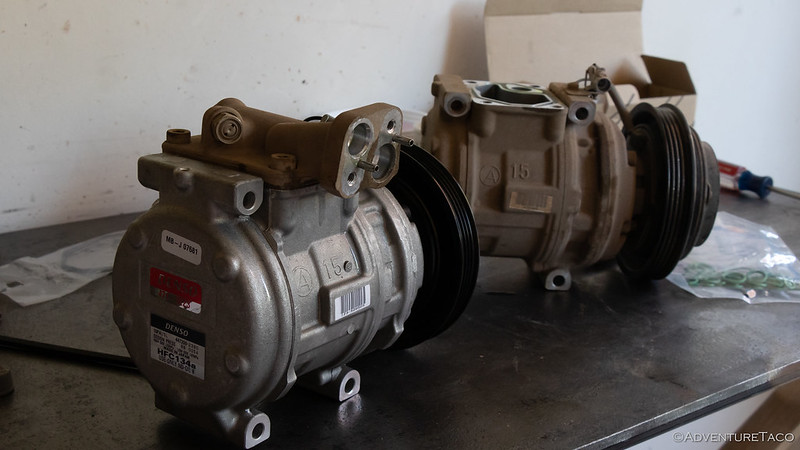
12 CommentsBackground - If At First You Don't Succeed... My A/C hasn't worked for the last couple of years and I'd finally gotten around to fixing it - or at least, so I thought! A local Toyota dealer theoretically diagnosed my issue as being a problem with my A/C Evap Core, and I set about fixing that in It's Too Damn Hot In Here - Fixing the A/C. Turns out, that didn't fix the problem - and so next on my list was replacing the only moving part in the system - the A/C compressor. That's a story worth reading in…
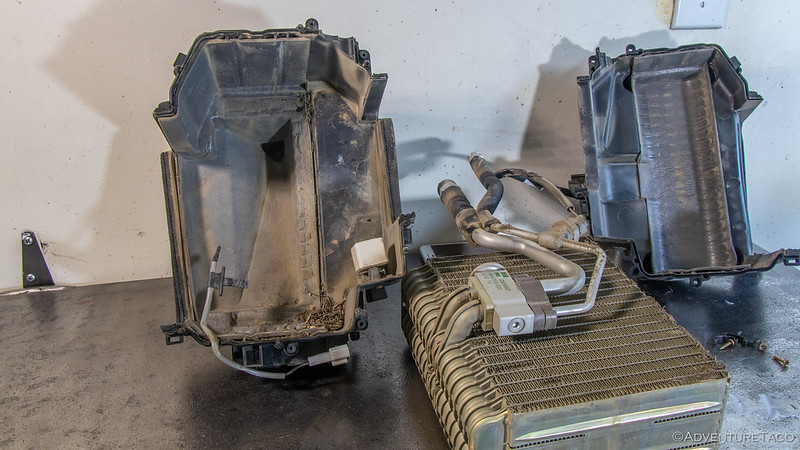
26 CommentsThe Backstory My A/C hasn't worked for the last couple of years and I've finally gotten around to fixing it. That's a story worth reading in itself, and if you're interested, check out It's Too Damn Hot In Here - Fixing the A/C. But, if all you're interested in is how to replace your A/C evap core (and related components) and the A/C Receiver/Drier, then simply keep reading below... Gathering Parts If you're going to replace the Evap Core, you might as well replace all the other components that are in the same housing, since it's a bit of a pain…
13 CommentsIn general, the rear brakes on a Tacoma or 4Runner wear much more slowly than the front - after all, they are only providing a small fraction of overall braking, and as drum brakes wear more slowly anyway. However, eventually they need to be changed - whether due to wearing out or - perhaps more commonly - due to a rear axle seal leak. A rear axle seal leak was what caused me to do the job on both my 3rd gen 4Runner (full story) as well as 1st gen Tacoma (full story to be written), which you can read…
13 CommentsReplacing the fuel filter on a 5VZFE Tacoma or 4Runner is an easy project, and one that I'd put off for way too long before doing for the first time recently. Personally, I'd recommend changing your fuel filter at the same time you do your timing belt - every 90K miles or so - just as preventative maintenance, and to keep your fuel pump and engine running as smoothly as possible. Of course, if you're in a very dusty environment, every 30K may be a better interval. The process is straight forward - remove the old filter and replace it…
14 CommentsIf you're not familiar with my route planning series, you should be sure to check it out - it's not hard, and I've found that figuring out where to go is often one of the most daunting aspects of adventuring for folks who want to get out into the world. Today, I'm going to cover an exciting - at least for me - new development in the space: a new version of Backcountry Navigator. First - I'm going to cover a bit of background and soapbox about the new version of BCN. If you're not interested, or already use BCNavXE,…
12 Comments
Which Wheels/Rims Fit the Tundra Brake Upgrade (13WL 231mm rotors) on a Tacoma? (or 3rd gen 4Runner)
So, you want to upgrade the braking on your 1st gen Tacoma (or 4Runner), and you're wondering which wheels will fit the larger calipers and rotors? Hopefully, over time, this page can become a comprehensive list of wheels that generally work. What's the Issue? The only reason this page is necessary is that some early 1st gen Tacoma's (pre-2001) shipped from the factory with 15" wheels. 3rd gen 4Runners always had 16" rims, but not all of them fit the larger calipers. Tundra's on the other hand always shipped with 16" or larger rims that obviously fit the larger Tundra…
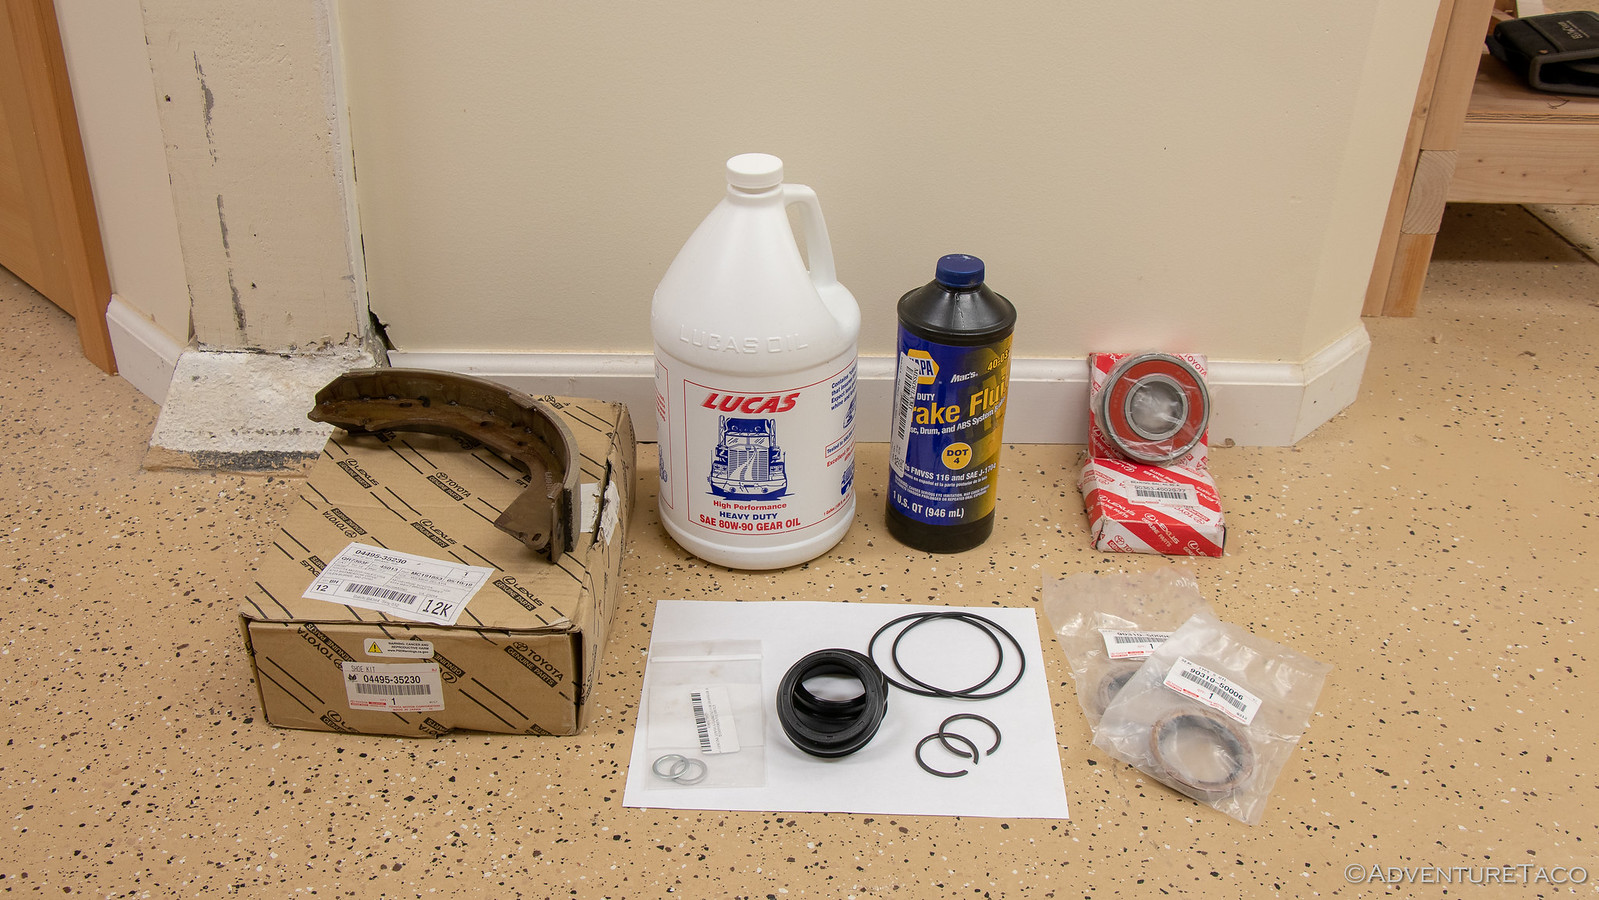
55 CommentsI recently discovered a dreaded gear oil leak on my 4Runner, and knew it meant only one thing - it was time to change the rear axle seals (and bearings and brake shoes since they were now saturated with oil). In addition to the story of the 4Runner repair, and later the Tacoma repair, I figured a detailed set of instructions for anyone wanting to tackle this themselves would be nice to put together, since it's hard to find that written down in one concise place (maybe even impossible before now). This is of course based on two amazing resources -…
35 CommentsIf you own a Toyota Tacoma - and especially if you drive it off-road or with any kind of lift - you're likely to have a CV axle boot crack or split at some point, flinging grease everywhere and making a royal mess. I was lucky enough to have it happen on the first day of a two week trip to Anza-Borrego. Winning! Once this happens, you essentially have three options: Do nothing. This is the route a lot of people take, sometimes because they don't even notice the problem. For me of course, it wasn't an option. Buy an…
51 CommentsFebruary 2, 2019. This is the third post in the Planning a Route series. If you haven't caught the others, it's probably worth reading at least Part 1 - Planning a Trip/Route Part 1 (Google Earth, GPX, KML, and more) - before making your way through this one, since we'll be building on some of the information there. Like anything in life, the more routes I've planned, the more efficient I've gotten. Sometimes it's just learning keyboard shortcuts or faster ways to do the things I was already doing. But sometimes, it's learning a whole new workflow that really saves a bunch…
2 Comments