It's been about six months since I drove over to eastern Idaho to pickup and install the CBI Outback 1.0 rear bumper with dual swing-outs on my way down to The Maze in Utah. In that time, the bumper has performed well - I'm generally really happy with it, save a couple niggly things that I should probably write up as a "what do I think six months later," sort of post.
But, one thing that I've been missing - and knew I was missing when I purchased the bumper - was a fold-down table on the swing-out. This was a purposeful omission on my part - @cbi offroad fab wanted $350 for tables, and I knew I could do better.
So, it was finally time to get started.
My criteria were several-fold.
- The table needed to be big enough to fit my Coleman propane stove.
- It needed to fit on the passenger side swing-out.
- It needed to be "removable" - since I'm sure I'll want to tweak it going forward.
- It needed to weigh as little as possible.
I started by taking some measurements of the passenger side swing-out when the tailgate was open. This showed me that I had 15-inches of width to work with - so the table wouldn't overlap the tailgate or interfere with the dual-swing-out latching.
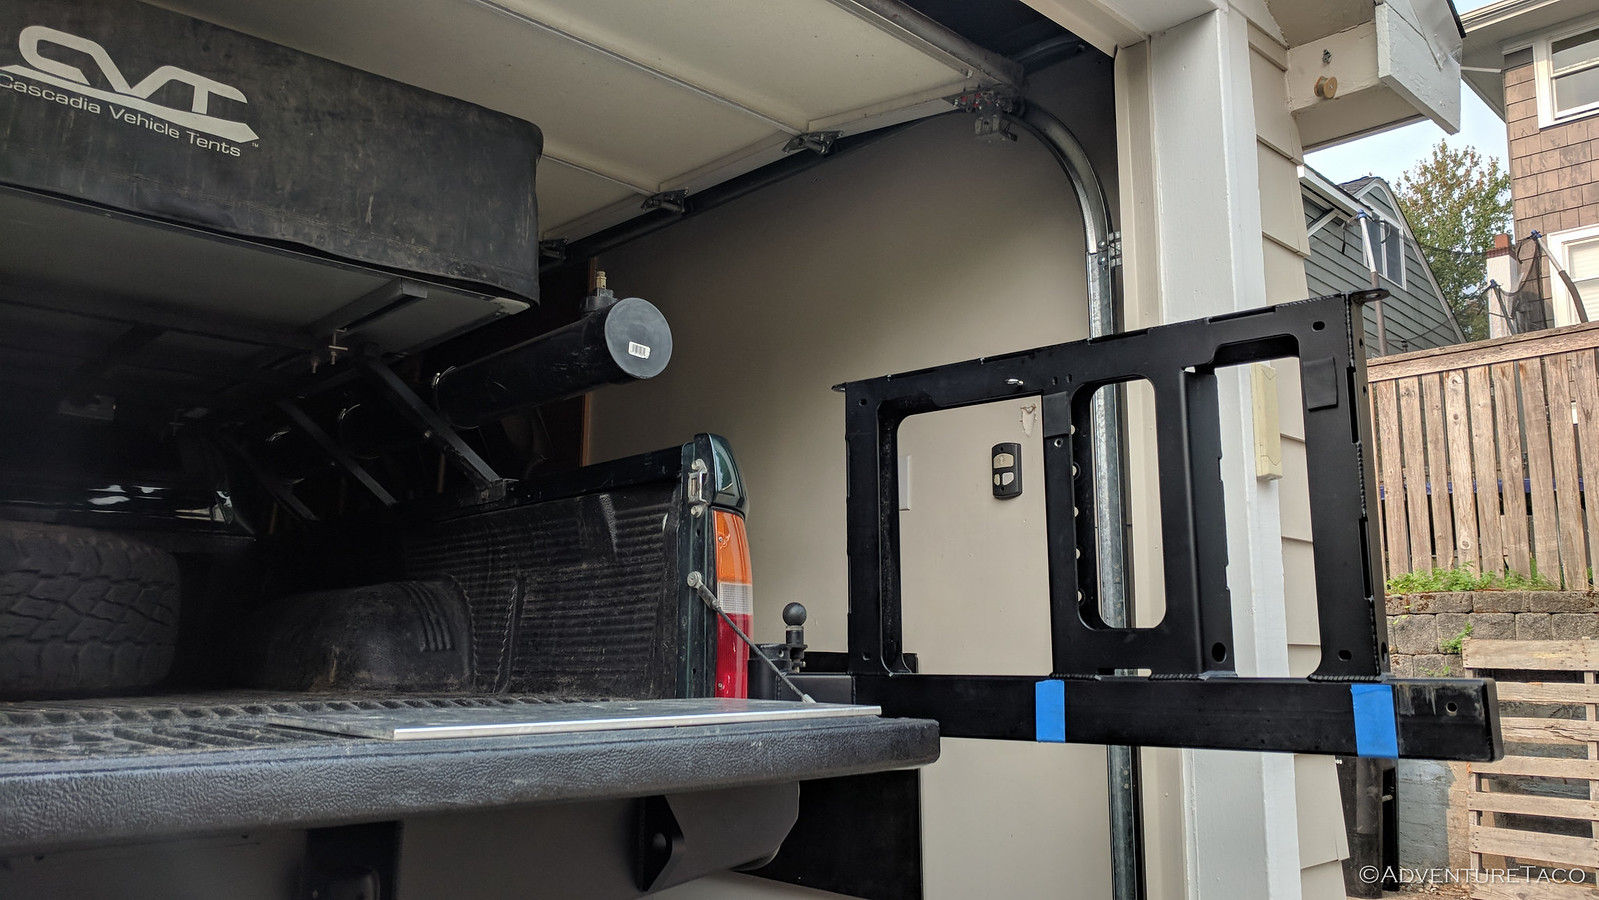
Clearly, not enough to fit the Coleman stove, which is 21-inches wide and about 14-inches deep. Hmm, my design would need to take that into account. Perhaps a fold-out table on my swing-out bumper? 
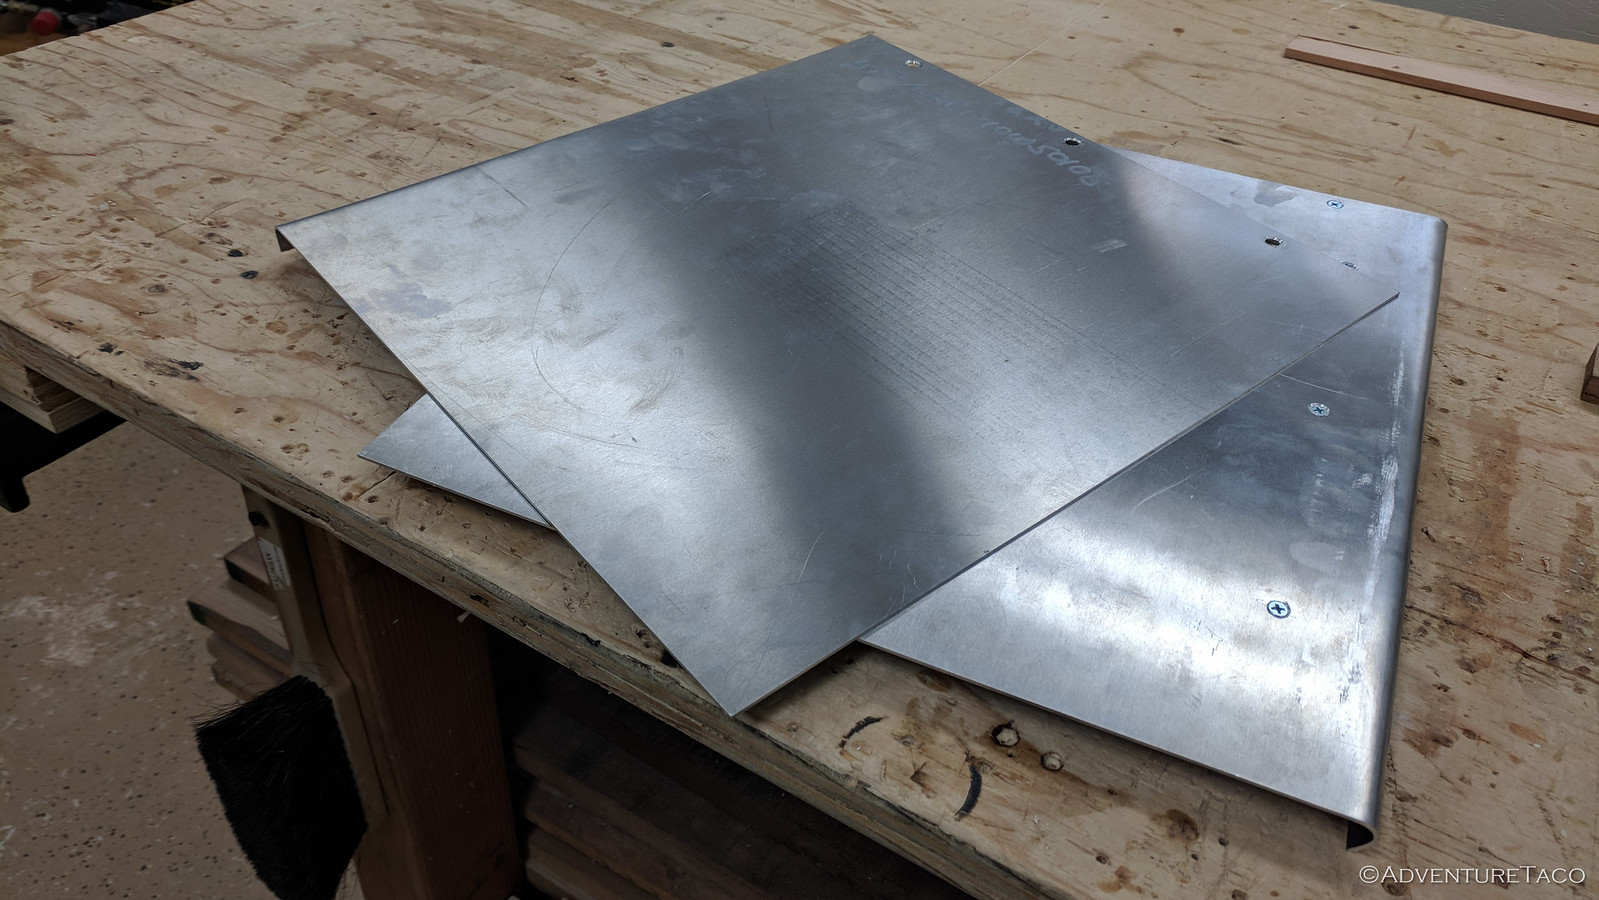
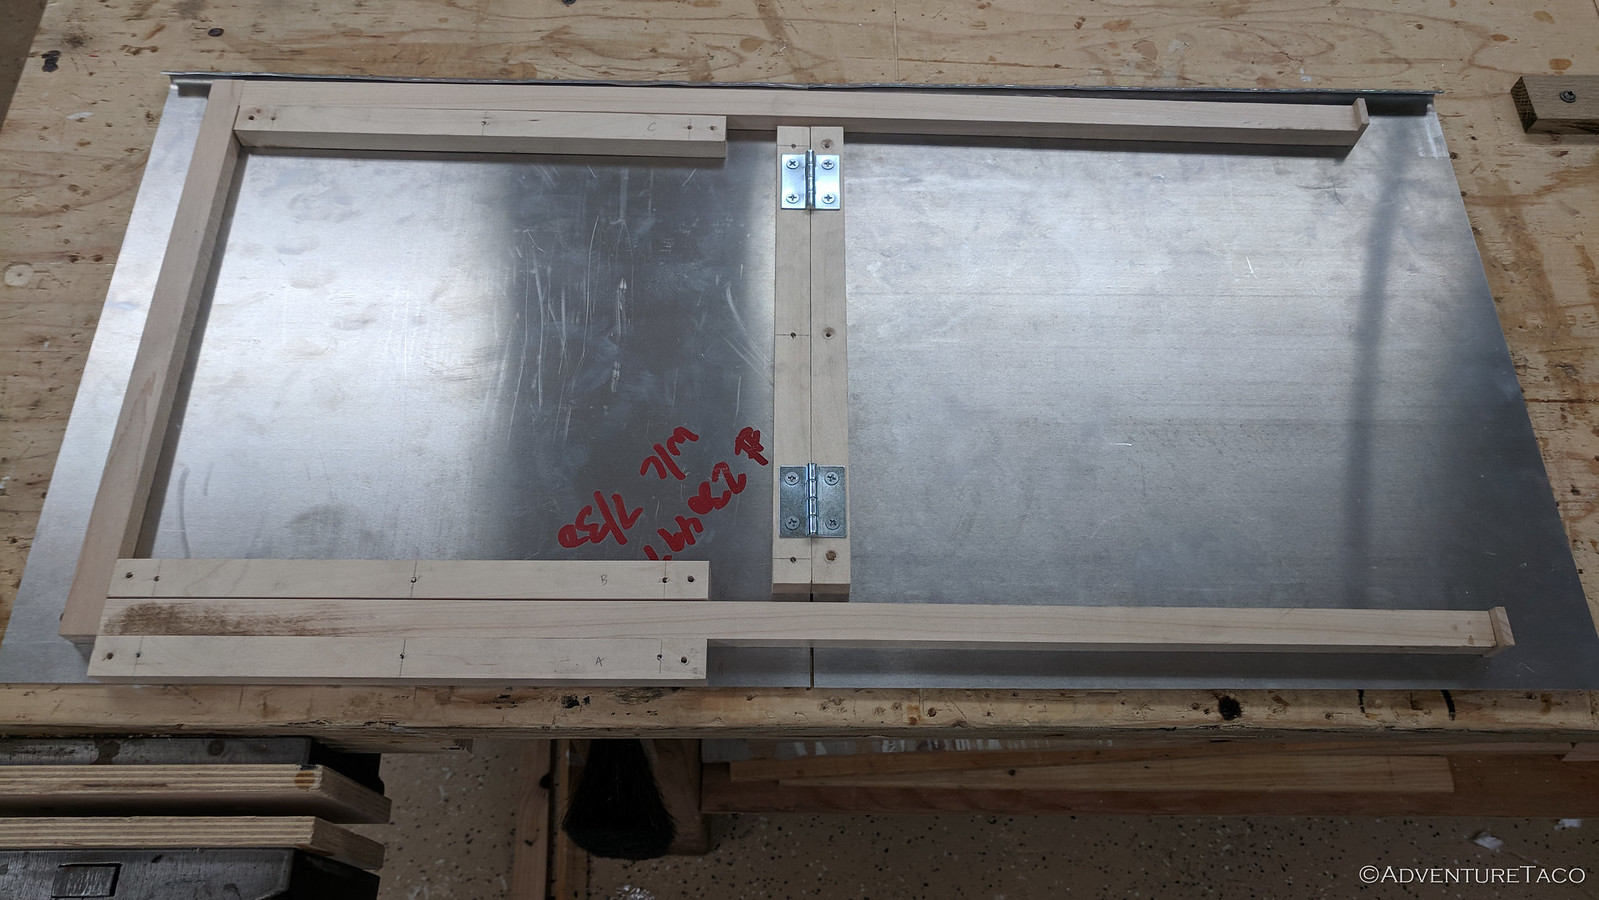
So, it was off to the steel yard where I picked up two 15x15-inch pieces of 16ga aluminum - that would become the top(s) for the table, giving me a work surface of approximately 30x15-inches - plenty big enough for the stove.
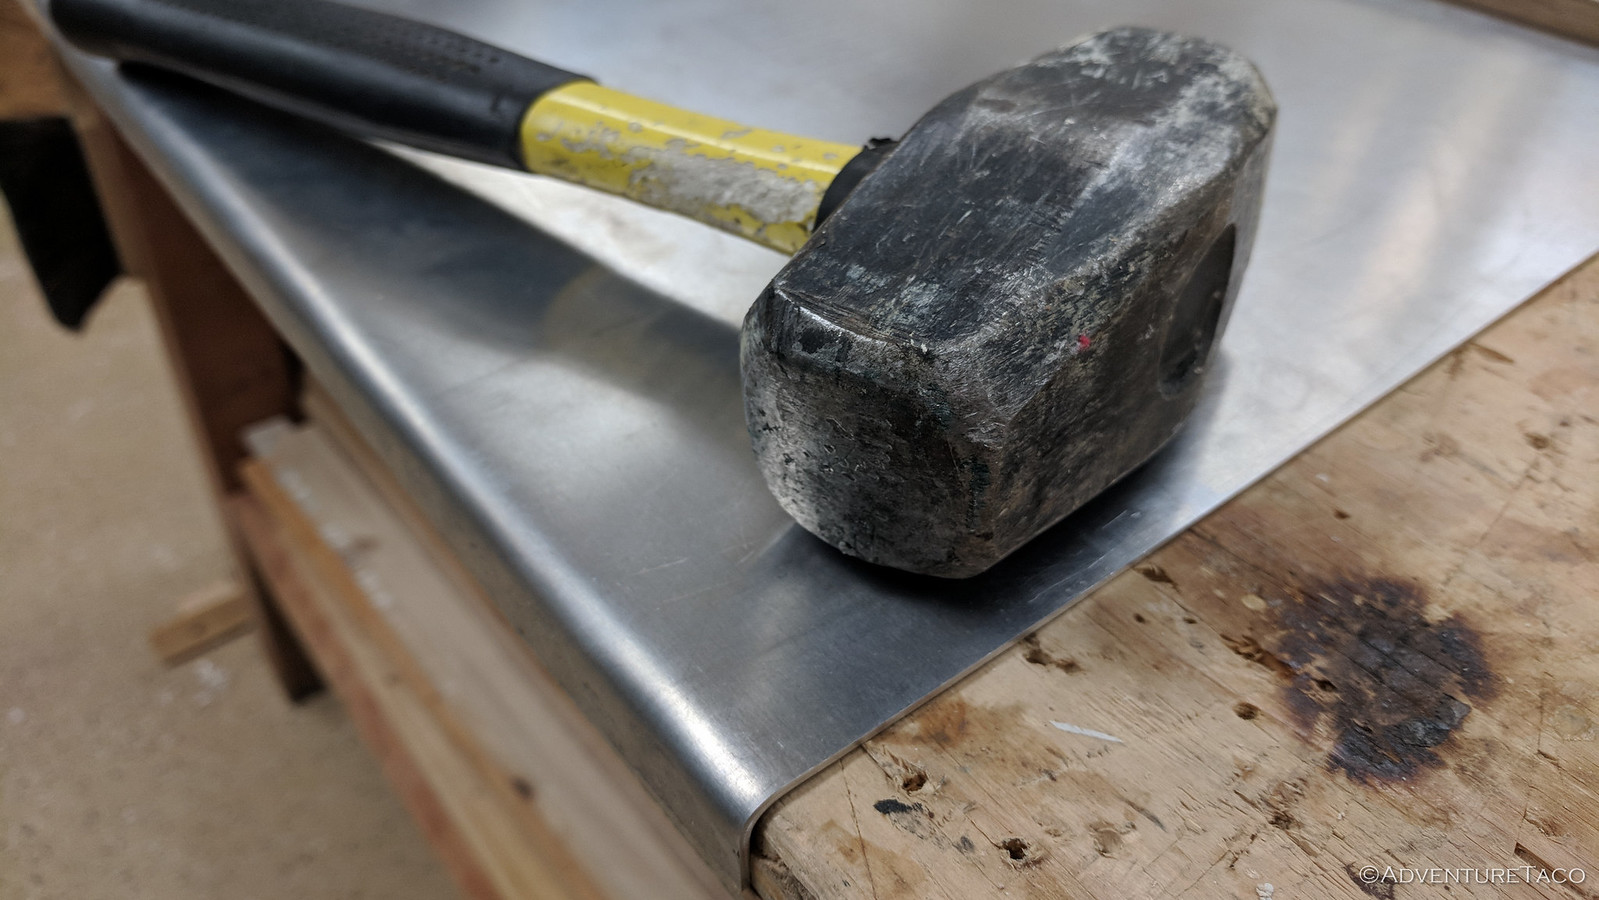
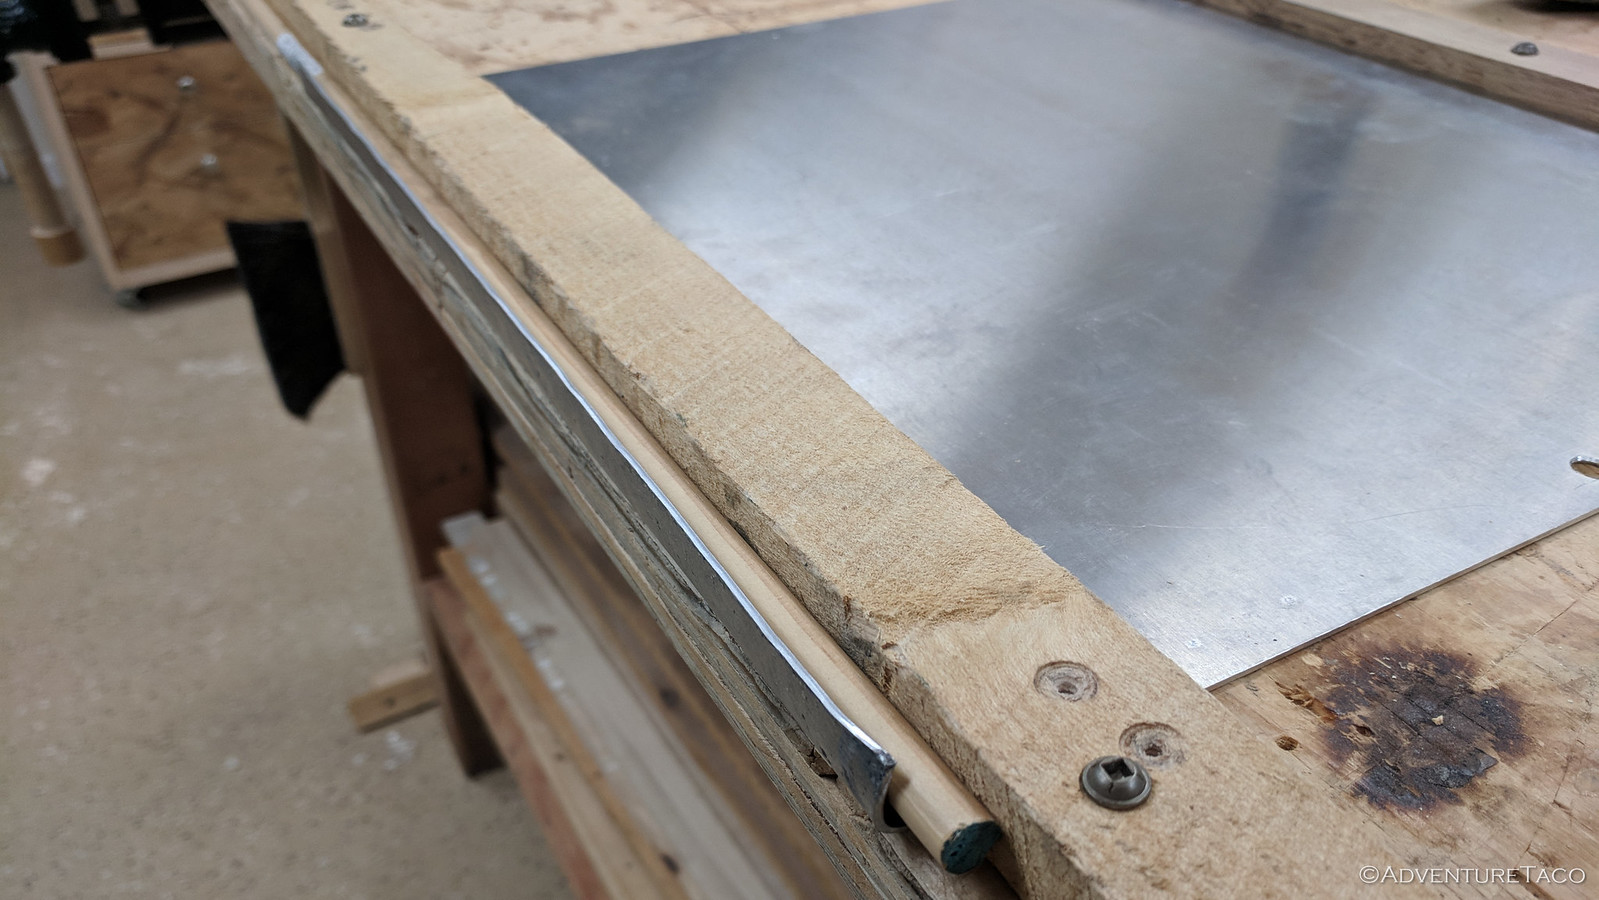
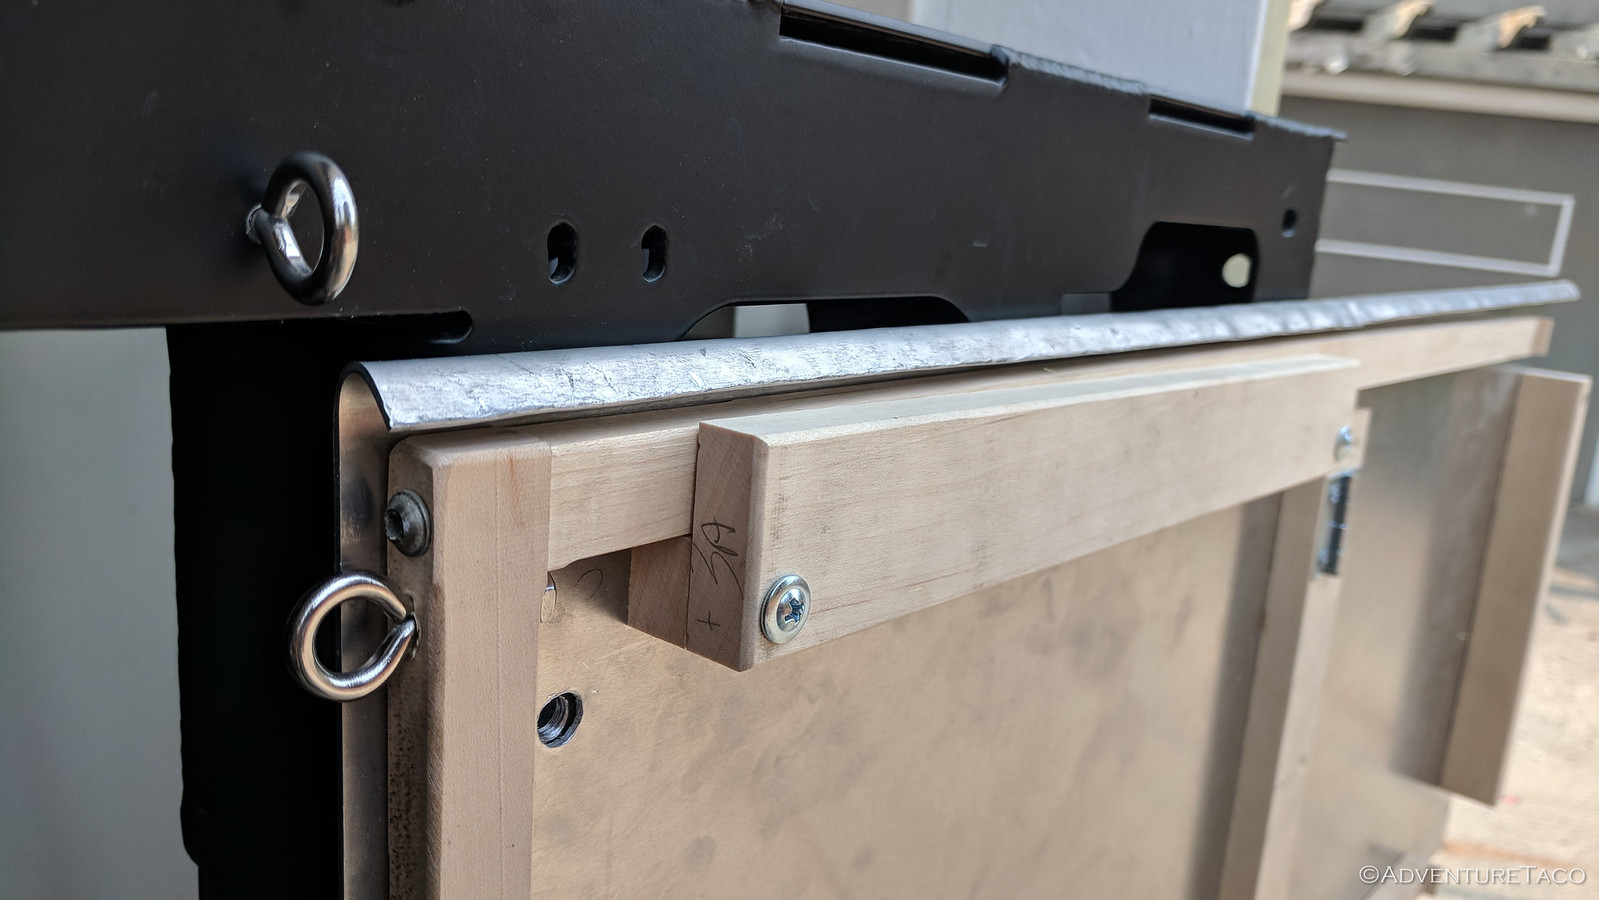
Then, I spent a bit of time with a hammer, the rounded corner of my workbench, and then a dowel to round over what would become the front edge of the table, making it a bit stiffer and also a bit nicer "to the touch" vs. a sharp aluminum edge.
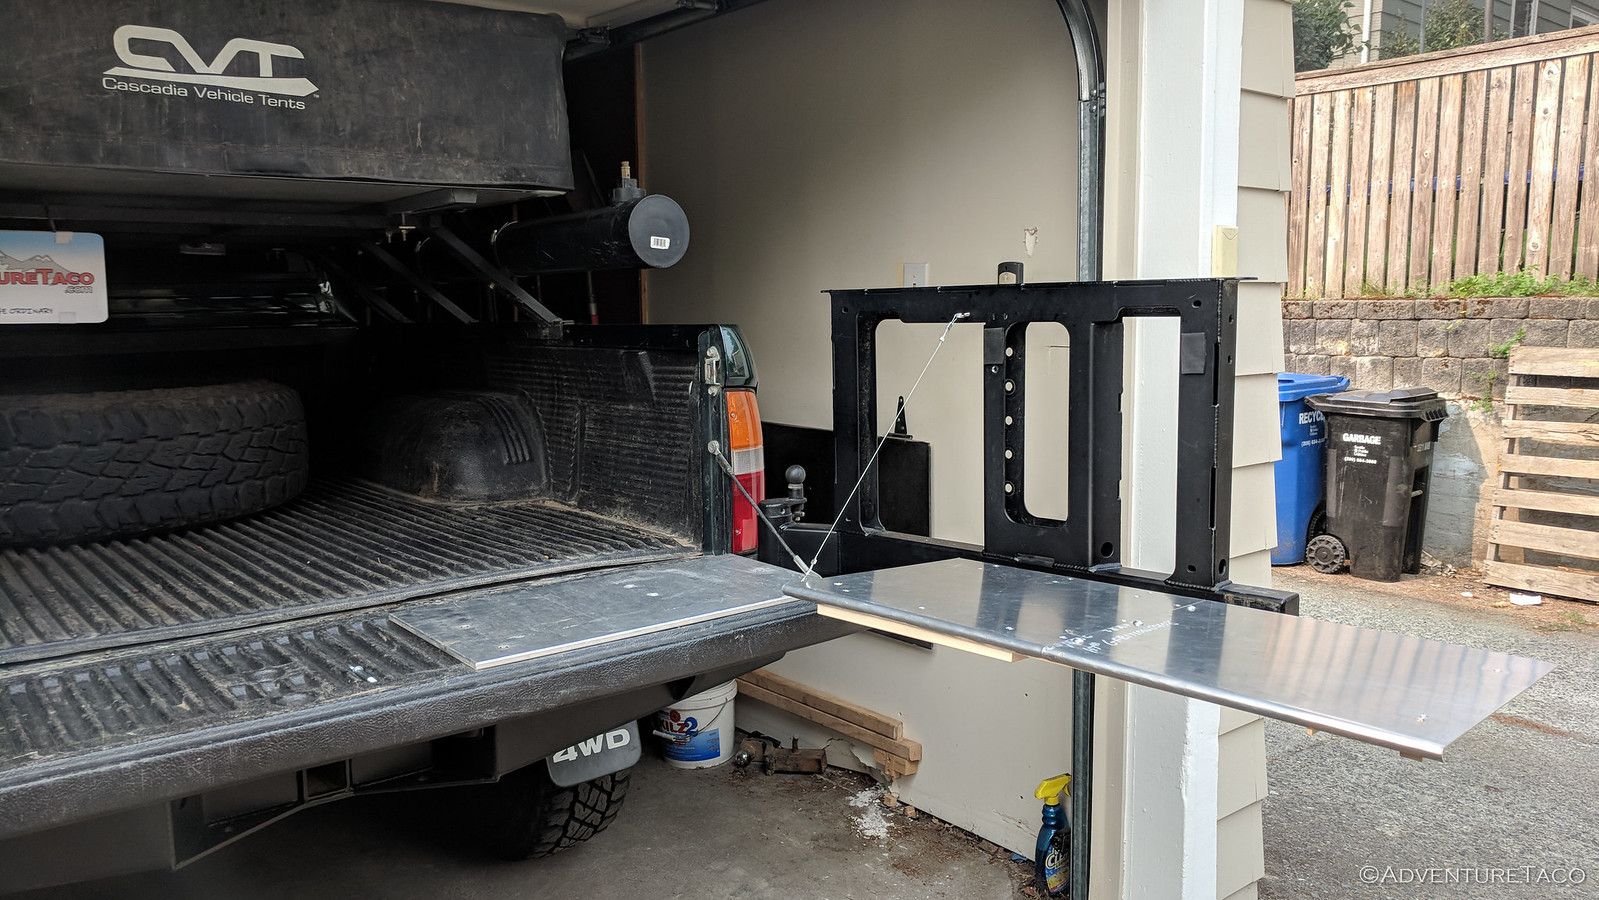
Of course, with two pieces to the top, the next trick was to get them to sit side-by-side when deployed, but to sit "overlapped" when put away, since I only had 15" of space on the swing-out. This I accomplished with a pair of hinges that would allow the table to fold over on itself when not in use.

That seemed to work well enough - better than I thought actually, since the wood mounts I used for the hinges also stiffened the top and allowed space for the rounded front edges when the table was closed. (lucky me!) But of course with a folding table, I now needed some way to keep it from folding when it was deployed - enter the sliding supports!
These sliding supports run in tunnels on the bottom of the fixed side of the table, and they can be pushed under the swinging side of the table after it's been swung out; keeping it in-plane with the fixed side of the table.
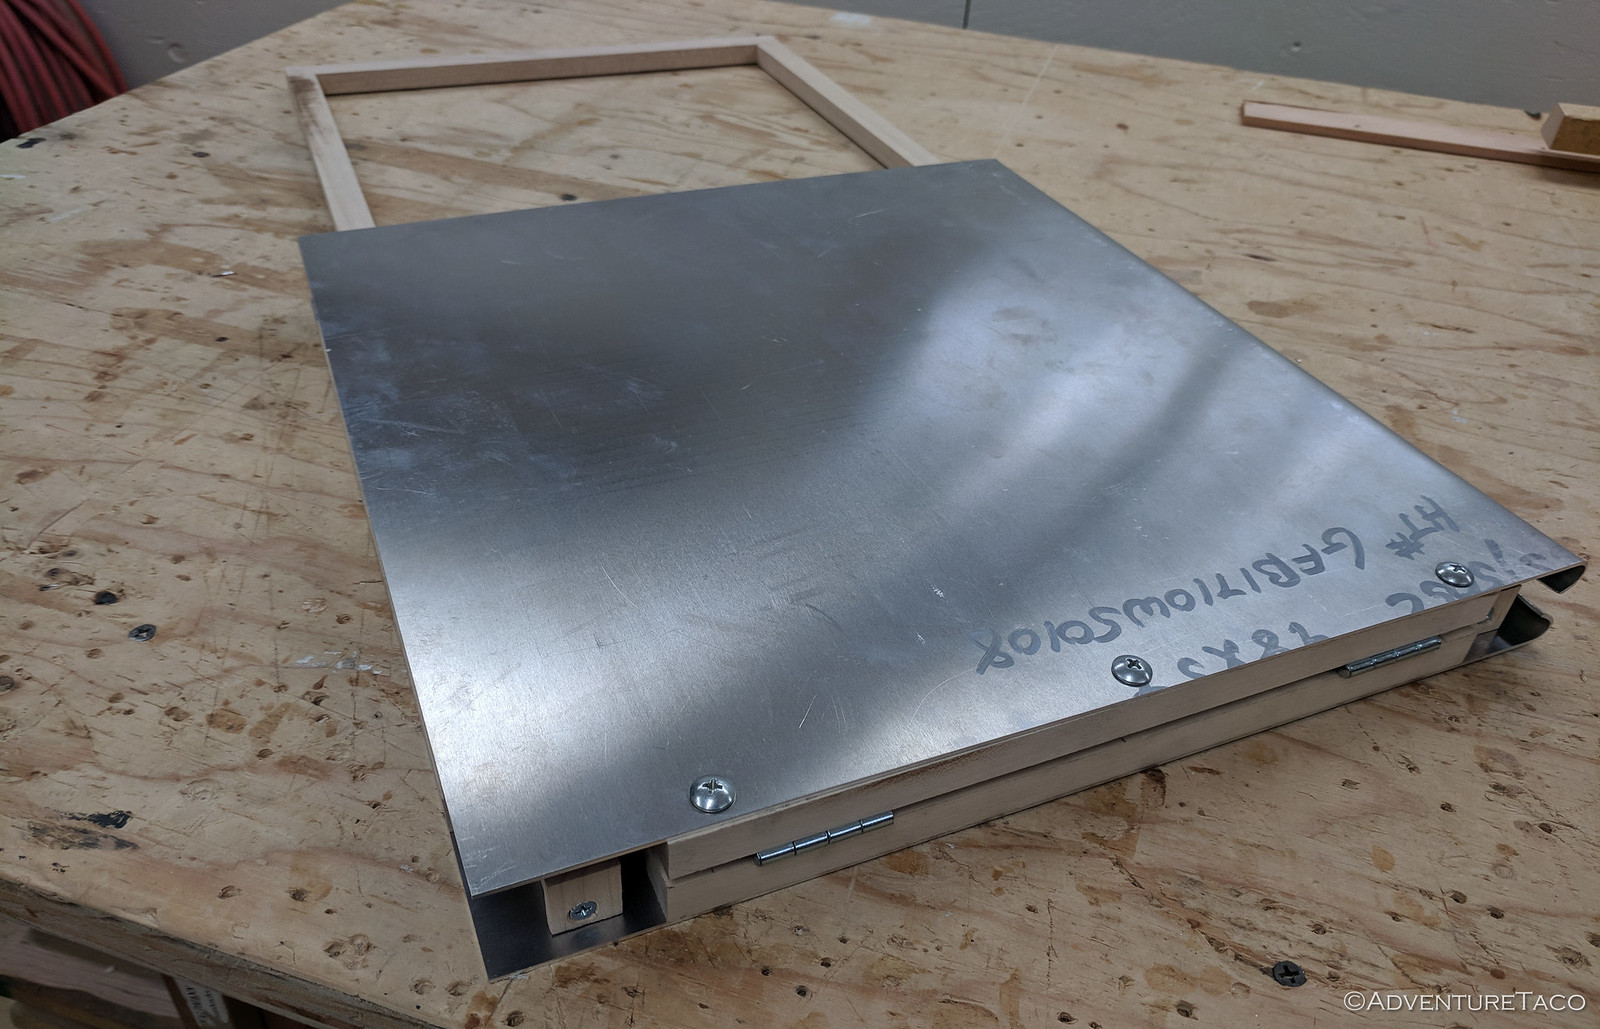
Whew! Now all that was left was to mount the table to the swing-out and make sure it fit!
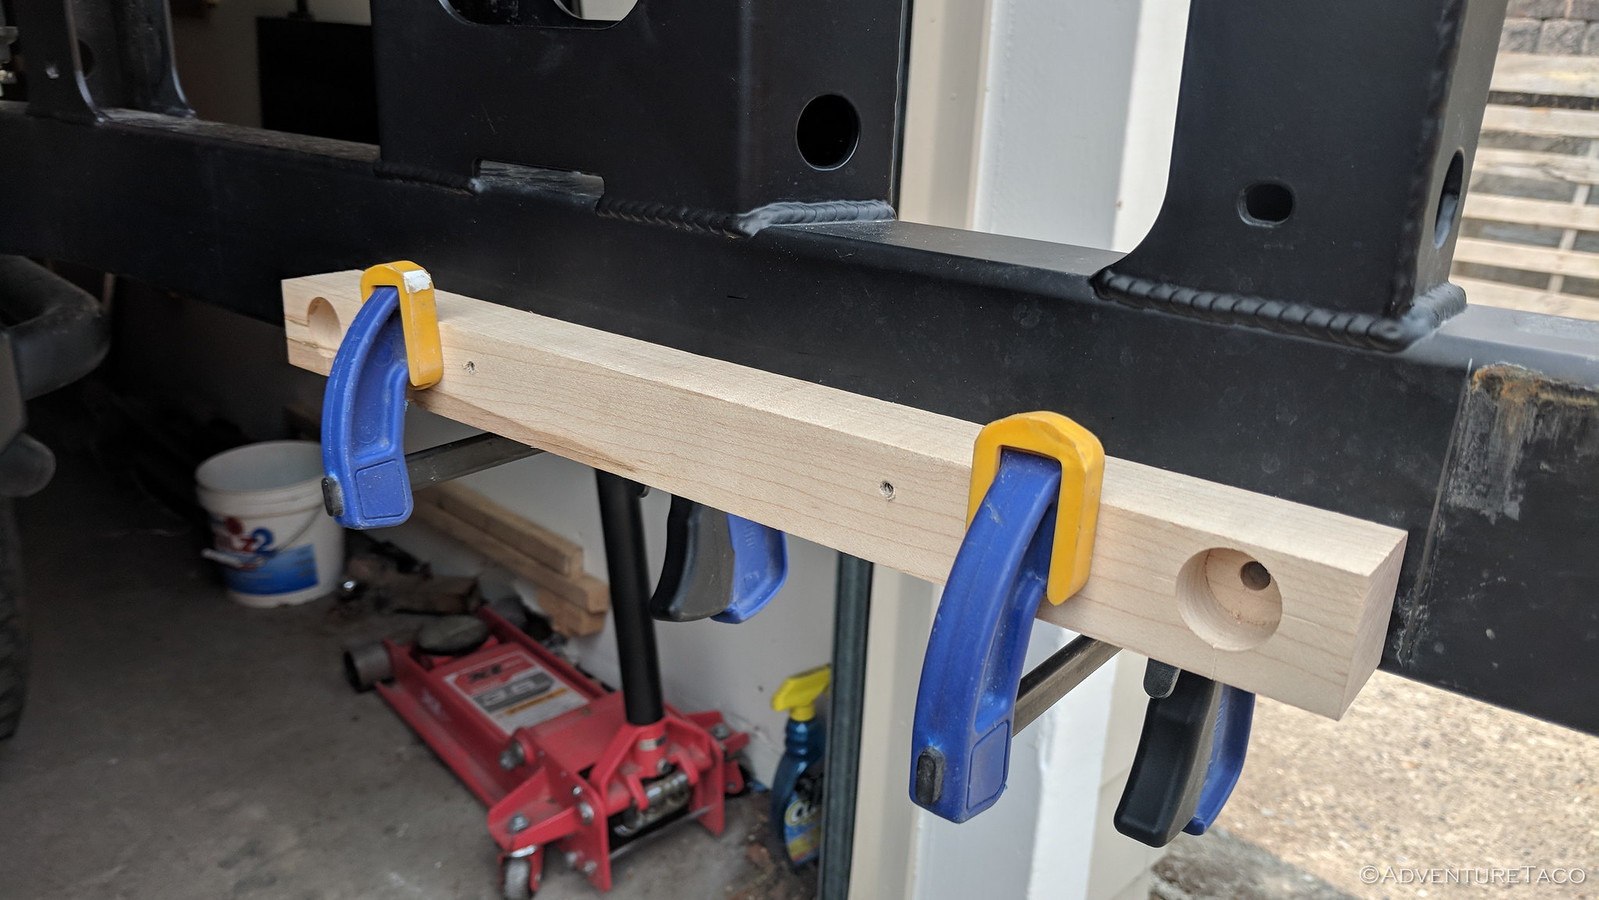
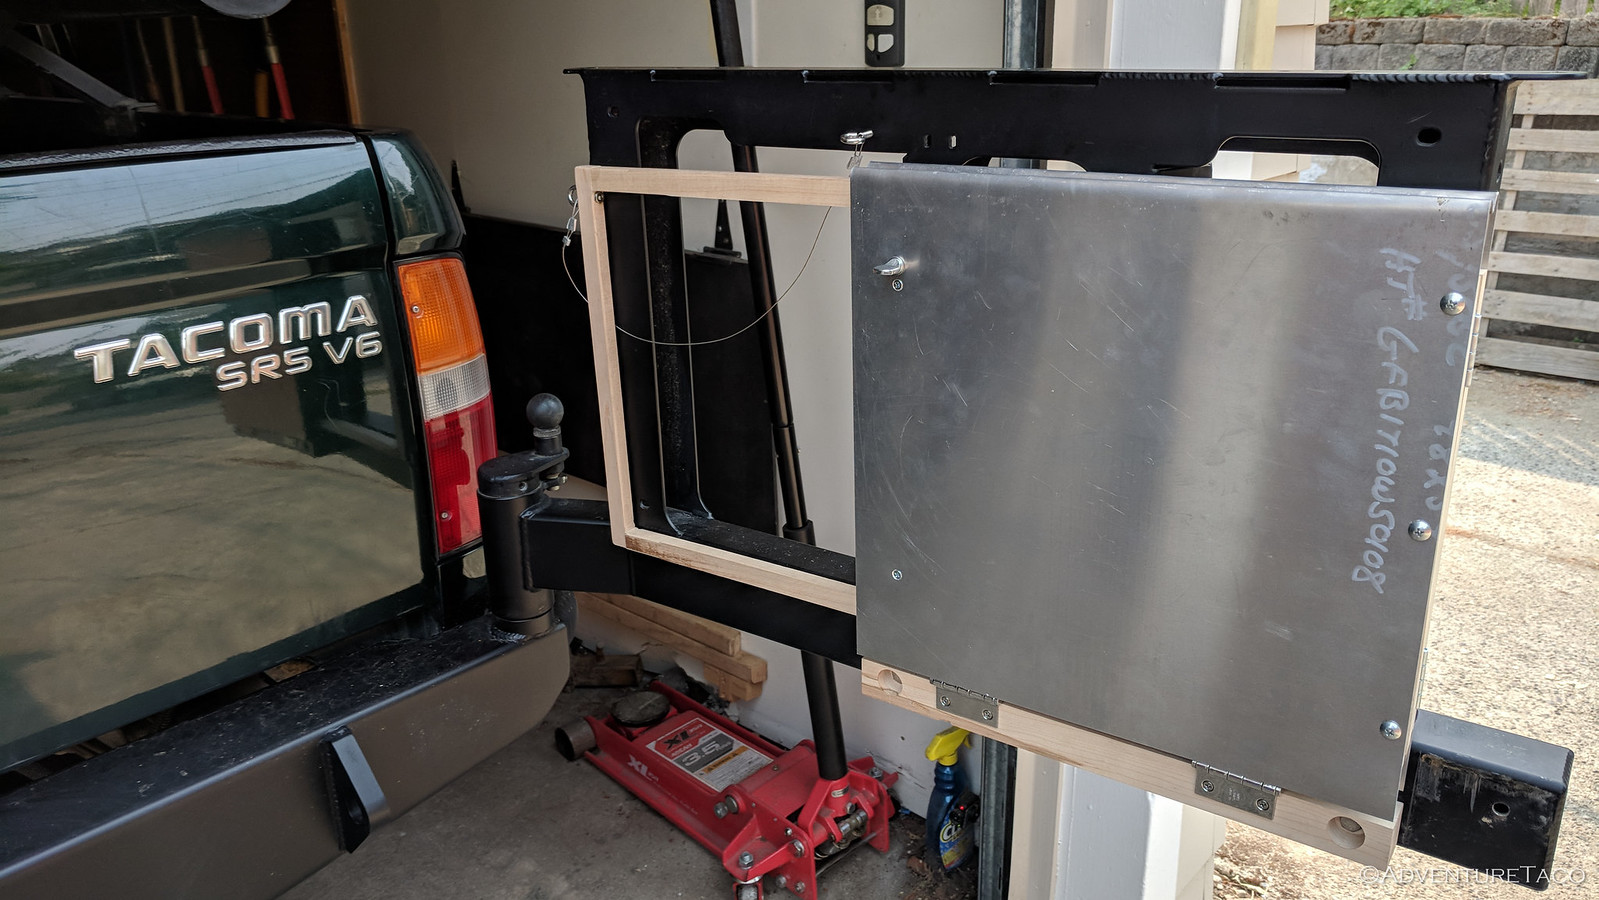
Following the trend so far of mixing materials, I played around with the hinges I'd picked up and decided that the best way to secure the table was going to be to mount a piece of wood to the swing-out, and then hinge off of that (and to the wood securing the runners on the table). So, I set about drilling holes for a couple of bolts in the wood and in the swing-out, and then tapping the swing-out to accept the bolts. In a future revision, I may use the Astro 1442 Rivnut tool instead of directly threading the swing-out; but this worked splendidly for now.

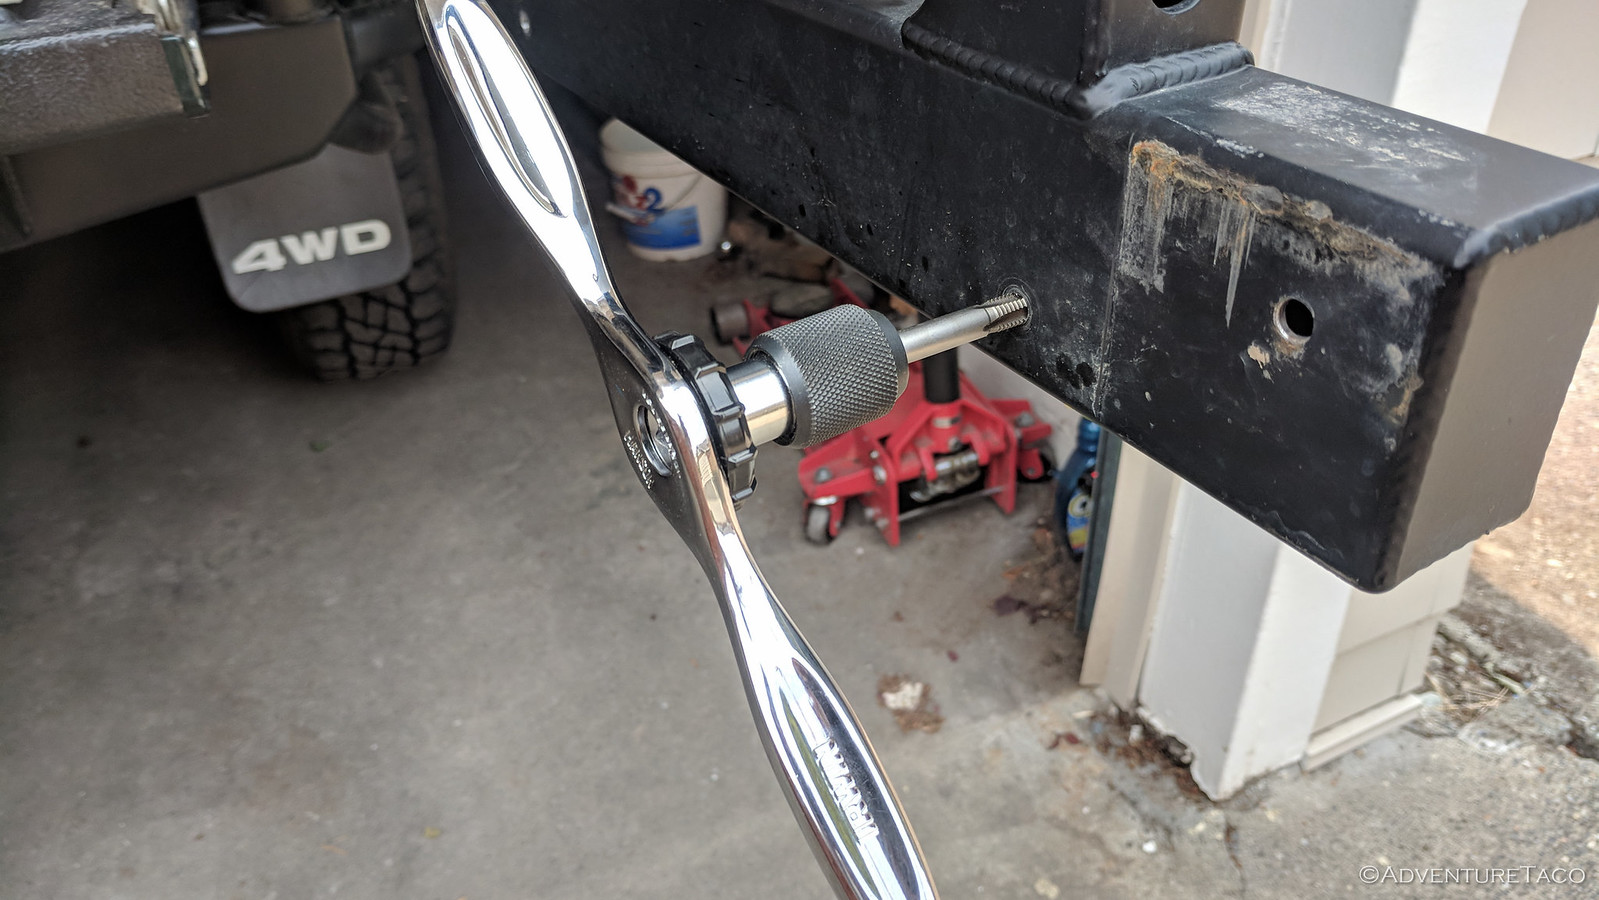
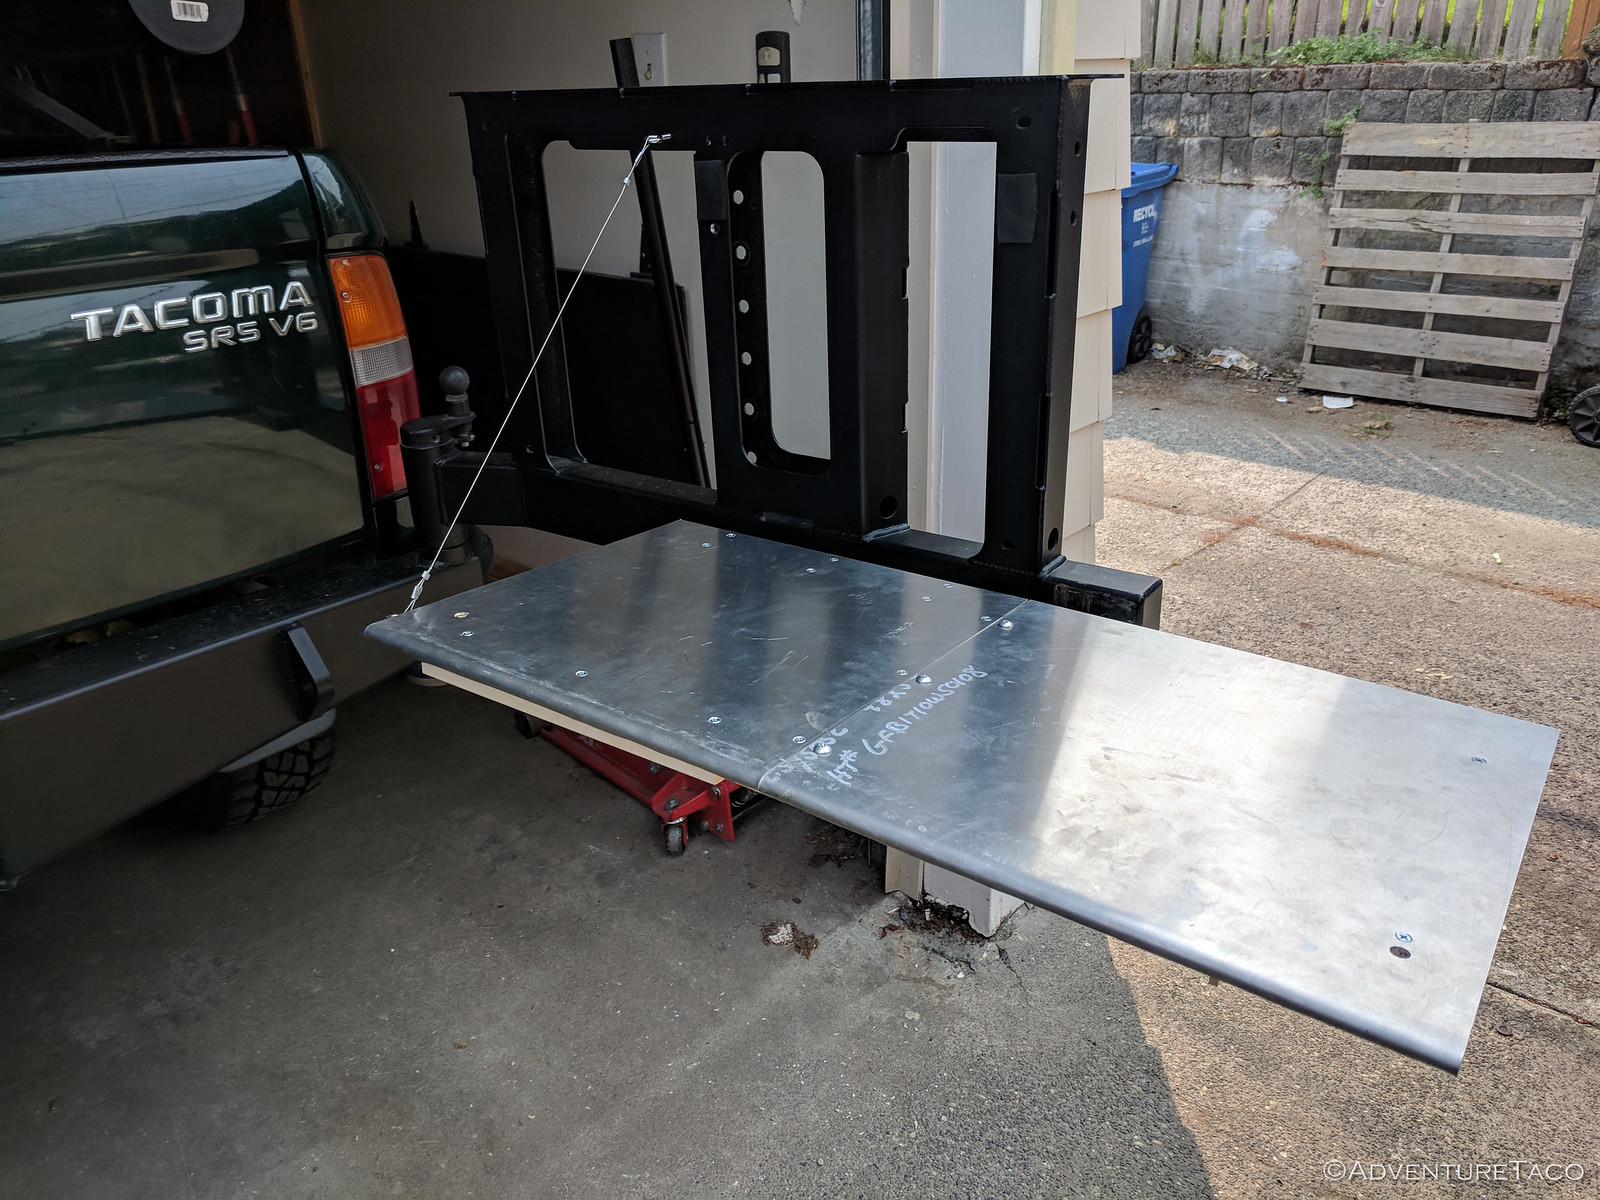
So now the table was attached, swung down appropriately and seemed to generally fit. But, I needed a way to keep it level when deployed. This of course is generally accomplished using some cable between the outer corner of the table and the bumper swing-out - and I accomplished it the same way. A couple of eye-bolts threaded into the appropriate places were all I needed.
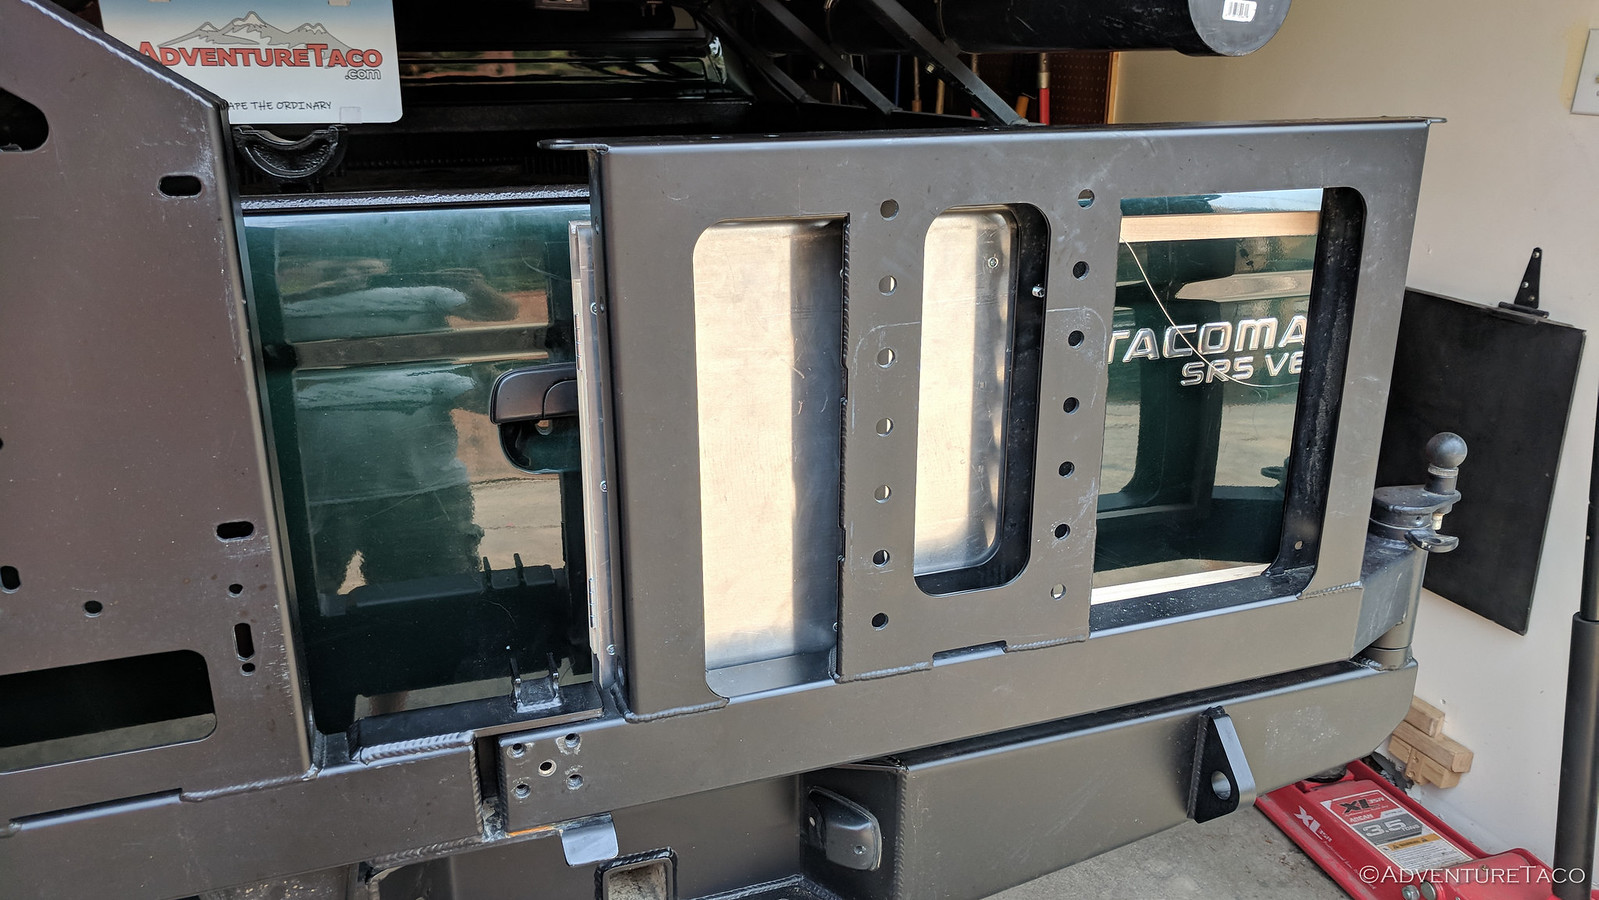
That left just one more step - a hole for a thumbscrew to hold it all to the back of the swing-out when not in use; an easy enough install the same way I'd drilled and threaded the other holes in the swing-out. Then, the table could be folded up and put away - so clean!
And with that, I was done! It seemed to work quite well, and will easily support the weight of the stove; though, probably not a ton more - it's definitely not something to sit on! In future revisions, my primary goal is going to be better support of the fold-out section of the table - as it is now, that side is a bit...diving boardy.
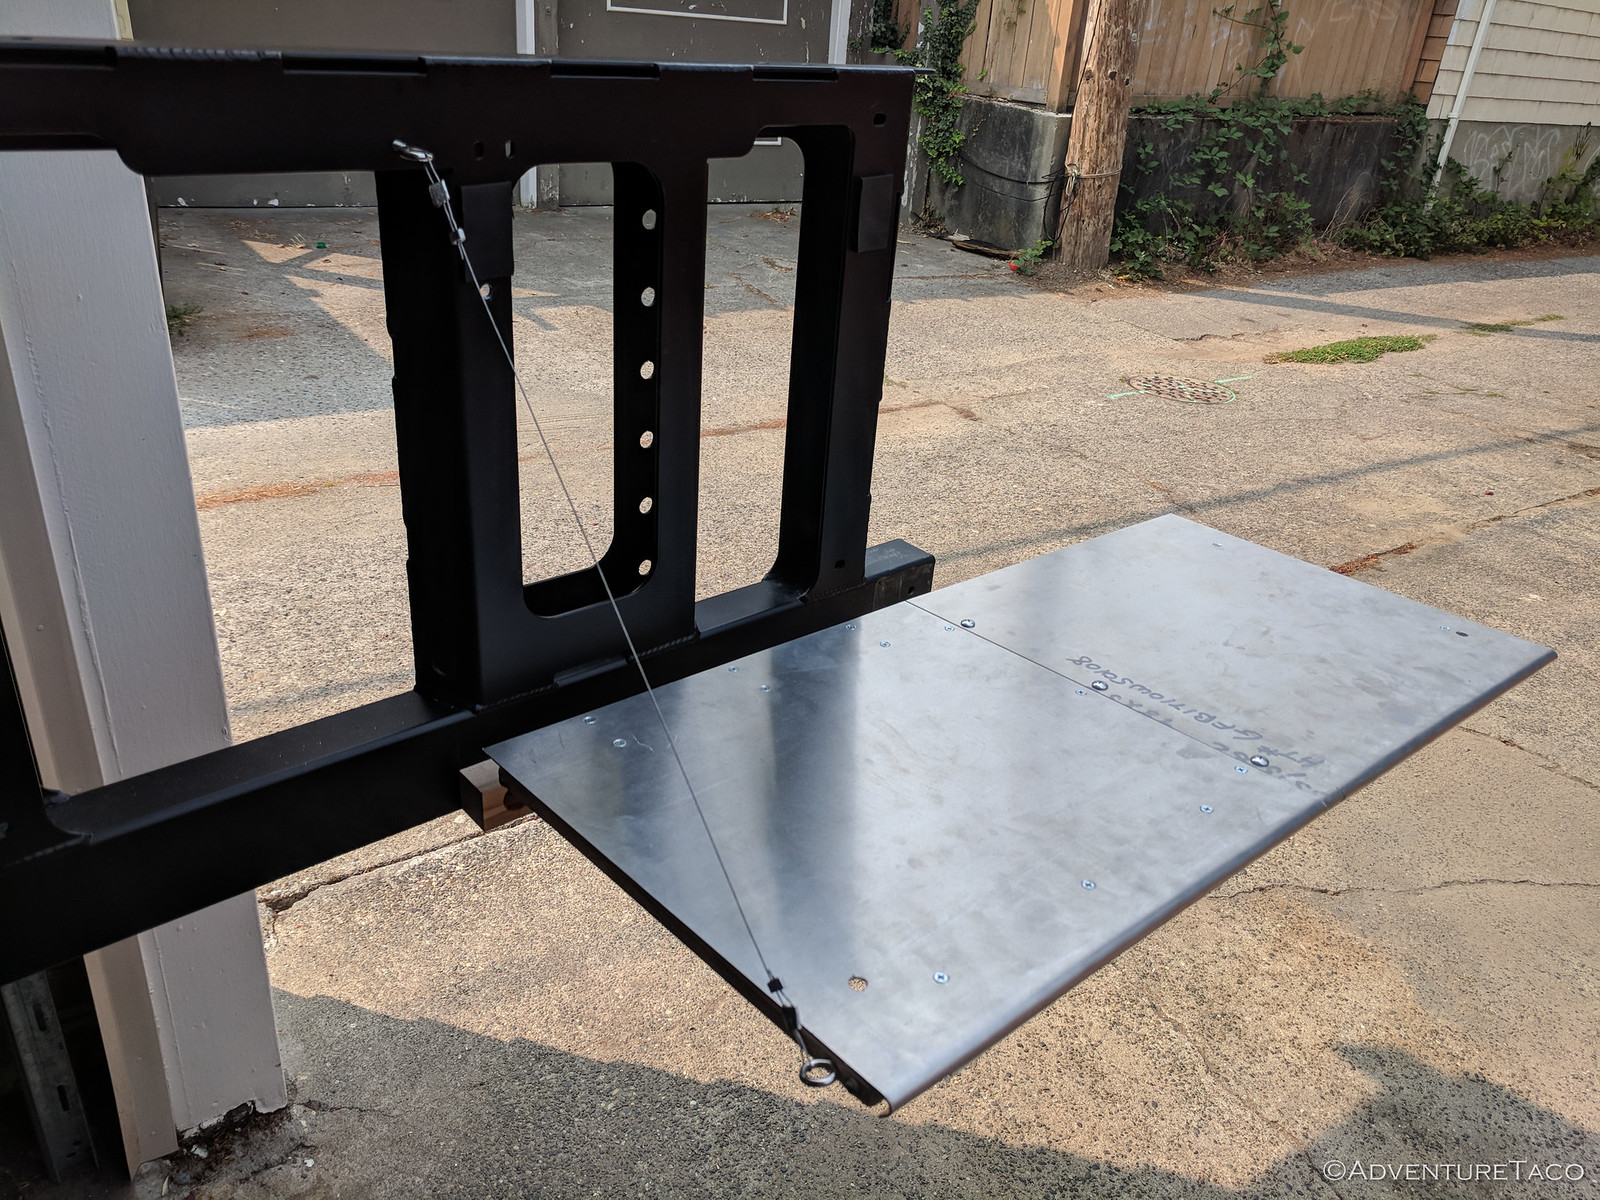
For $20 in aluminum and a bunch of scrap wood and hinges I had laying around, I'm currently mostly happy with the result. The next test, obviously, is to put it to use on a trip!
Very nice, indeed. Love your constant search for efficiency...I've spent much of my life and a lot of my fun striving for efficiency. I did have one idea since you mentioned that the hinged-out part was a little saggy. Could you round the already rounded edge even more?...enough to accept and keep a dowel or round piece of aluminum that would be inserted in from the end? UJ
Thanks, and thanks for the thought on the rounded over edge. Unfortunately, I'm not sure it would help - I've already got a support about 1/2" from the edge, so putting one in the round-over wouldn't do much more (I think).
You can see the support I'm talking about in this photo (from above if you want to see it in context)

I do have an idea for a steel support though - am planning to give that a shot in a few weeks.
I see your point and I think you're right. UJ