Any time any component of your A/C system is replaced, it's a necessary to recharge the system with refrigerant. This generally costs in the $150 range at the shop, but you can do it yourself for under $100 the first time, and have the necessary tools to do it for $20 any time after that! And, if you're doing it as part of replacing other parts of your A/C system, here's how you do it all: Tools and Supplies To recharge your A/C, you'll need the following tools: A/C Diagnostic Manifold Gauge Set - this gauge set would allow me…
10 CommentsArchives: Guides
The content in this guide was originally created by Leon @SpikerEng on TacomaWorld as a series of posts over several months. I've captured it here for two reasons: I want to make sure that, should anything happen to Leon's post, that we all still have access to this amazingly useful information. As happens in forums, the information Leon posted (over time) is interspersed with a bunch of commentary from others. By consolidating it here, it becomes easier to read. Note: I've slightly edited certain bits of content in order to make the "flow" easier to consume as a single post…
9 CommentsI can't tell you how many times I get asked if I have GPS (GPX, KML, etc.) files for one of the many trips I've posted, or specific coordinates for a cabin or petroglyph site. I totally understand why - I've been lucky enough to see some really cool stuff. And, when I see cool stuff posted by others, I too often wish I could just wave a magic want and know exactly where to go to see it myself! And so, since I understand the feeling, I thought it would be worthwhile to talk about why I don't share…
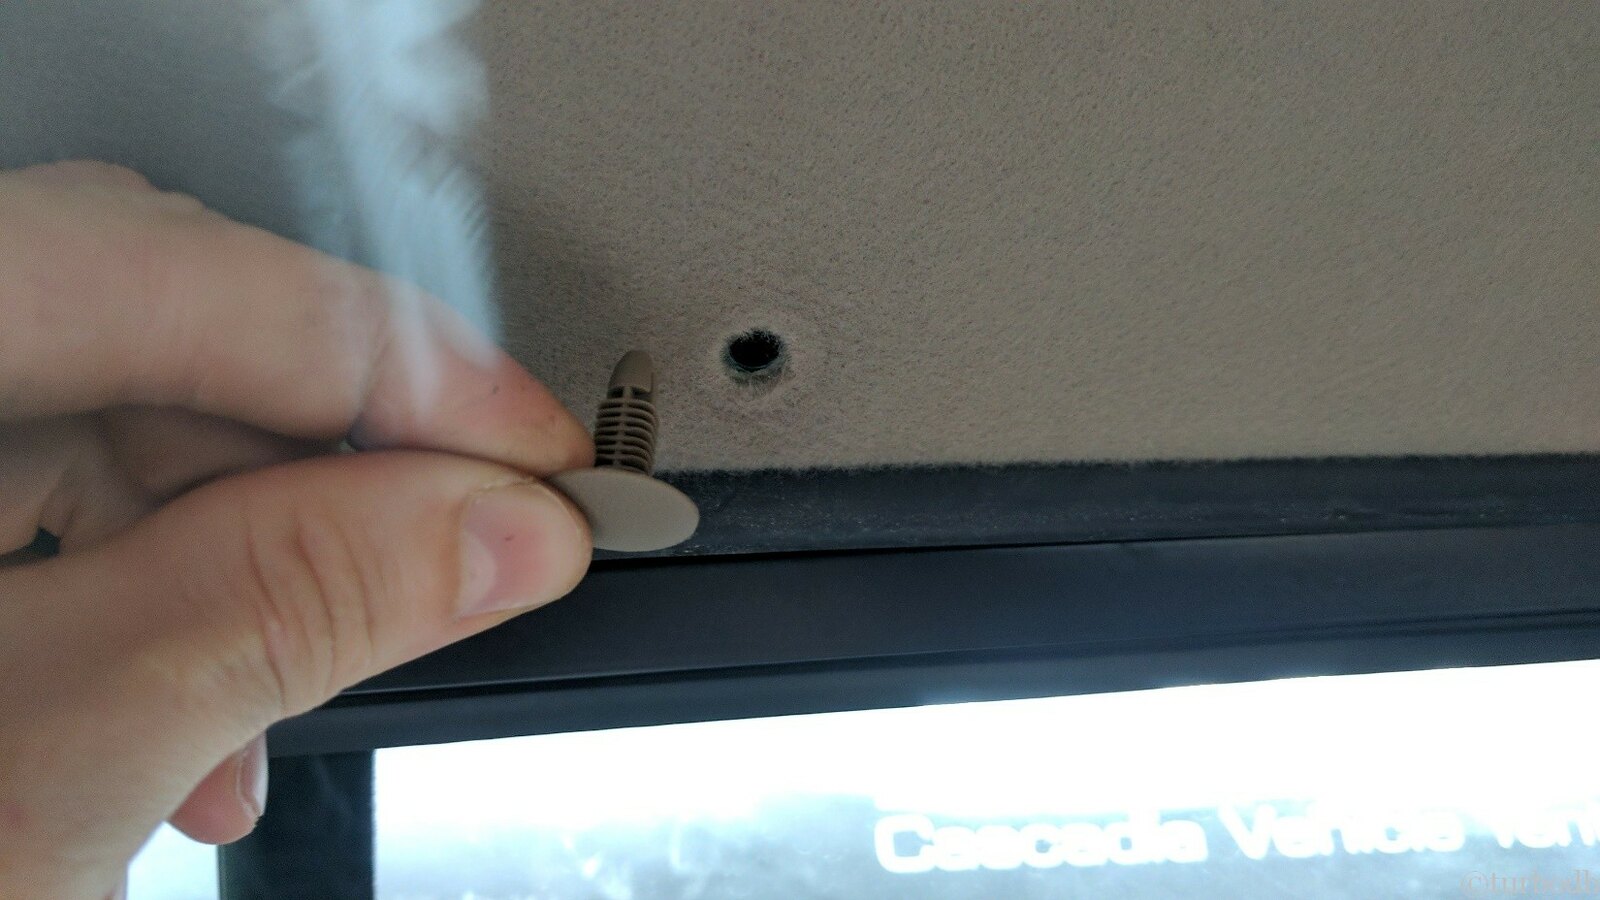
13 CommentsJuly 23, 2017. I needed to drill a hole in the roof of my truck. Crazy? Yes. Necessary: Yes. Curious why? I covered that here. So. Removing the headliner. I searched and searched for visual instructions on this and didn’t find any, though I did have the FSM info which turned out to be pretty reasonable. …armed with that, I got started. First I removed the passenger seat to get some room to work. Then, the two clips in the rear of the headliner. Next, I tackled the back panel. Tape on the end of my screwdriver really helped here.…
2 CommentsI don't know why, but not all manual transmission 1st gen Tacomas use the same spring to return the clutch pedal to the out position. Those equipped with a 4-cylinder engine use a linear spring (90507-14030), and those with a 6-cylinder use a torsion spring. The problem with the torsion spring isn't the spring itself - it's plenty strong and never wears out. Rather, it's the plastic bushings that capture the ends of the spring which eventually wear through, resulting in a squeaky clutch pedal, and eventually a clutch pedal that won't fully return to the out position. The solution…
6 CommentsI get asked by a lot of folks, some flavor of, "What do you pack when you go on a trip?" So, I thought it'd be a good time to run through what goes into the truck for an adventure. In fact, I think that a post once a year outlining the gear could be a great thing, so that's the plan. I'll break things into categories that make sense to me: The Truck Itself Sleeping Gear Clothing and Footwear Toiletries Camera and Electronics Kitchen Gear First Aid Basic Tools Basic Recovery Gear Oh Shit! Kit Water Miscellaneous Oh, and…
Leave a CommentI take a lot of photos. In fact, I've even described my approach to photography as, "If you take enough photos, some are bound to be decent." I stand by that statement, but it's not fair to suggest that quantity is the only path to getting high quality shots. Since I'm often asked what software I use and how I approach post-processing of my photos, I figured that a step-by-step guide - of sorts - that walks through my process could be beneficial. I'm No Expert Before getting into my workflow, it's worth mentioning that I'm largely self-taught with Lightroom.…
Leave a CommentIn the first part of this series, I outlined the components necessary for adding a 12v house electrical system to a Tacoma (or any other vehicle). This time, we'll walk through the specifics on how to do the actual installation of those components in a way that will stand up to the abuse of truck used for adventure. Just a Bit of Background This is my second take at a house electrical battery system installation in the Tacoma. My first system was based around a 12v AGM battery and worked well for more than 6 years. In fact, it worked…
4 CommentsThis guide is a little different than most. Since lithium batteries are still relatively new, less well-known technology, I'll cover break the guide into two parts: Background on LiFePO₄, and an overview of the components that I decided on - which work with any battery technology - in order to build out a kick-ass 12v house electrical system. Installation of the components, and important considerations when assembling a 12v house electrical system. Six years ago, when I initially installed my house battery, it allowed me an entirely new sense of calm when I was in camp at night. No longer…
9 CommentsIf you own a Toyota Tacoma - and especially if you drive it off-road or with any kind of lift - you're likely to have a CV axle boot crack or split at some point, flinging grease everywhere and making a royal mess. I was lucky enough to have it happen on the first day of a two week trip to Anza-Borrego. Winning! Once this happens, you essentially have three options: Do nothing. This is the route a lot of people take, sometimes because they don't even notice the problem. For me of course, it wasn't an option. Buy an…
51 CommentsReplacing the fuel filter on a 5VZFE Tacoma or 4Runner is an easy project, and one that I'd put off for way too long before doing for the first time recently. Personally, I'd recommend changing your fuel filter at the same time you do your timing belt - every 90K miles or so - just as preventative maintenance, and to keep your fuel pump and engine running as smoothly as possible. Of course, if you're in a very dusty environment, every 30K may be a better interval. The process is straight forward - remove the old filter and replace it…
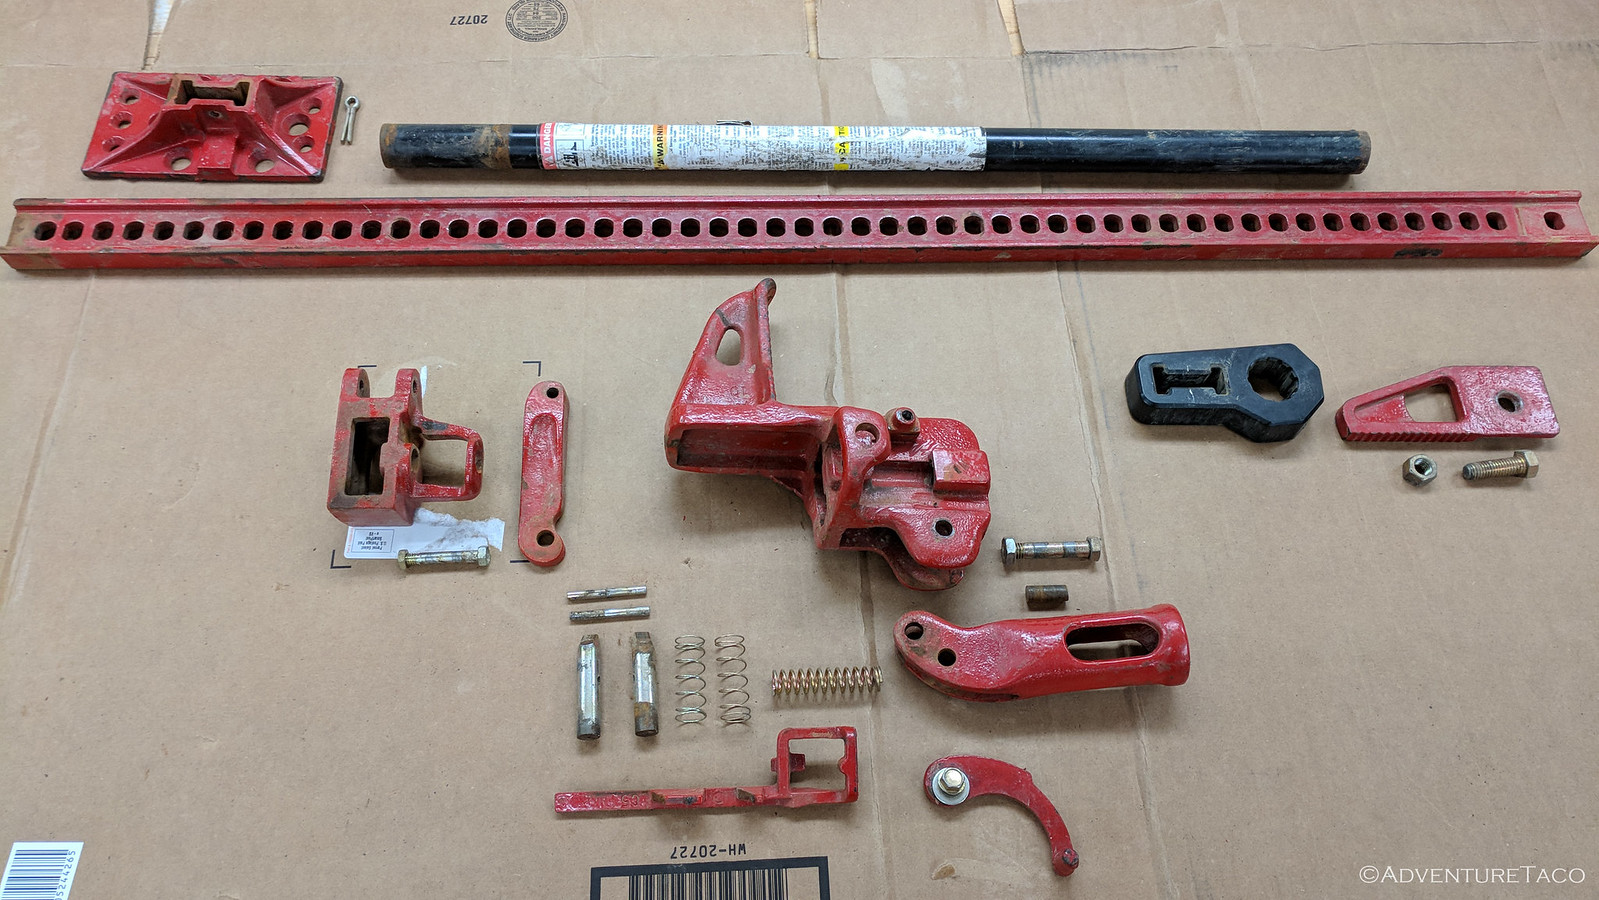
14 CommentsNovember 23, 2018. It's amazing how many Hi-Lifts I see driving around the Seattle area. If you didn't know better, you'd think all these folks took their vehicles off-road! Of course, for the majority of them, the Hi-Lift has achieved maximum purpose and use in it's mounting and visible expo factor on the vehicle - but for some, it becomes a critical safety and recovery tool when on an adventure. For those folks, it's important to keep the Hi-Lift in top shape. That means servicing it on a regular basis, ensuring that all parts are in good working order -…
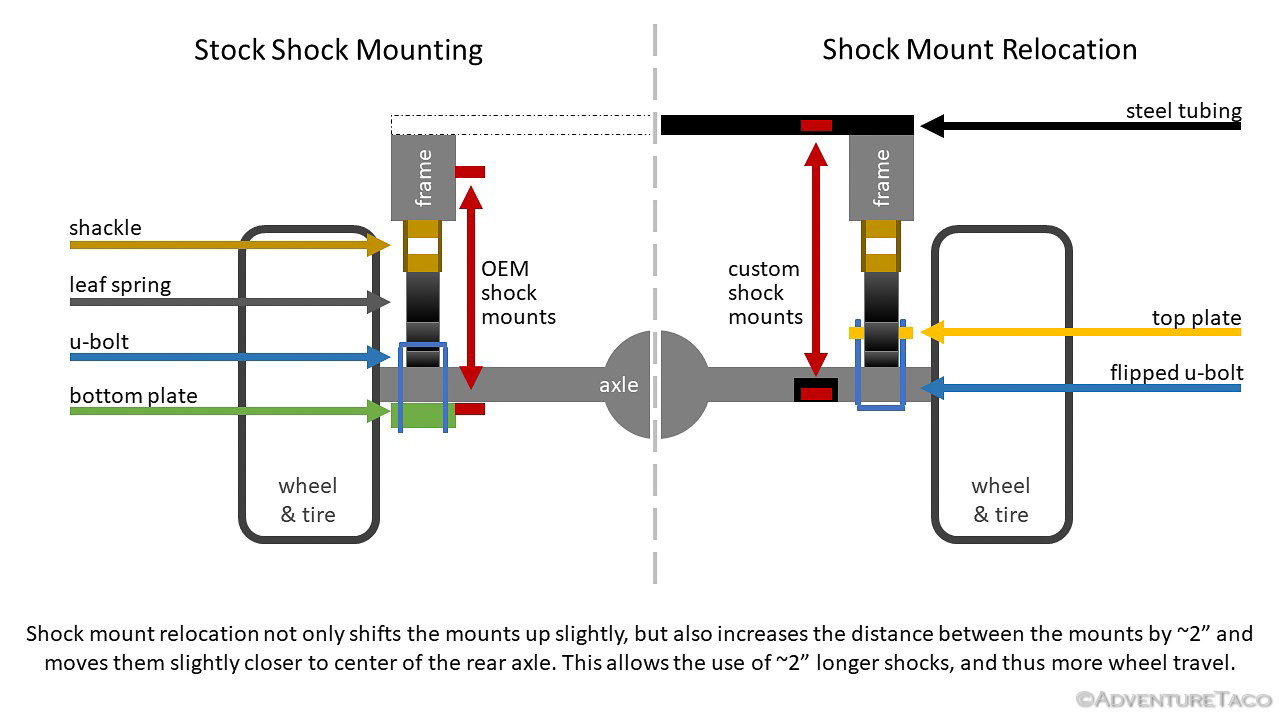
3 CommentsI recently relocated the rear shock mounts on my 2000 Toyota Tacoma, and it didn't go so well...at least the first time. I didn't get the mounts in quite the right position (you can read the whole story here) and that meant cutting them off and doing everything a second time, the right way. Learn from my mistake. Here, I'll outline the proper steps (in a printable format - check out the story above for photos of the process) to relocating rear shock mounts on a 1st gen Toyota Tacoma - though, the steps are the same for any truck…
Leave a CommentThere are several reasons to install extended wheel studs on a Tacoma, but most commonly they are installed in order to run wheel spacers. Wheel spacers are installed to push the wheel away from the frame, either to achieve a more aggressive stance for the vehicle or to prevent rubbing of the tire/wheel on the frame or suspension components. Whatever the reason, the process is relatively straight forward, and this guide walks through the process, highlighting several important aspects, and providing tips along the way. The Parts - Wheel Studs and Spacers The first thing to determine is the desired…
Leave a CommentJune 12, 2018. Route planning for an offroad adventure can be daunting to say the least. Just finding a geographical area to explore is often time consuming, and that doesn't even take into account the time spent figuring out the cool things to visit in that area and how exactly to get to those things (i.e. the actual route). Oh, and then there's navigating that route when you're out in the wild - often without any type of internet connectivity. Because of this, two of the most common questions I see on the interwebs are: How do you plan your…
2 CommentsJune 15, 2018. For part 1, see How-to: Planning a Trip/Route (with Google Earth, GPX, KML, and more) So, you've done your research and created a route that you're super-jazzed about. If you're anything like me, it's taken you days. Or weeks. Months of work (on-and-off), even. That's awesome - you're in a small class of folks who do detailed route planning. Now it's time to get out there! You know, like this... Seriously though - the hard part is done, now comes the fun part - seeing the beauty that nature has to offer. Here I'll cover how I take…
7 CommentsFebruary 2, 2019. This is the third post in the Planning a Route series. If you haven't caught the others, it's probably worth reading at least Part 1 - Planning a Trip/Route Part 1 (Google Earth, GPX, KML, and more) - before making your way through this one, since we'll be building on some of the information there. Like anything in life, the more routes I've planned, the more efficient I've gotten. Sometimes it's just learning keyboard shortcuts or faster ways to do the things I was already doing. But sometimes, it's learning a whole new workflow that really saves a bunch…
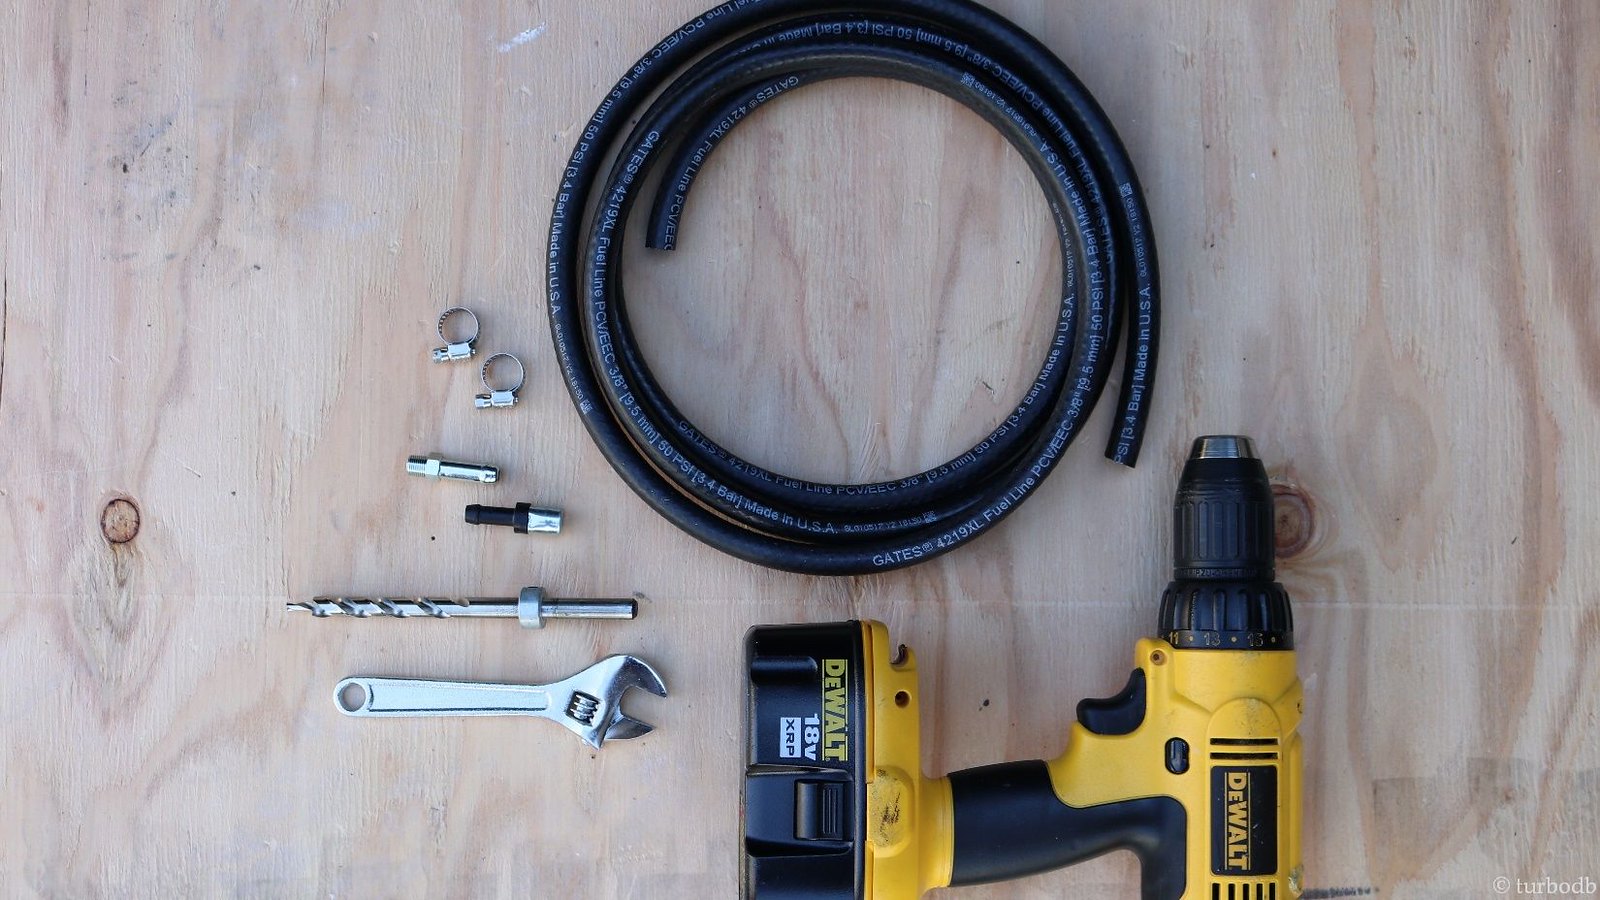
2 CommentsIt seems like just about everyone does this mod sooner or later, and I chose a little later. 17 years a little later. The fact that we have to do this mod at all is a bit unfortunate. Designers at Toyota placed a breather for the rear differential right on the diff housing, which means that if you submerse the diff in water when it's hot, the contraction of air in the diff could suck water into the diff, destroying it. Sounds great, right? Yeah, clearly no. The fix is pretty simple: add an extension to the breather to move…
19 CommentsI've discussed the trade-offs between disposable and rebuildable shocks in the past as I've replaced spherical bearings in my ADS coilovers, but I've never walked through the process of actually rebuilding the internals of a smooth body shock before. But, now that my shocks have absorbed some ~80K miles, it's time to rebuild and revalve them - so they can provide the same great service in the years to come, as they carry me and my stuff over thousands of miles of dirt roads. Related Guides Every shock manufacturer makes their shocks a little differently. I originally learned how to…
Leave a CommentI've discussed the trade-offs between disposable and rebuildable shocks in the past as I've replaced spherical bearings in my ADS coilovers, but I've never walked through the process of actually rebuilding the internals of a smooth body shock before. But, now that my shocks have absorbed some ~50K miles, it's time to rebuild and revalve them - so they can provide the same great service in the years to come, as they carry me and my stuff over thousands of miles of dirt roads. Related Guides Every shock manufacturer makes their shocks a little differently. I originally learned how to…
2 Comments


