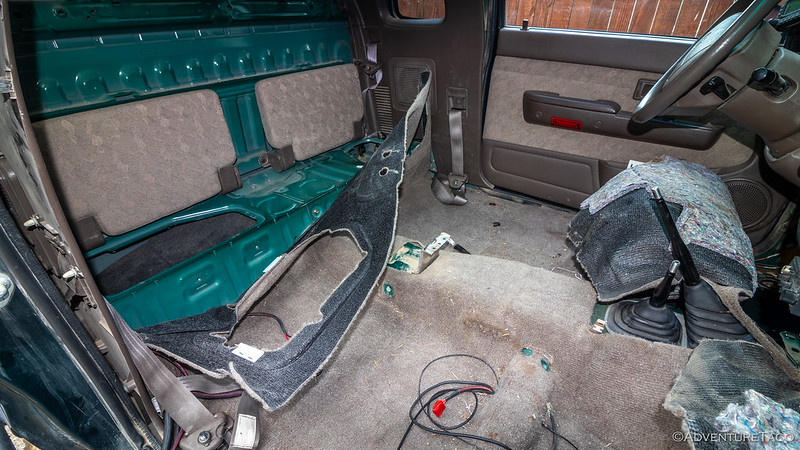
I like to keep the cab of the Tacoma tidy. And, I'm not great at keeping the cab of the Tacoma tidy.
Really, I think most folks would say that the inside of the Tacoma is amazingly clean-looking given all the adventuring I do, but to me it always feels dusty and a bit of a mess. I've added various containers in order to contain some of the chaos - largely in the extended cab area, with the 12v house battery box and some cardboard storage containers for our clothes - but one of the things I haven't ever done is figure out a good charging solution for the tablet that I have mounted on the dash for navigation.

This works well enough, but I've never liked the stray wire leading to the glove box.
The current setup was convenient in that the USB cable for the tablet connects to one of the USB ports on my Kenwood head unit, leaving the two USB ports on my dedicated charger for other devices. However, that convenience came with two drawbacks: the unsightly cable snaking down from the tablet into the glove box, and an error message that comes up on the Kenwood head unit every time the tablet is connected, alerting me to the fact that an "Unsupported Android device was detected."
Dismissing a dialog every time I connect the tablet or restart the truck - sometimes a few dozen times per day - and wasting hours of my life doesn't bother me at all, but that unsightly wire really bothers me.
How really? So much that I've decided to fix it (after 8 years). I guess that's not very really.
To solve the problem, I wanted to install a low-profile, future-proof, USB charger on the top of the dash - so it would be hidden by the tablet - that would fast-charge devices and not interfere with the climate control ducting that's directly under the dash. It was surprising difficult to find such a charger, but I eventually settled on a Linkstyle surface mount USB-A/C 18W Quick Charge 3.0 + 18W PD 3.0 charger, which seems to me to just be one of several similarly-branded chargers that comes out of a factory somewhere overseas and gets reasonably good reviews.

Marketing material. I especially enjoy the "easy installations." 
There were a few other bits and pieces that I needed to pull together as well, all of which I had around from other projects:
- Linkstyle surface mount USB-A/C 18W Quick Charge 3.0 + 18W PD 3.0 charger
- Electrical Wire (18ga) - I used red and black, but any two colors would work just fine.
- 1/4 inch braided wire sleeve - to protect the 18ga wire.
- Heat Shrink Glue Lined Variety Pack - To secure the braided wire sleeve at each end.
- Wire blade connectors (assortment) - I used two piggy-back, two spade male, and two spade female.
- Some copper foil tape - to shield some of the RFI (Radio Frequency Interference) and EMI (ElectroMagnetic Interference) from the USB charger.
- A soldering iron.
- Some solder.
- A crimping tool.
- Wire cutters and striper.
- A drill - to drill a hole into the dash. (#omg)
- A 3/8-inch drill bit - I used a spade bit, but any 3/8-inch will do.
Everything in hand, it was finally time to figure out how "really" bugged I was about not having a charger on the dash, because it was time to drill a hole in my dashboard.

It'd be nice if there were a charger right there on the dash, next to the Ram Mount.

Taking apart the dash is easy (here's how) except for removing the climate control faceplate.

Every time I drill into the interior, I cringe.

Came out clean.
With the dashboard prepped, it was time to prep the charger itself. There were two things I wanted to do: first, I wanted to line the entire charger with copper tape - effectively creating a faraday cage around the electrical components - to reduce the EMI and RFI that would be thrown off. Second, I wanted to add a couple of crimp-on connectors to the wires, which would connect the charger to the wiring harness.

Working with the copper tape was a lot of fun.

Charger - minus the cover - in place!
With the charger in place on the dash, I made a quick wiring harness. There wasn't anything out of the ordinary in this process with one exception: I figured out a cool way to source power for the USB charger.

A quick harness.

By using some piggy-back connectors, I was able to pull power from the same circuit that powers the USB charger I installed into the cigarette lighter location.

Clean!
Using a few zip ties to secure the wiring harness behind the dash - I don't want any rattling on the trail (!) - I reinstalled the various connectors, screws, and clips that secure the dash trim, and plugged everything in to make sure that both the new and existing chargers were functional.

Working great, and no wire running to the glove box!
Given how easy the entire process was, I probably should have done it 8 years ago. Oh well, long live procrastination.
In this Series


That’s a very nice looking tablet holder but how does the tablet not bounce out on rough roads?
Thanks Greg! I don't know if I ever wrote up details on the tablet holder, just because it's so custom... but the construction is reasonably straight forward as you can see in these two photos in the story above:
Just a piece of wood large enough to mount to a RAM Mount, and a wooden cradle on the bottom that the tablet fits into snuggly. (Note: I've modified this cradle a few times as I've gotten different tablets, because the snugness matters to keep the tablet situated.)
However, while the snugness is important, the key to the whole thing is the rare earth magnet that you can see above the top/center screw that holds the cradle to the RAM Mount. I've taped a piece of very thin steel - originally sold to mount a phone to a magnetic holder on the dash - to the back side of the tablet in that location, and the magnet does a great job of latching onto that and keeping the tablet in place, even on the bumpiest of roads. In fact, the RAM Mount is always the first to let go; the tablet never bounces out.
Hope that helps explain it! 👍
I figured it had to be a magnet.
On my 2017 Sprinter I glued a dowel across the indentation above the dash and mounted ram mounts for tablet and phone.
Works great but looks a bit hokey.
Thought I’d keep the Van forever but been trying to sell it for over a year now.
My new rig is being built right now.
2021 Ford Ranger/Enduro Camper. San Luis Obispo.
These are the projects that make all the difference.
Totally. We spend so much time in these trucks, it's nice to have the little niggly things sorted. 👍
Absolutely...and they are the most fun projects to think of and complete.
Drilling into the Dash scares the heck out of me. I added a USB board a few years back that is mounted in the console. I like your device better!!
Scares me too! Hopefully it lasts a long time and I forget that I ever did it! 🤣
I have a hole in the top of my dash for wires to ham rig mounted up there. That hole was as painful to make as the big one in the fender for the snorkel.
Hmm copper shielding, would not have thought of that, cool. Known issue or belt and suspenders? I have one of these (linked below) mounted in the dash and haven't discovered an issue yet... maybe the dash is shielding it. https://www.amazon.com/gp/product/B07ZRQQFTF/
I wouldn’t say the RFI is a “known issue “, but I’ve run into it before with other USB chargers, and an initial test with this one running off of a 12 V bench power supply showed that it also gave off significant interference to the ham radio when actively charging the tablet.
Here was the experience I had with the other USB charger: https://adventuretaco.com/mod-wars-usb-charger-blocking-ham-radio-communication/
Hey thanks. Checked out your linked post on tracking down the issue, great info to have in my back pocket. Have some friends I will send that to in case they have issues pop up.