December 4, 2017.
Having recently installed bigger-than-stock tires, it was of course clear that I needed to do something to get them to fit up front, even before I get my new wheels installed...
I mean, they didn't rub when driving on perfectly level ground which was nice, but pair a turn with some articulation of the front suspension and I had a bit of rubbing (just discernible on the bottom of the plastic) in the rear of the wheel well (like everyone).
The "normal" solution is to cut out the rear of the fender liner and bash down the pinch weld, giving another 1-inch or so clearance for the tire. I was going to do just that with a twist - instead of cutting out the plastic fender liner, I'd reshape it once the pinch weld was gone, so that it'd continue to protect the wheel well.
At least, that's the hope. 
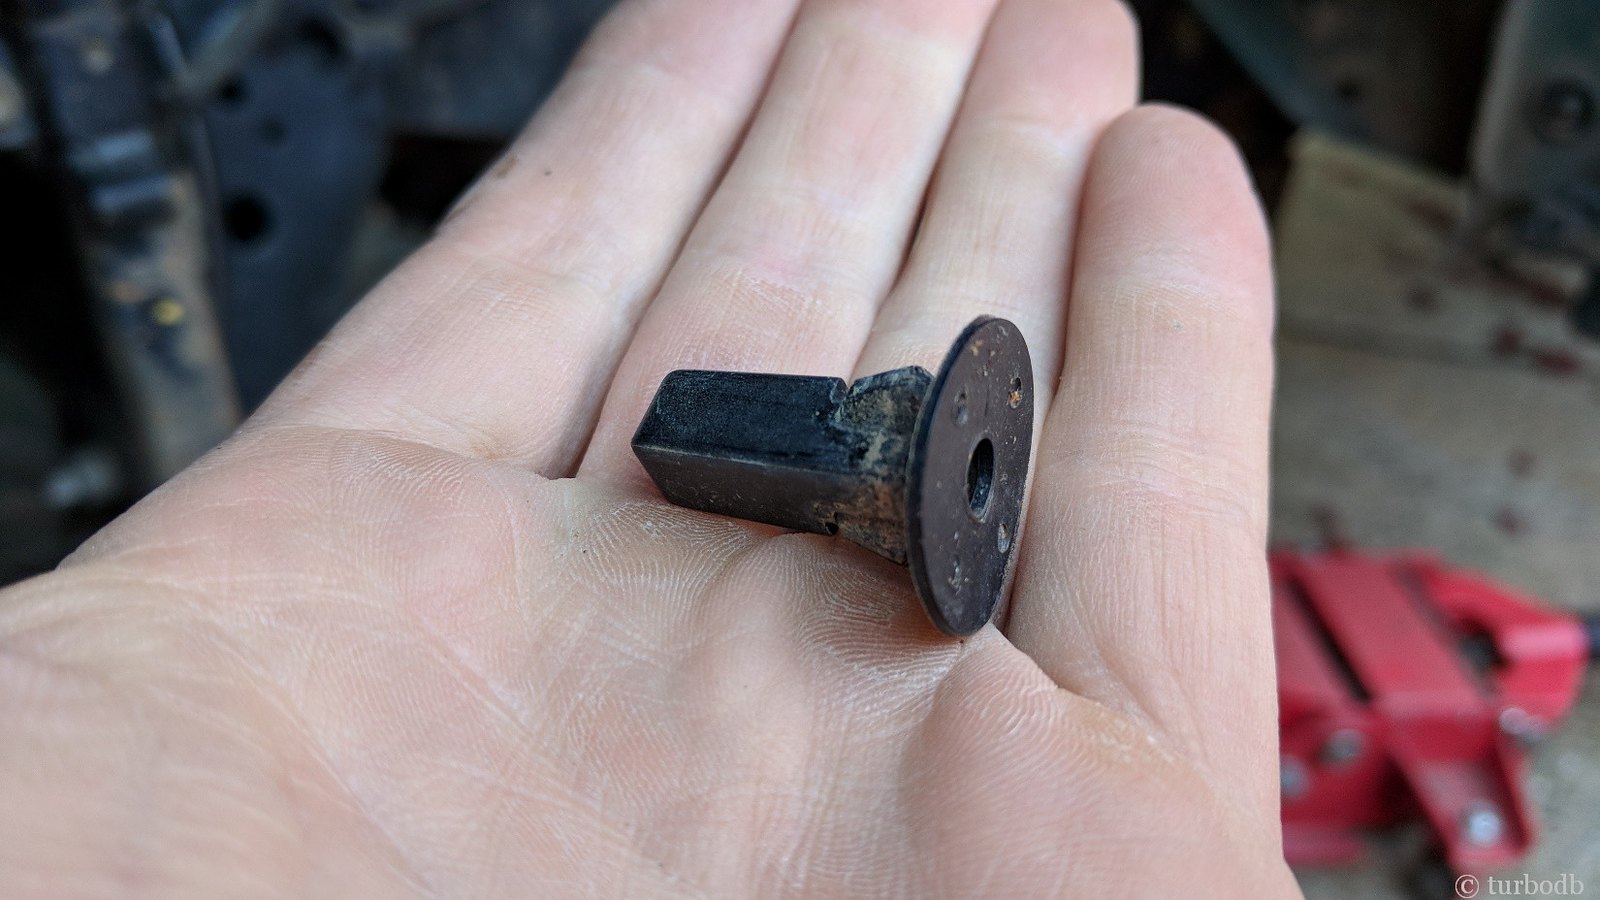
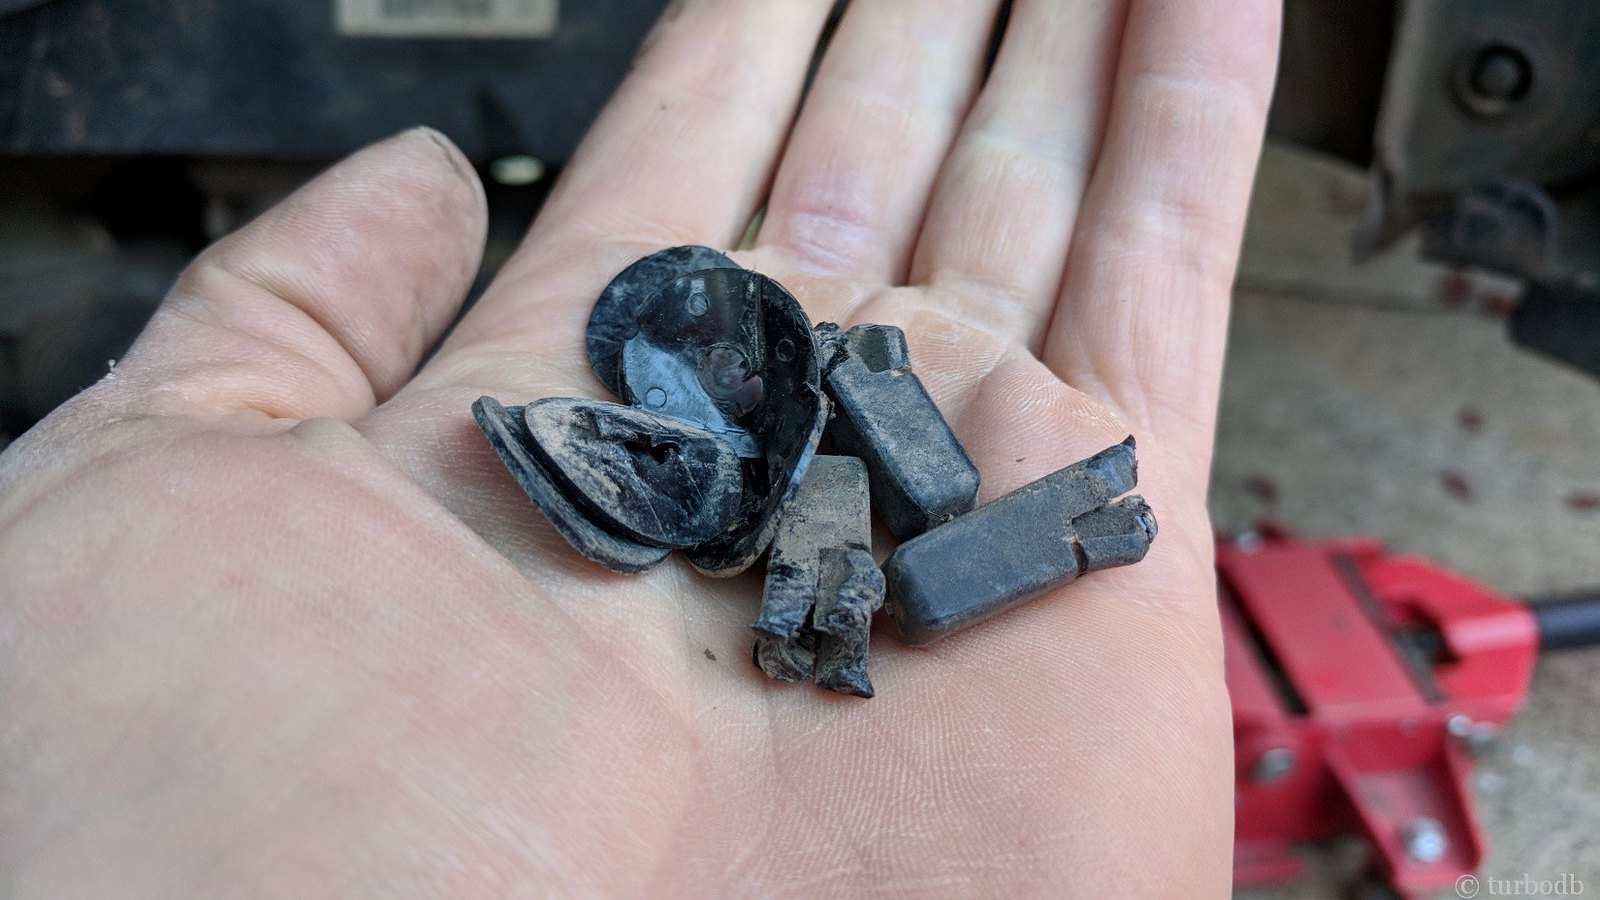
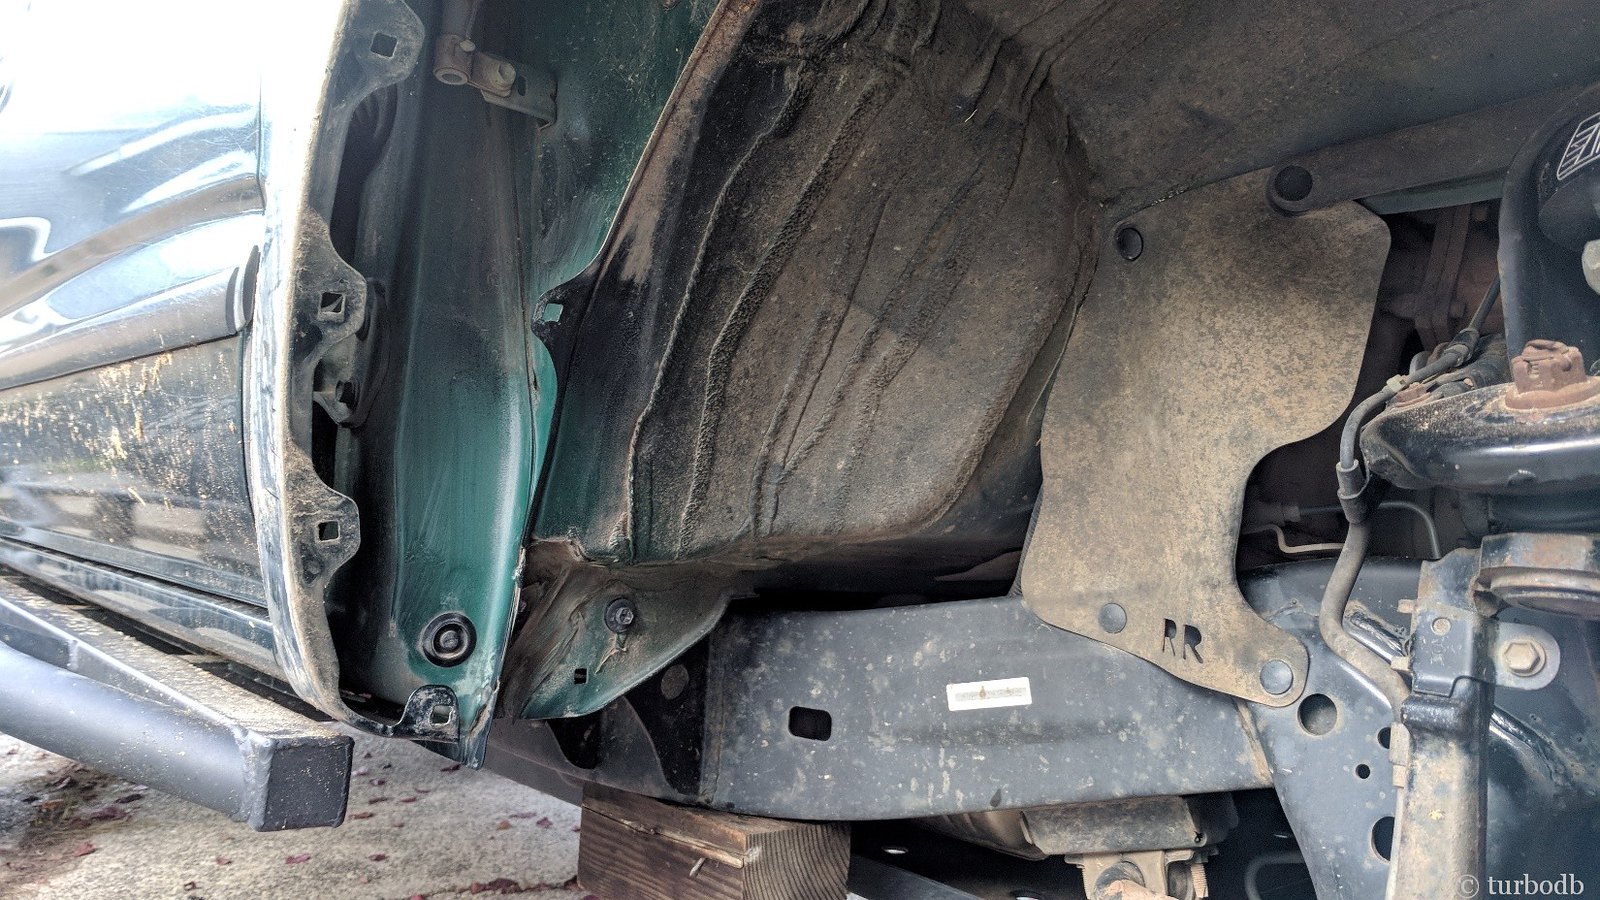
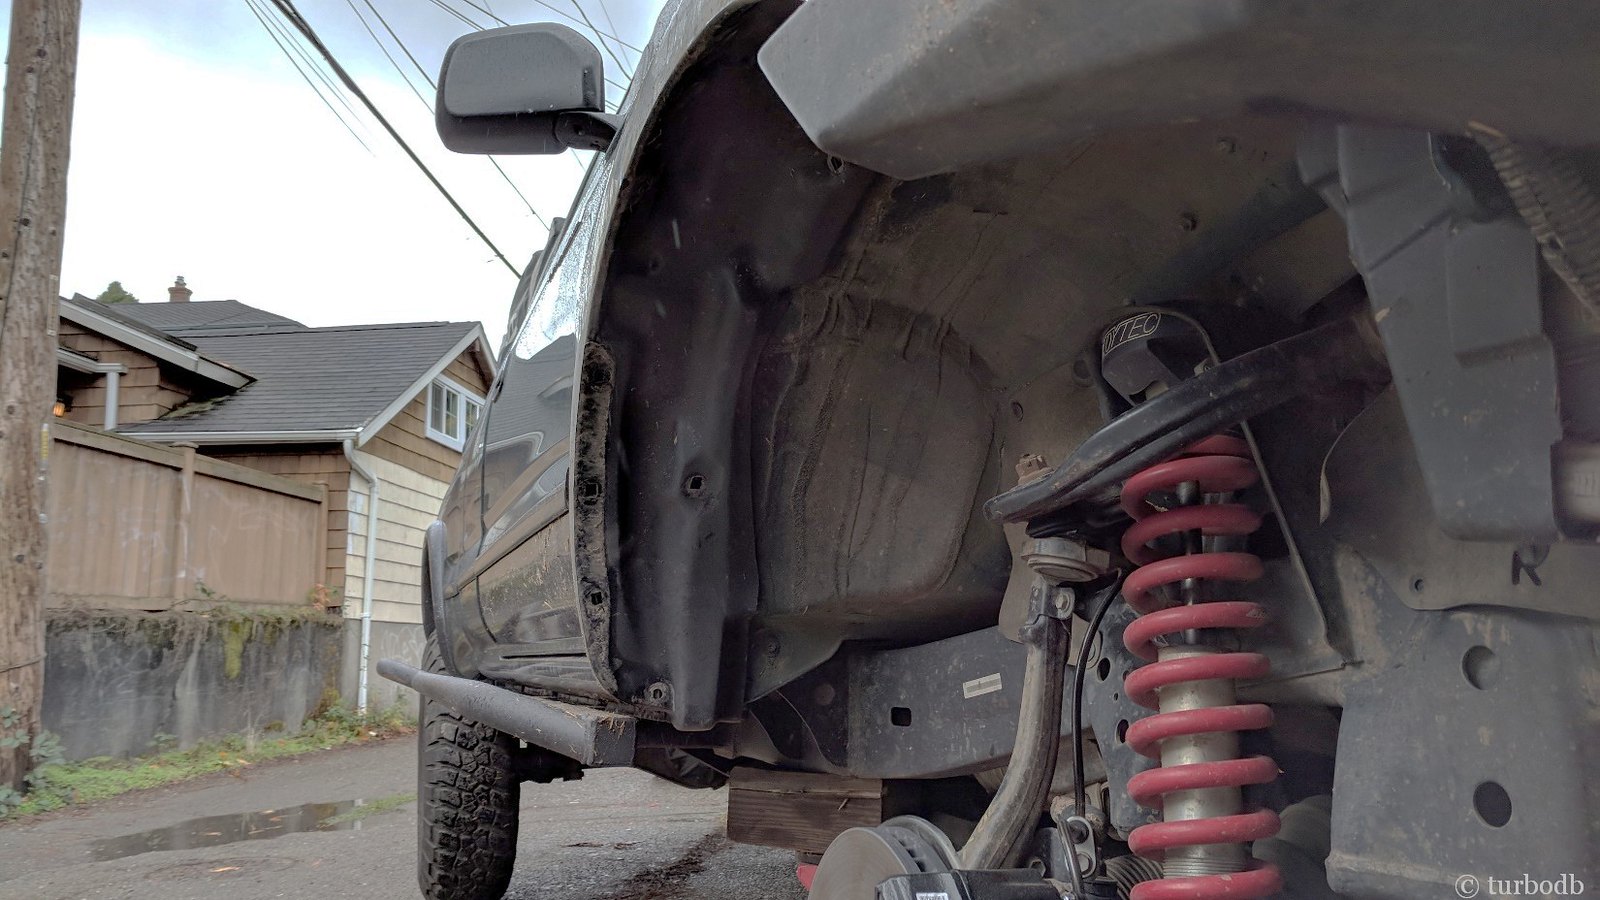
First things first - I had to take off the fender flare and plastic liner - always a bit of a pain due to the plastic grommets. This time, 1 of the 16 or grommets actually came out unscathed - a rousing success if I ever saw one!
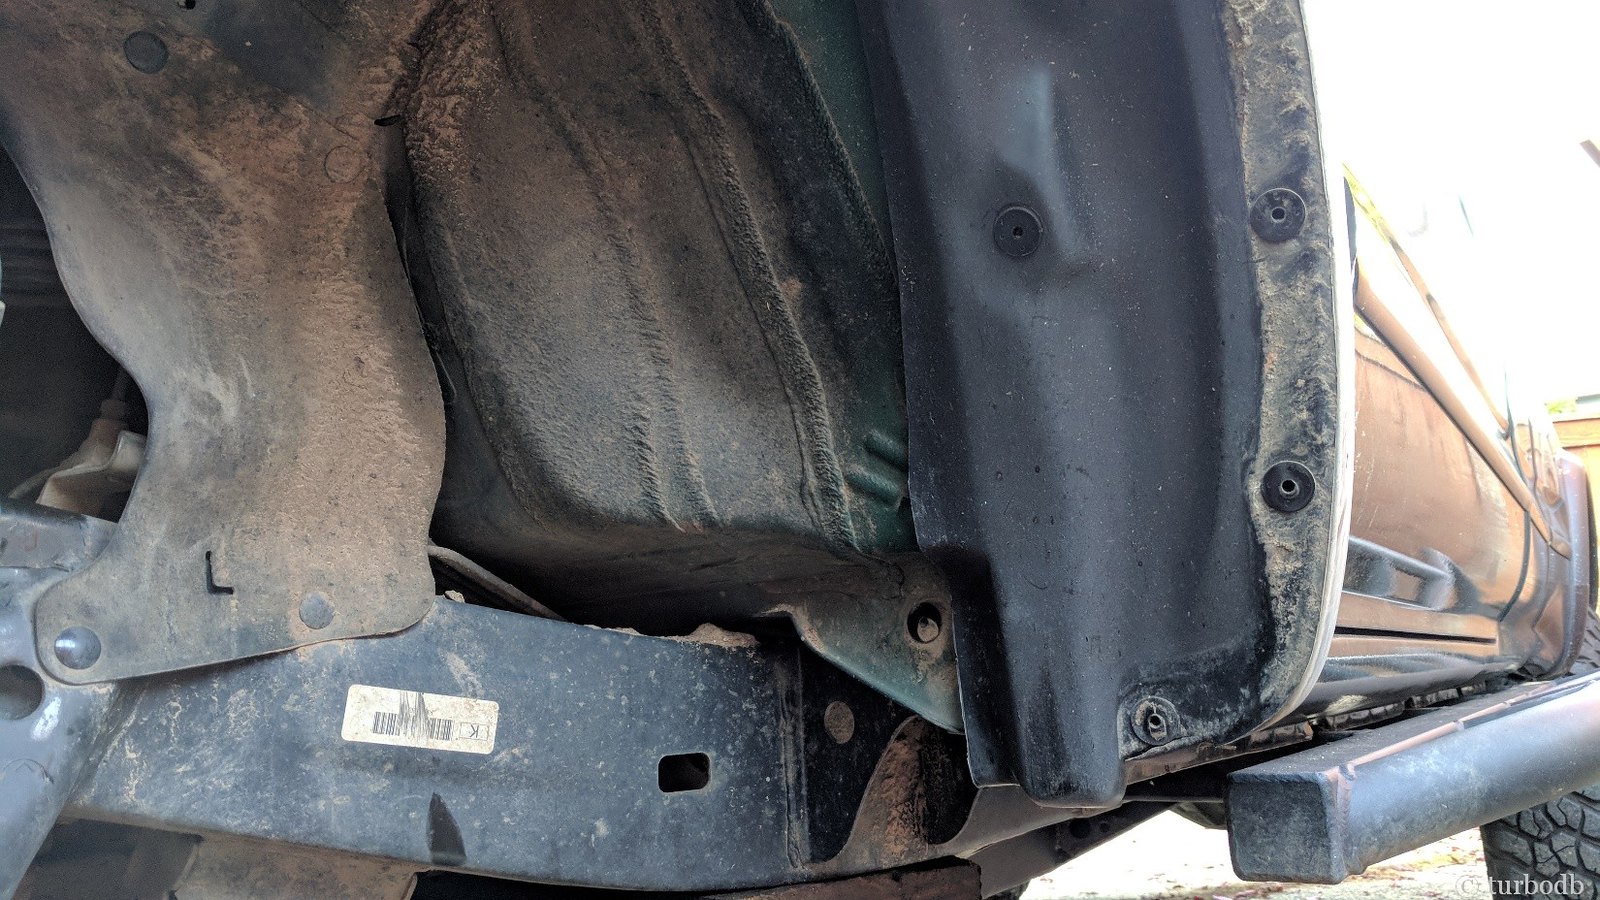
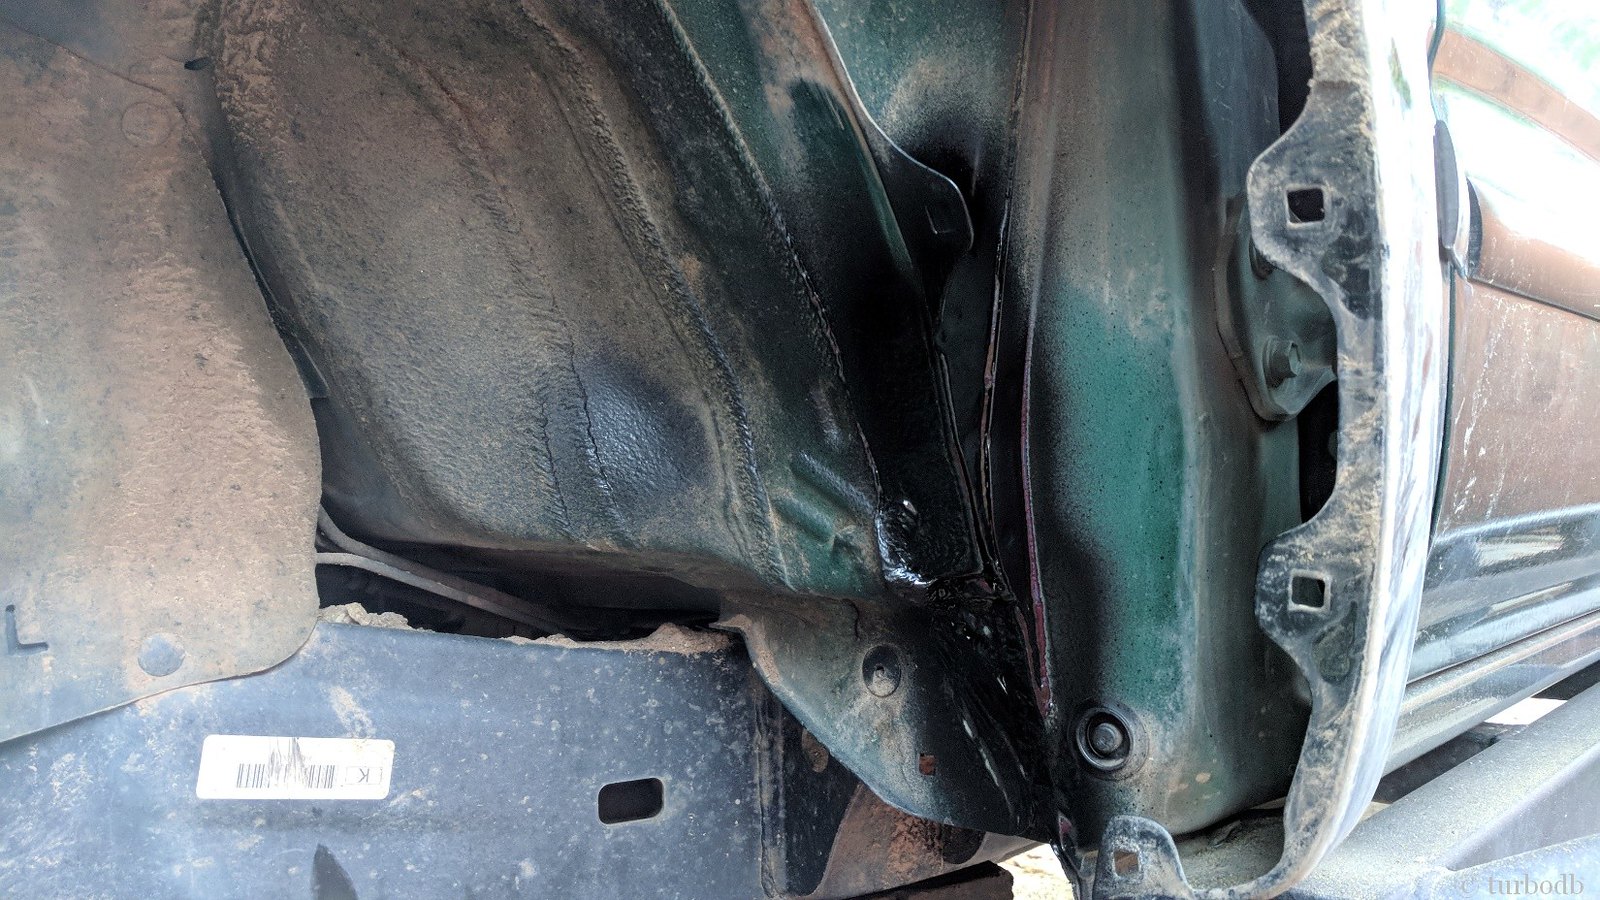
Next, it was time to take a look at the pinch weld and come up with a plan. I'd grind down the first four inches of the weld from the tab near the center of this picture, and then bend the rest of the weld towards the engine compartment.
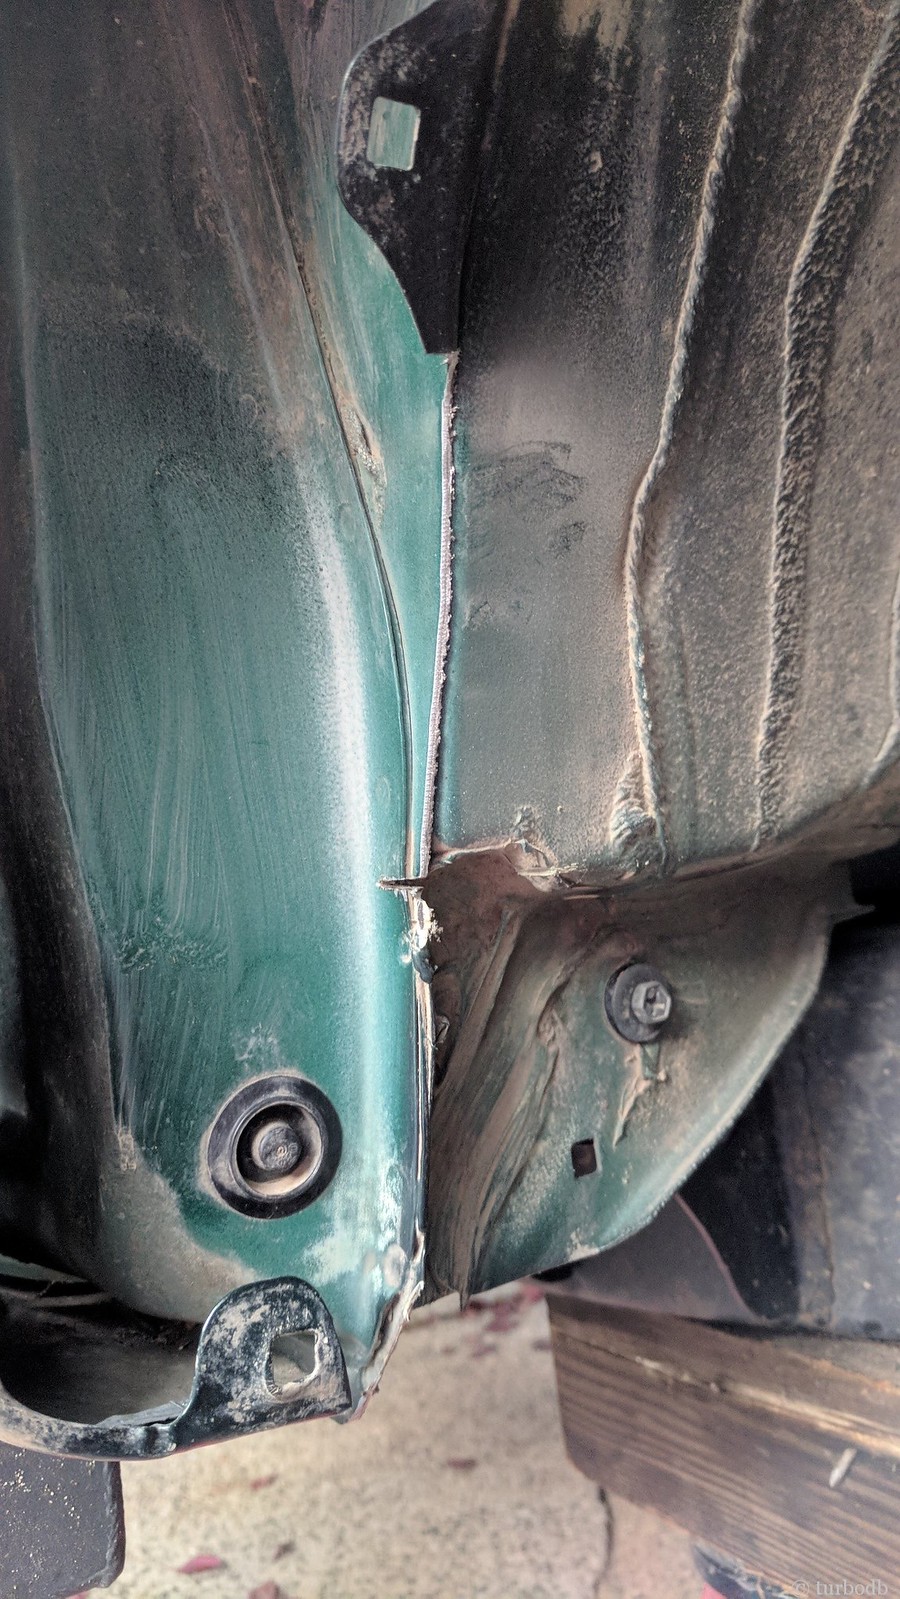
The grinding went smoothly, and while I had the grinder out, I cut the pinch weld where I'd bend it inward.
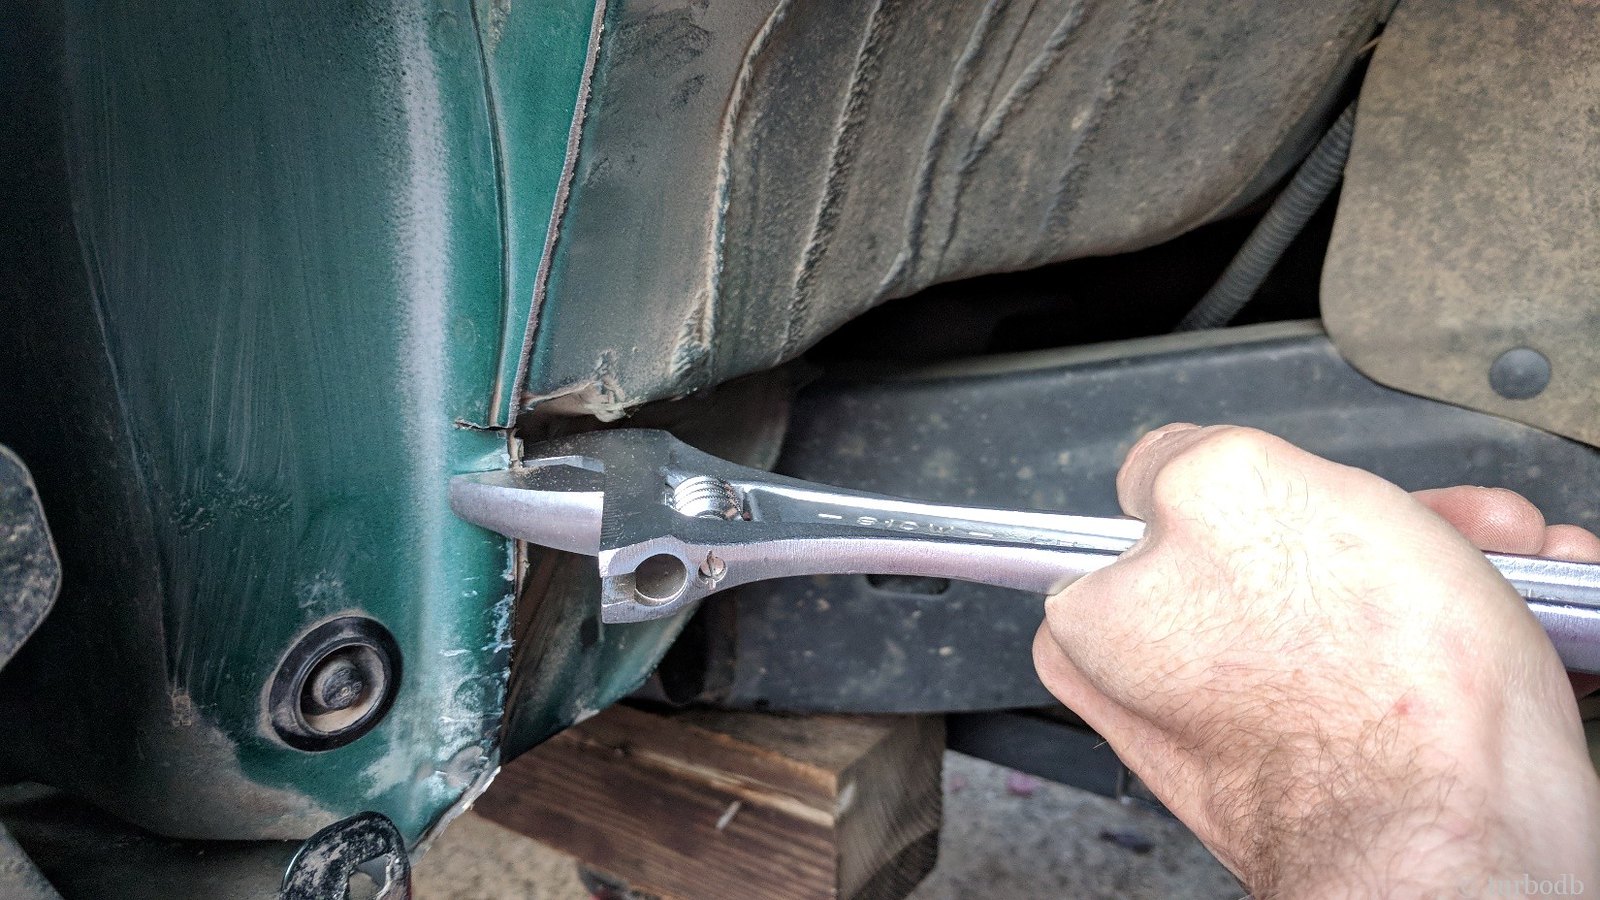
A crescent wrench works well to start the pinch weld bend, and then it's hammer-bashing time. I've only ever bashed one other thing on the truck (to make room in the engine compartment for my compressor), so this bashing was very uncomfortable for me.
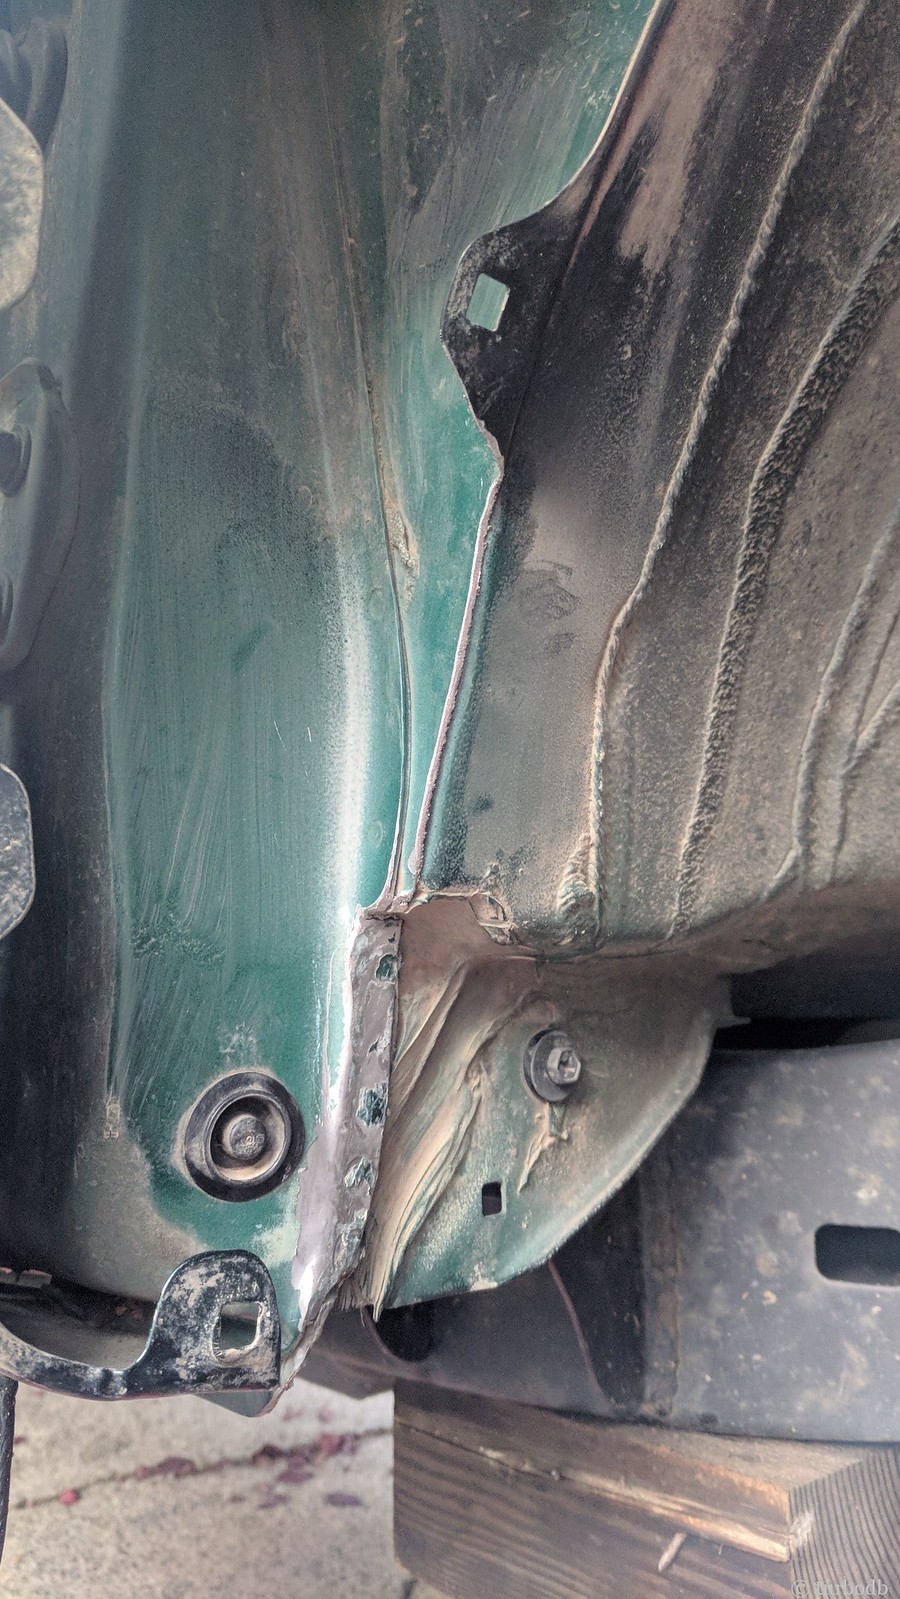
In the end though, it came out just fine, but of course in the process of grinding and bashing and bending metal, much of the paint came off. So, I cleaned it off with some alcohol and hit it with a couple coats of Rustoleum Undercoating to button it all back up.
Having not thought ahead, I ordered some grommets and proceeded to wait two weeks to re-install until they arrived from China. I saved a few cents but would recommend purchasing the OEM part - 90189-06028 instead, both timing-wise, and because the ones that I got were slightly shorter than OEM.
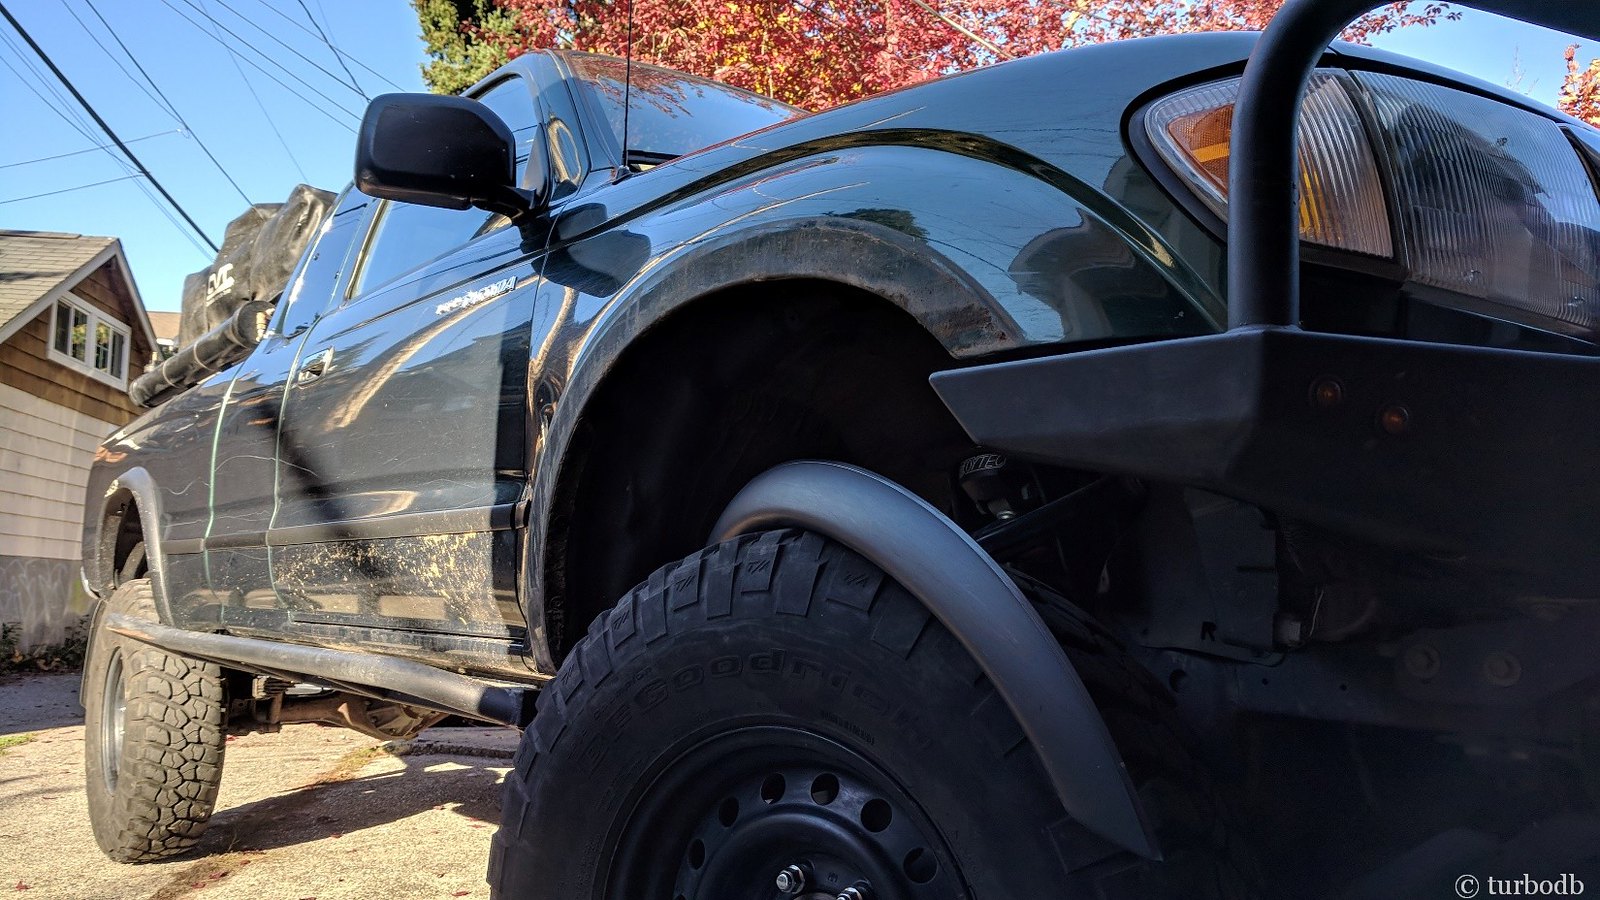
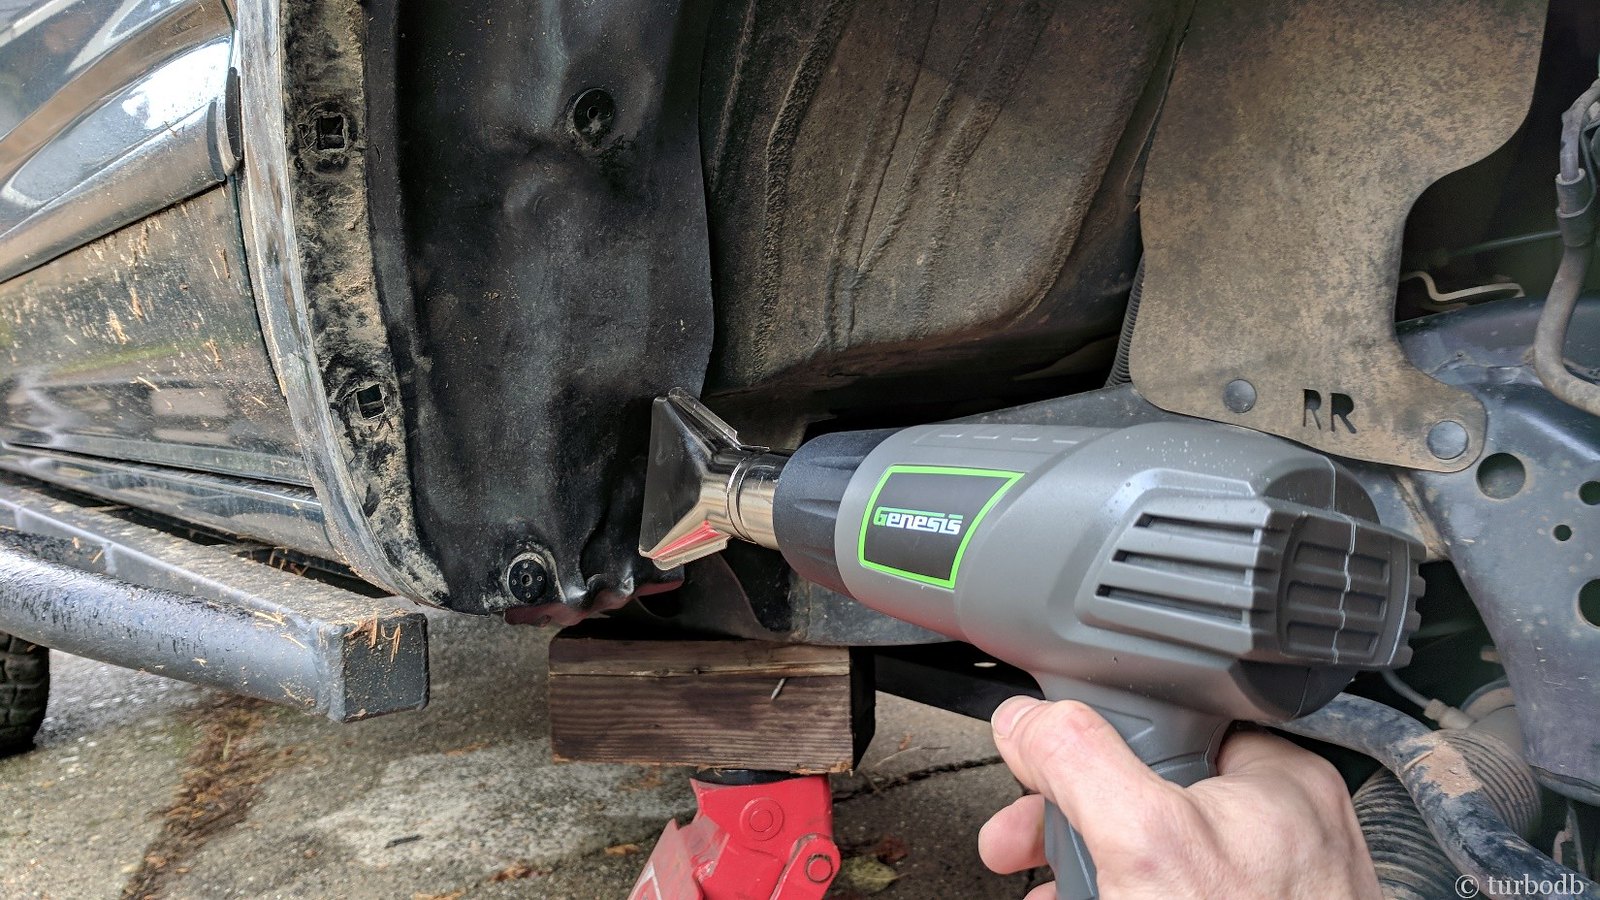
With the grommets in hand, I reinstalled the fender liners and got to work with the heat gun on the liner. This worked amazingly well - in that it heated and made the plastic pliable without melting it - and in conjunction with a welding glove to protect my hand, I was able to form the liner around the modified pinch weld - saving 1-1½ inches in the process!
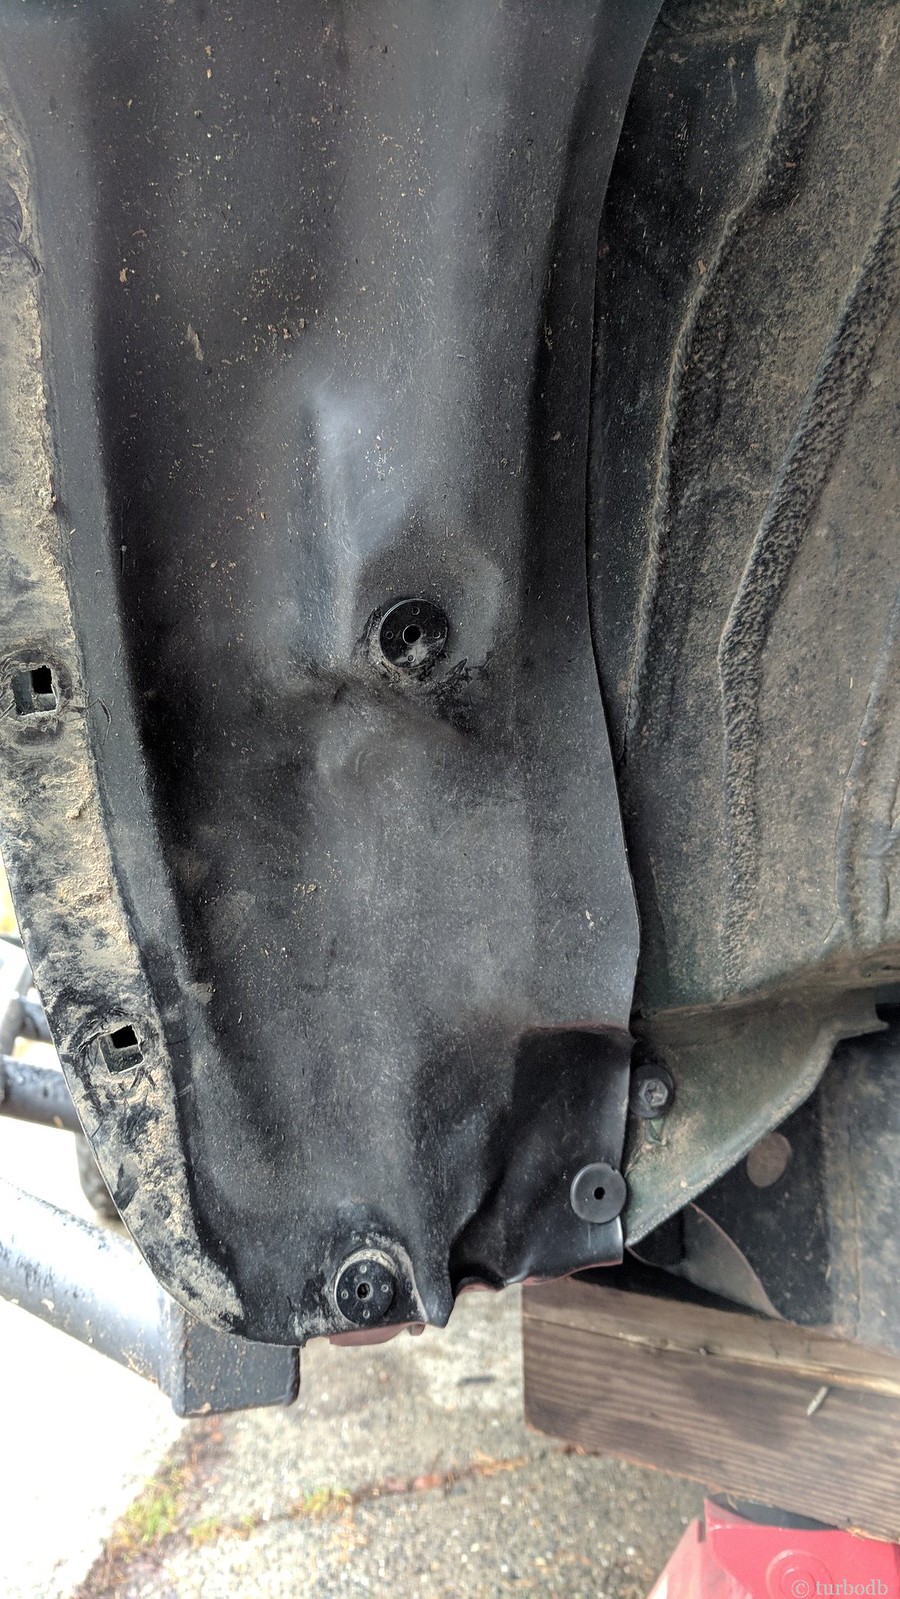
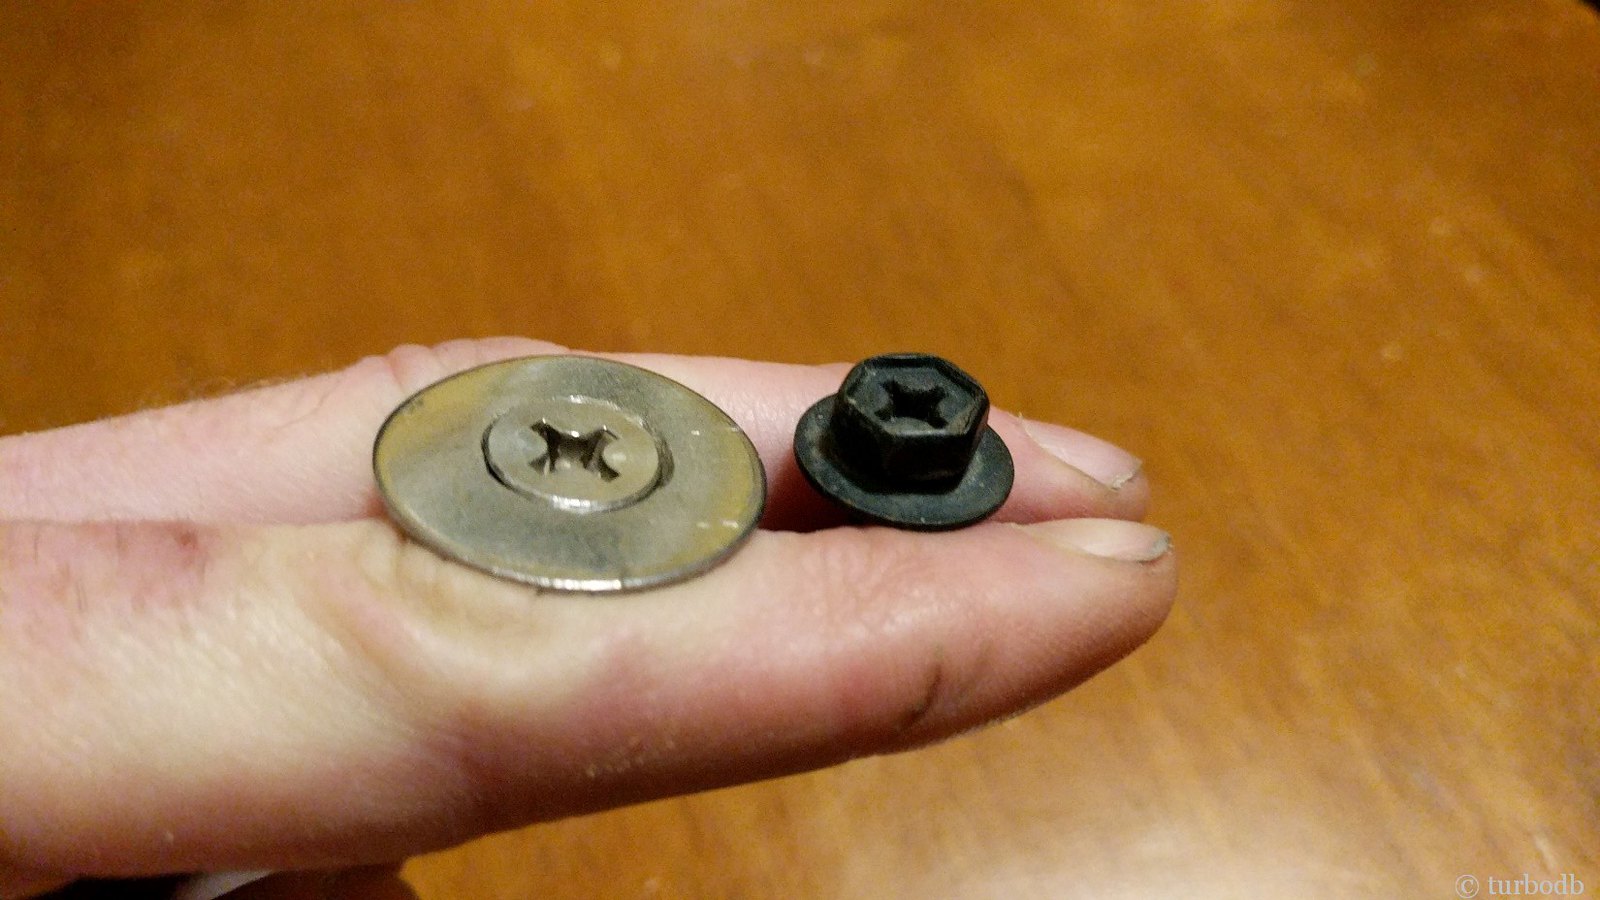
From there, I buttoned everything back up with new stainless-steel washers and #12 flat-head screws (vs. the hex-head OEM screws) to reduce the profile of the wheel well even further, and then hit them with a bit of black paint so they'd blend in.
Update: January 2018
I ended up replacing the #12 flat-head screws and washers because the angled head on the screws was too deep, running into the plastic clips before the screw was fully tightened. I ended up going with some #12 truss head screws instead. With the bottoms of the head being flat, they suck everything up nicely, and worked a treat.
.
Thanks for the description of how to deal with pinchwelds. So, what size tire were you able to fit after this process was completed??
This allowed me to run 255/85R16 (33”) tires with no rubbing. It’s important to note that tires aren’t the only factor in that, wheels matter as well, and I’m running 3rd gen 4Runner 5-star wheels that are 16x7 w/4.5” backspacing.
You can read more about how wheels and tires affect rubbing here: What size tires fit my lifted Tacoma?. Let me know if you have any more questions!
Thank you very much.
I'm hoping to run 285/70R17s (32.7") on 2021 4runner 17" rims.
Thanks again for the info
Any chance you have the part number for the flush screw & washer?
Really clean work man!! Huge fan of your tutorials
Glad you're finding the tutorials useful! I’ve learned so much from the community as I got into my Tacoma that it’s been nice to be able to give back a bit.
I picked up those screws and washers at my local ACE Hardware. Stainless steel, #12 philips head screws, and matching washers. I might have had to use a countersink to open up the hole in the washer a bit, to get the angled head of the screw to fit "just so."
Ultimately though, I ended up replacing these, as I recall (can't check the truck now b/c it is in Las Vegas). The angled head on the screws interfered with the plastic clips, so I ended up going with some #12 truss head screws, and they worked a treat.
Still using the washer or only the pan head screw? Thanks for the write up planning on doing this this weekend!
Just using the truss head screw now; the washers weren't needed with the larger head. 👍