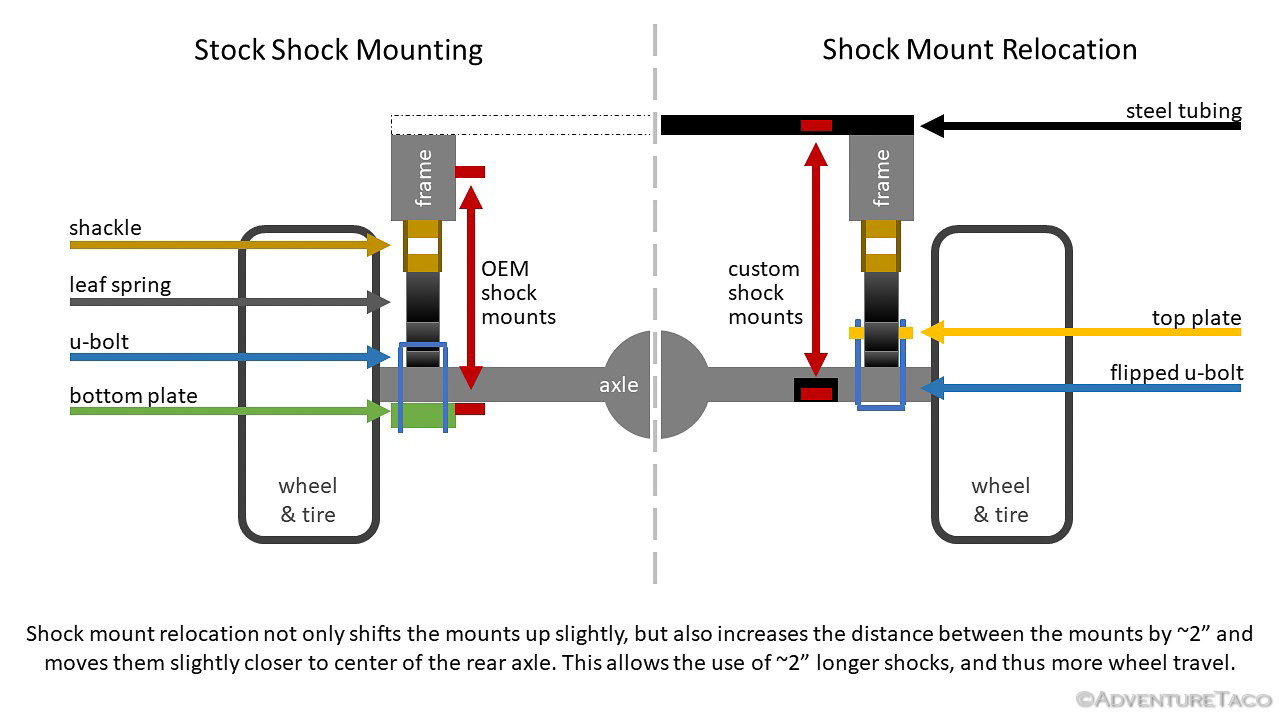
I recently relocated the rear shock mounts on my 2000 Toyota Tacoma, and it didn't go so well...at least the first time. I didn't get the mounts in quite the right position (you can read the whole story here) and that meant cutting them off and doing everything a second time, the right way.
Learn from my mistake. Here, I'll outline the proper steps (in a printable format - check out the story above for photos of the process) to relocating rear shock mounts on a 1st gen Toyota Tacoma - though, the steps are the same for any truck with rear leaf springs.
So let's get started.
Gathering the Parts and Tools
There aren't a lot of parts you'll need for this job, and they are relatively cheap and easy to pick up (with the exception of whatever shocks you're planning to install).
- A 4-foot length of 1.75" diameter, 1/8" wall round tubing to which the upper mounts will be welded.
- Some 3/16" steel plate for gusseting the tubing to the frame of the truck.
- A pair of RuffStuff SBRKT-175 (now SBRKT-3) upper shock mounts.
- A pair of RuffStuff R1988-8 lower shock mounts.
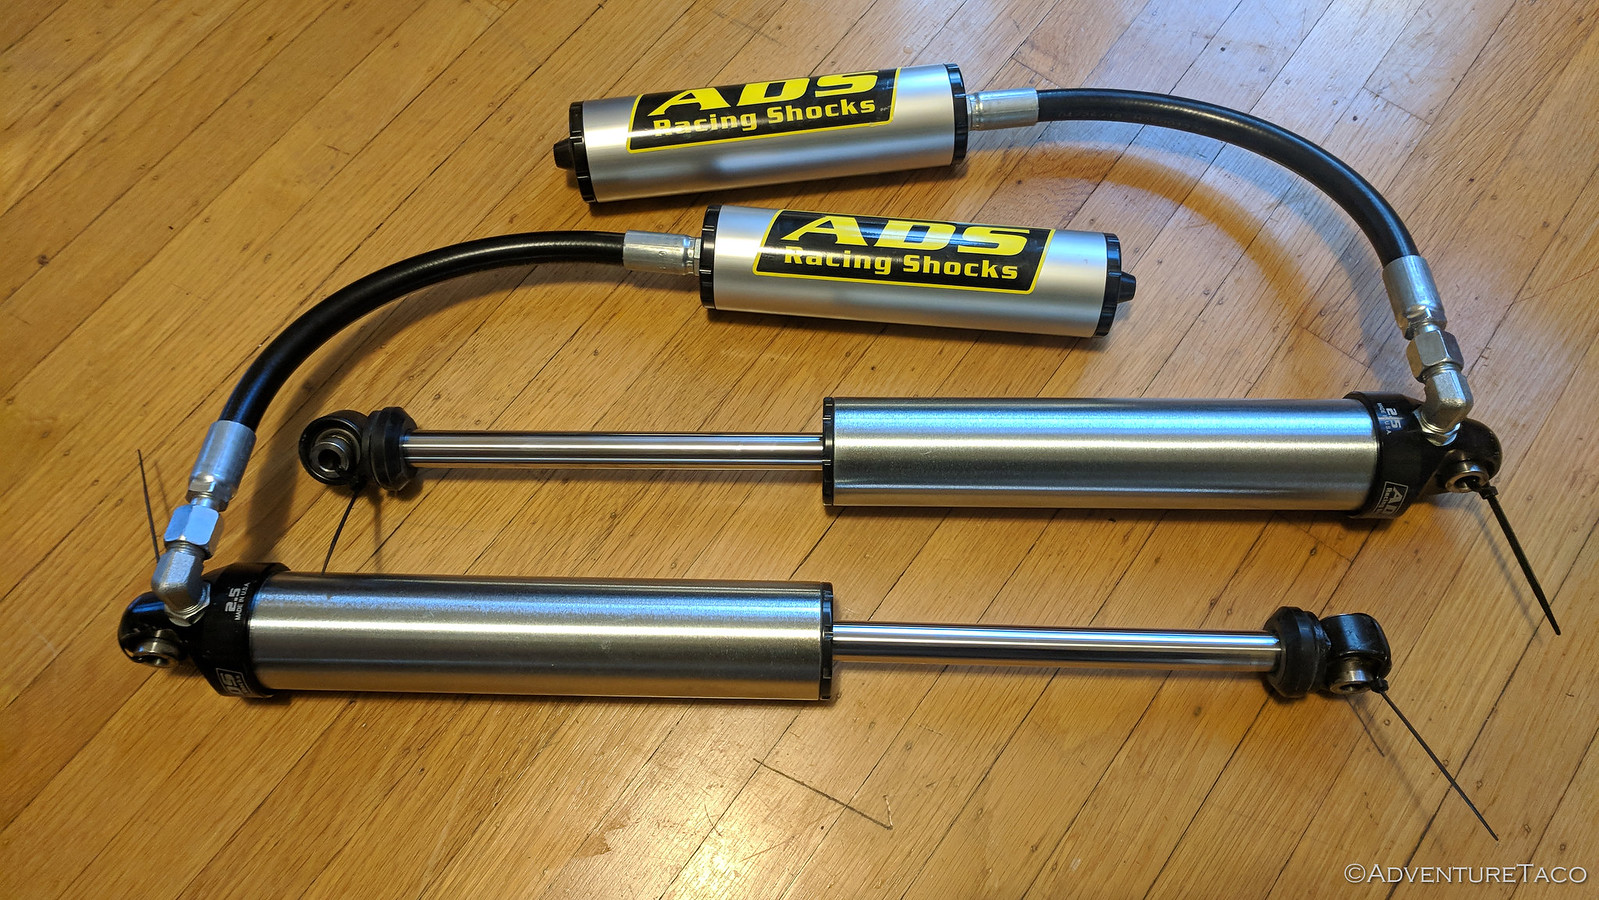
- Whatever new parts you plant to install. One or more of: Shocks, U-bolts (now's a good time to do a U-bolt flip), Bump Stops. Note: Ideally, you'd buy your shocks after figuring out all of your measurements, but that's not generally how this process is approached (since it requires so much disassembly and downtime), so I'll assume you have them in hand already.
As far as tools go, this is a job that doesn't require any special service tools (SSTs), though there are definitely some tools that are more common than others, and there are several necessary power tools. It seems like a long list, but you probably have most of this stuff already:
- 10mm, 12mm, 14mm, 17mm, and 19mm sockets - both short and deep. This is a great set, but not cheap.
- 3-, 6-, ad 9-inch socket extensions
- 90º needle nose pliers (for removing various clips)
- Torque wrench capable of 150 ft-lbs
- A box of ziplock bags to hold bolts that have been removed.
- A pad of post-it notes to label said bags.
- A Milwaukee sawzall (and metal blade) for cutting off the top, driver-side, OEM shock mount, the 1.75" tubing, and the 3/16" steel gusset for the top mount.
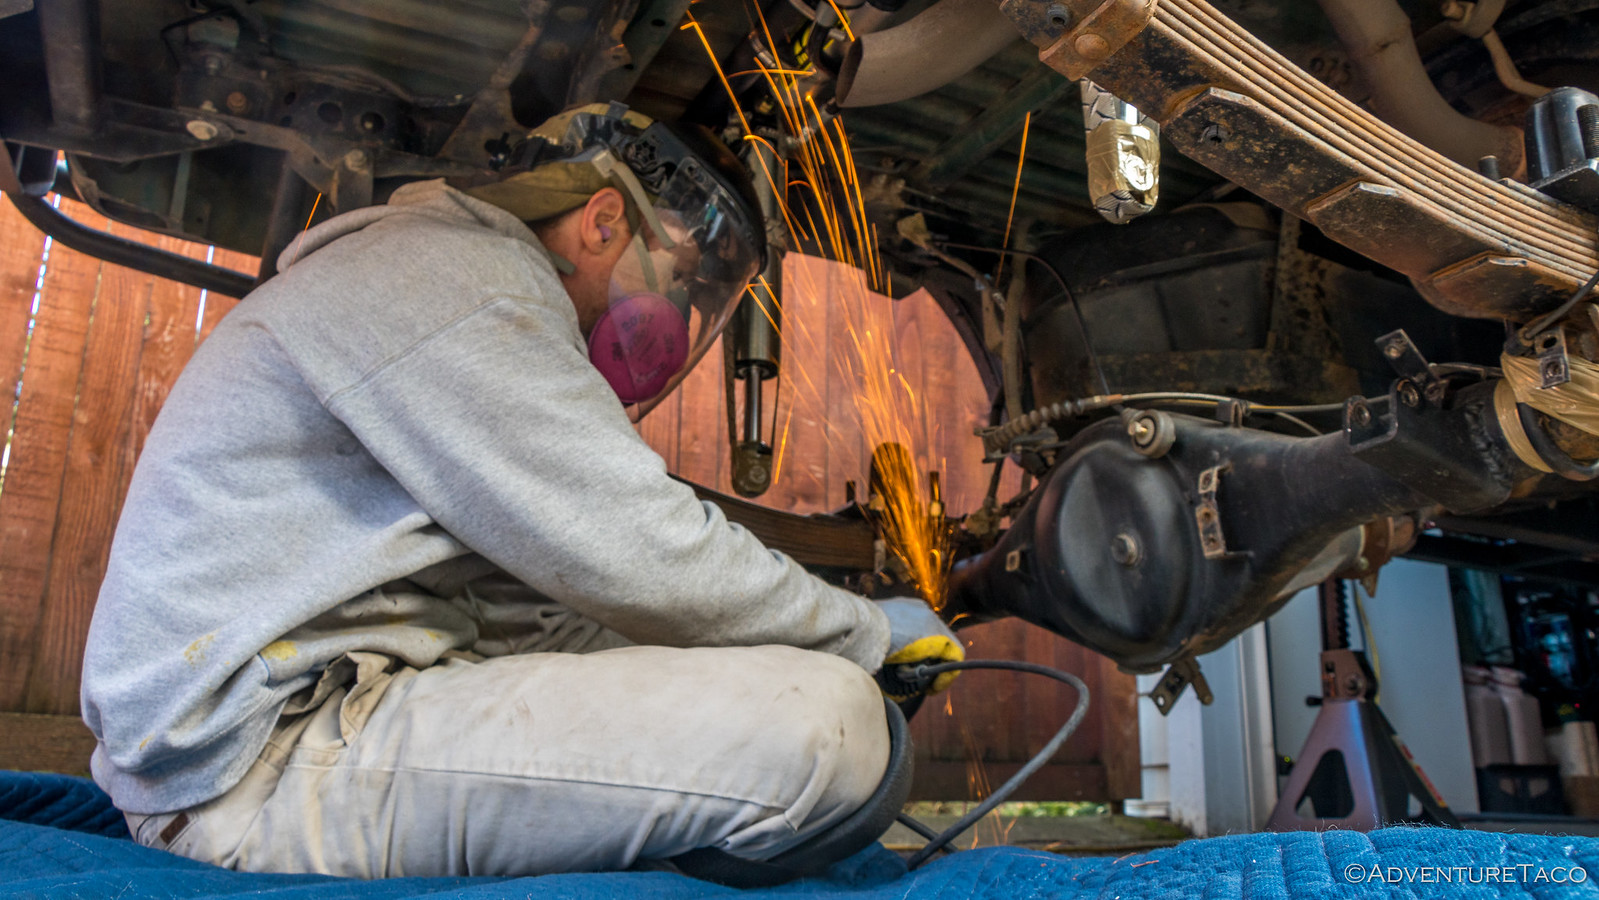
- A Dewalt angle grinder (and 40 grit flap disk of your choice) for cleaning up and shaping the various mounts and their corresponding locations.
- A Miller 211 MIG welder capable of welding ¼-inch steel (and of course the appropriate shielding gas, wire, helmet, gloves, etc.)
- A few buddies or an engine hoist to lift the bed off the truck.
- Four jack stands - 2, 6 ton to support the frame; 2, 3 ton to support the rear axle.
- Floor jack capable of lifting the back end of the truck.
- Two clamps (vise grip style work well), used to secure leaf pack when removing/installing center pin.
Doing the Job
With all the parts and tools gathered, it's time to get to work. Perhaps obviously, the job is mostly a bunch of removal of parts, some fabrication of new parts, and then a bunch of installation of the parts you removed earlier. Once again, this list of steps is just that - a list of steps (which makes it a great resource to print off and reference when you're doing the job). If you're curious about what a step looks like, I suggest reading the story linked above.
- Move the truck into a location where you have access from all sides and can ideally leave it overnight.
- Put the truck in 4WD (ensure that it engages), and in gear.
- Disconnect negative lead from the battery, since you'll be welding on the truck during this process.
Removing the Tail Lights and Fuel Filler Housing
- Remove the 4, Philips screws that hold each tail light to the bed.
- Disconnect any connectors for the tail lights (and tow harness if applicable) and set the tail light assemblies aside.
- Using needle nose pliers, remove the plastic clips holding the tail light harness to the bed, being careful not to break the clips.
- Fish the tail light wiring harness down and out of the tail light holes in the bed, letting them hang down.
- Remove the 4, Philips screws that secure the plastic fuel filler housing around the fuel neck and remove the housing (making sure to replace the gas cap to keep dirt out of the fuel system).
Remove the Bed
- Using a 17mm socket and any necessary extensions, remove the 2 front and 2 middle bed bolts that secure the bed to the frame.
- Using a 17mm wrench (or socket if you have access through the bottom of the frame - which you may not if you have an after-market rear bumper like I do), to remove the 2, 17mm rear bed bolts that secure the bed to the frame.
- Using the help of several friends or an engine hoist, lift the bed off of the frame of the truck and set it aside. As you do, be careful to thread the fuel filler tube out of the hole without bending it.
Support the Back of the Truck
- Though the truck should be in 4WD and in gear to keep it from rolling, block the front tires to ensure it cannot roll forward or backward.
- Using a floor jack under the rear differential, jack the rear of the truck up and support it with two, 6-ton jack stands under the frame, just forward of the front leaf spring perches. Note: ensure that you jack up and support the truck high enough that when it is on jack stands (only), the rear tires do not touch the ground.
- Remove the rear wheels/tires.
Disconnecting the Rear Axle, Rear Shocks, and Leaf Springs
- Ensure that when you lower the rear axle, no brake lines, wires, etc. will stretch beyond their limit. Any that may prevent the axle from being lowered fully should be disconnected, including: brake line from the frame to rear axle, brake proportioning valve, electrical connections for the e-locker on the rear differential, electrical connections for the ABS, the cable for the emergency brake.
- Using the floor jack, lower the rear axle until the leaf springs are fully drooped.
- Remove the floor jack from the differential, and move it so that it is just touching the flange between the rear diff and drive shaft. This will keep the diff from "rolling forward" when you disconnect the leaf springs.
- Use a 17mm socket to remove the bolts securing the rear shocks; then remove the shocks.
- Place two, 3-ton jack stands under - but not touching - the rear axle. Note: you should have approximately 1-inch between the top of the jack stands and axle.
- Remove the 4, 19mm nuts securing the U-bolts and to lower the axle and allow it to rest on the jack stands. Note: if you already have aftermarket U-bolts, this may be a different size.
- Remove the U-bolts and bump stop to expose the center pin.
- Place a strong clamp on the leaf pack as near the center pin as possible, and tight.
- Remove the center pin by holding the pin stationary with pliers, and backing off the nut.
- Place a second clamp on the leaf pack, slightly looser than the exiting clamp.
- Release the first clamp.
- Repeat steps 9-10 until tension in the leaf pack is such that it can be safely separated.
- Remove all leafs (except the top leaf which is still attached to the frame) and set them aside, making sure to note leaf order, front-rear direction, and side of vehicle.
Mocking up the Leaf Pack Using Only the Top Leaf
- Cut a block of wood that is 2" wide (slightly narrower than a leaf), 6" long (sligntly longer than the leaf spring perch on the axle), and has the same height as the leafs removed from the leaf pack.
- Place the block of wood between the leaf spring perch on the axle and the upper leaf spring to simulate the removed leafs.
- Place the bump stop you'll be using in place on top of the top leaf, if you already have a known bump stop.
- Re-attach the axle to the mocked-up leaf pack using U-bolts, tightening them securely, but not over-tightening. Note 1: there's no need to fully torque them at this point, you're going to remove them again shortly. Note 2: This will lift the axle off of the jack stands and diff off of the floor jack.
Fabricate and Tack the Upper Shock Mounts
- Measure the distance between the outside edges of the frame rails, approximately ¾" behind the upper shock mount on the driver side. This distance should be approximately 41 inches. Note: this is the location where a 1.75" round tube will fit with little-to-no rubbing on the bottom of the bed. If you are using a different size tube, you may need to clearance it in a different location.
- Holding the ends of the round tubing flush with the outside edges of the frame, measure 2½" in from the inside of the frame and make a mark on the tubing. Note: this mark will be approximately 5-6" from the end of the tubing.
- Lay the tubing on the ground, and lay the two upper shock mounts with their outside edge at the mark made in the previous step. Note: when looking down from above, the shock mounts should be "upside down" - that is, the steel that forms the bottom of the U shape should be on the ground.
- Tack the two upper shock mounts to the round tubing with four tacks each. Note: by doing this on the ground, you ensure the two mounts are aligned identically.
- Place the round tubing back on the frame, with the shock mounts parallel to the bottom of the bed. Note: the upper shock mounts should be AS HIGH AS POSSIBLE without touching the bottom on the bed when the bed is reinstalled.
- Tack the round tubing to the frame using four tacks on each side.
Determine Maximum Compression (Up-Travel) Distance
- Place the floor jack under the rear diff again.
- Place several hundred pounds of weight on top of the frame, ideally relatively evenly distributed. Note: using a piece of plywood across the frame, and sandbags on the plywood is a good strategy here.
- Jack up the rear diff (and axle) until either:
- the bump stops (on both sides) contact the frame. Note: if this happens and your leaf springs are not flat or slightly "frowned," your bump stops are likely too tall and are limiting travel unnecessarily. Consider repeating this step with shorter bump stops.
OR - your top leafs (on both sides) reach the point where it is flexed more than you want it to flex on the trail (a slight frown), whichever comes first. Critically Important Note: If during this process, the truck starts to lift off of the jack stands supporting the frame, you need to add more weight on top of the frame until the truck remains supported by the jack stands. This is critical to ensure you achieve full compression.
- the bump stops (on both sides) contact the frame. Note: if this happens and your leaf springs are not flat or slightly "frowned," your bump stops are likely too tall and are limiting travel unnecessarily. Consider repeating this step with shorter bump stops.
- If your bump stops are not contacting the frame at this point, measure the distance between the top of the bump stop and the frame and write down that distance here; otherwise, write down 0" (zero).
distance to bump: __________ - Determine the distance that your bump stops will compress and write that number here:
bump compression: __________ - Add the values from the previous two steps, plus ¾" to complete this formula:
__________ + __________ + ¾" = __________
Preparing the Lower Shock Mount
RuffStuff R1988-8 lower shock mounts come with a 10º angle fabbed into the mount when it is mounted to the axle. We want to remove that angle for installation on a first gen Tacoma axle.
- Use an angle grinder and flap disk to remove material on the "longer" radius-ed edge of the lower shock mount until it's the same as the shorter radius-ed edge, and extends straight off of the rear axle when held in place.
Positioning the Lower Shock Mounts
- Using a ratchet strap, compress one of your new shocks until the length of the exposed shaft is the length determined above.
- Temporarily (loosely) install the top of the compressed shock in one of the top shock mounts.
- Temporarily (loosely) install the lower shock mount to the bottom of the compressed shock.
- Rotate the compressed shock toward the rear axle until the lower shock mount contacts the axle in the appropriate position (which will be determined by the length of the compressed shock and position of the raised rear axle). Note: Ideally at this point, the lower shock mount will extend straight back or slightly up from the bottom of the rear axle. If it points down too much, that may indicate that your shocks are too long.
- Note the general location of the lower shock mount at this point.
- As necessary, unbolt any brake lines or other objects attached to the rear axle that may obstruct grinding or welding on the axle.
- and use the angle grinder to remove paint from that location.
- With the lower mount still installed on the shock, rotate it into position on the rear axle and tack it on, with four tacks.
- Remove the ratchet strap from the shock (and hope your tacks hold).
- Repeat steps 1-7 for the opposite side.
Cycling the Suspension (to Determine the Need for Limit Straps)
- Re-install your wheels and tires, using two lug nuts per wheel - just to get the weight on the rear axle.
- If they are still there, remove the 3-ton jack stands from under the rear axle and set them aside.
- Slowly release pressure on the floor jack that is holding up the rear diff so the rear axle can droop down. At this point, one of three things will happen:
- The rear leaf will fully droop out without allowing the shock to bottom out or the wheels to touch the ground. You're done - you do not need limit straps.
- The rear leaf will droop down until the entire shock shaft is exposed, and the shock will limit further droop. If this is the case, you need a limit strap that will prevent your shock from getting into this situation. Create and install a limit strap that keeps 1" of shock shaft in the shock. Note: in practice, the strap will stretch during use, and so that 1" of shaft will be used.
- The rear leaf will droop down until the tires touch the ground, and the wheels will limit further droop. If this is the case, you need to lift the rear frame of the truck higher - using the 6-ton jack stands - and then repeat the process until you are in one of the two situations above.
Completing Fabrication of the Shock Mounts
- Remove the wheels and tires, to get them out of the way, giving yourself room to work.
- Use a ratchet strap around one of the shocks to compress it just enough to remove it from the upper and lower shock mounts.
- Repeat step 2 for the other shock.
- Completely weld the upper shock mounts to the round tube, favoring the puddle toward the shock mount as it is thicker material than the round tube. Do not weld an entire shock mount at once - alternate between the two mounts to allow heat buildup to dissipate.
- Completely weld the round tube to the frame, favoring the puddle toward the round tube, as it is thicker material than the frame. Alternate between the two sides to allow heat buildup to dissipate.
- Weld the lower shock mounts to the axle, favoring the puddle toward the shock mount, as it is thicker material than the axle housing. Do not weld an entire shock mount at once - alternate between the two mounts to allow heat buildup to dissipate.
- Using a spare piece of 1.75" round tubing, and the 3/16" steel plate for gusseting, trace three circles in a triangular pattern. Cut out two of these "rounded triangles" and tack, then weld them onto the end of the round tubing and outside of the frame to strengthen the bond, favoring the 3/16" steel plate with the puddle, since it is thicker than the frame.
Cleaning up and Painting
- Using a wire wheel and wire cup (and any other necessary wheels) on the angle grinder, clean up the areas that were welded - removing spatter, scorching, nearby loose paint, etc.
- Prime, then paint any bare metal areas using your favorite spray paint.
- Watch paint dry.
Install the Shocks
- Use a ratchet strap around one of the shocks to compress it just enough to re-install it between the upper and lower shock mounts. Note: depending on your situation, it may be easier to install the shock in the upper or lower mount first.
- If the shocks have remote reservoirs, now is a good time to install them on the 1.75" round tube as well.
Reinstall the Full Leaf Packs
- Using the floor jack, lower the rear axle until the leaf springs are fully drooped.
- Remove the nuts securing the U-bolts on one side of the truck and use the floor jack to lower the diff a little bit more - so you have some space between the axle and the leaf spring.
- Remove the U-bolts, bump stop, and temporary wooden block that was installed earlier to simulate the bottom of the leaf pack.
- Re-assemble the bottom of one leaf pack and move it into place under the top leaf, pushing the center pin through all leafs to ensure they are aligned.
- Clamp the leaf pack with two clamps enough that the center pin fits fully through, and lightly tighten the bolt on the center pin to hold the pack together.
- Alternately tighten the clamps and center pin nut until the leaf packs are tight.
- Position the leaf spring perch on the axle so that the center pin is aligned with the the recess, and then use the floor jack to lift the diff (and axle) up until the leaf spring perch is starting to compress the leaf spring.
- Place your bump stop on top of the leaf pack, and install your U-bolts until they are finger tight and holding the axle and leaf springs together. Note: Do not torque at this point.
- Repeat steps 1-8 in order to install the leaf pack on the other side of the truck.
- Torque the U-bolts to the recommended torque specifications. Note: after 500, and then 1500 miles, you should re-torque these U-bolts, as they can stretch and settle over bumps.
Reconnect Components Removed From the Rear Axle
- Re-install any components that you previously removed from the rear axle, including: brake line from the frame to rear axle, brake proportioning valve, electrical connections for the e-locker on the rear differential, electrical connections for the ABS, the cable for the emergency brake. Note: you may need to re-position or bend certain items in order to fit them around the newly installed lower shock mounts.
Reinstall the Wheels
- Re-install the wheels.
Reinstall the Bed, Fuel Filler Housing, and Tail Lights
- Using several strong friends or an engine hoist, lift the bed onto the frame of the truck. As you do, be careful to thread the fuel filler tube up through the bed side without bending it.
- Align the mounting holes of the bed with those in the frame and re-insert the six mounting bolts, getting them finger tight so that you can align the bed by pulling/pushing/rotating it into position relative to the cab.
- With the bed aligned to the cab, tighten the six, 17mm bed bolts.
- Re-install the 4, Philips screws that secure the plastic fuel filler housing around the fuel neck.
- Fish the tail light wiring harness up into the tail light holes in the bed.
- Reconnect any connectors for the tail lights (and tow harness if applicable).
- Re-install the 4, Philips screws that hold each tail light to the bed.
- Re-install the plastic clips holding the tail light harness to the bed and frame, being careful not to break the clips.
Congratulations - you're done. I mean, there might be some clean-up to do and whatnot, but the next real order of business is to get out on the trail and enjoy your rear suspension!


