One of the jokes we always make about the folks (ok, let's be honest, it's 99% guys) we hear talking on the 146.520 simplex ham radio frequency that we have tuned in the Tacoma most of the time, is that they are always talking about their radio setup. Whether they have just tuned a new antenna, are calling for CQ ("anyone out there") from the top of some mountain, or are reorganizing their "shack" to fit a newly acquired transceiver, every radio operator seems to be... a nerd.
 Guilty as charged.
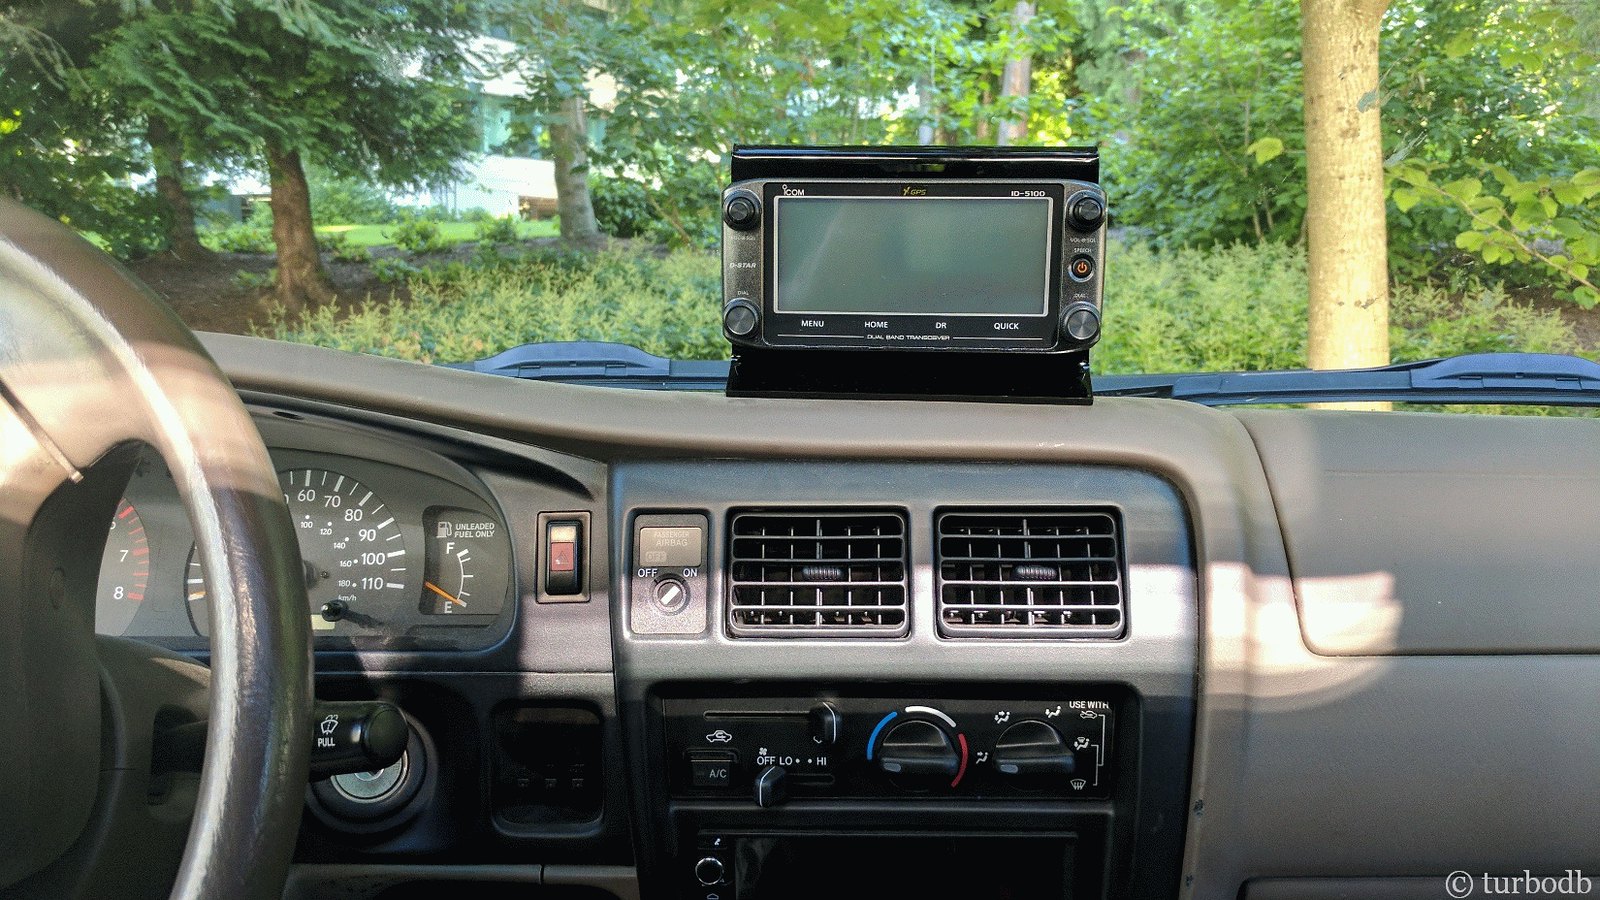
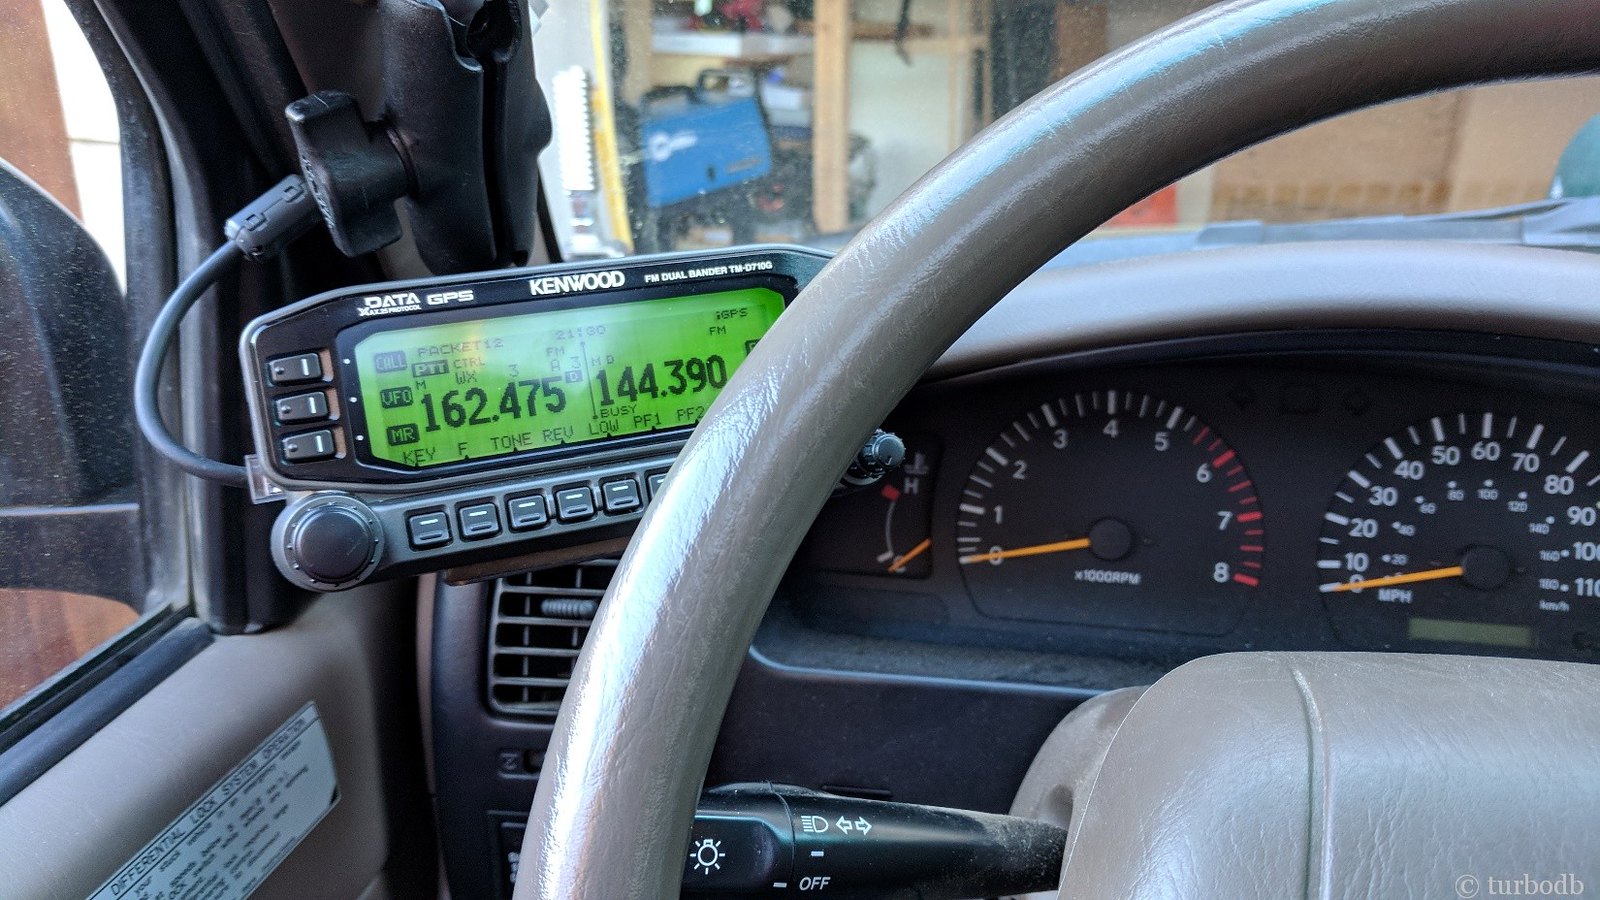
My first mode of communication in the Tacoma was a dual band (2m/70cm) Icom 5100A mobile ham radio that I thought would be the only communication I would ever need. To this day - and even though I don't have it anymore, having traded it out for a dual band Kenwood TM-D710G that now also serves as my APRS transceiver - that Icom was still the best radio I've used.
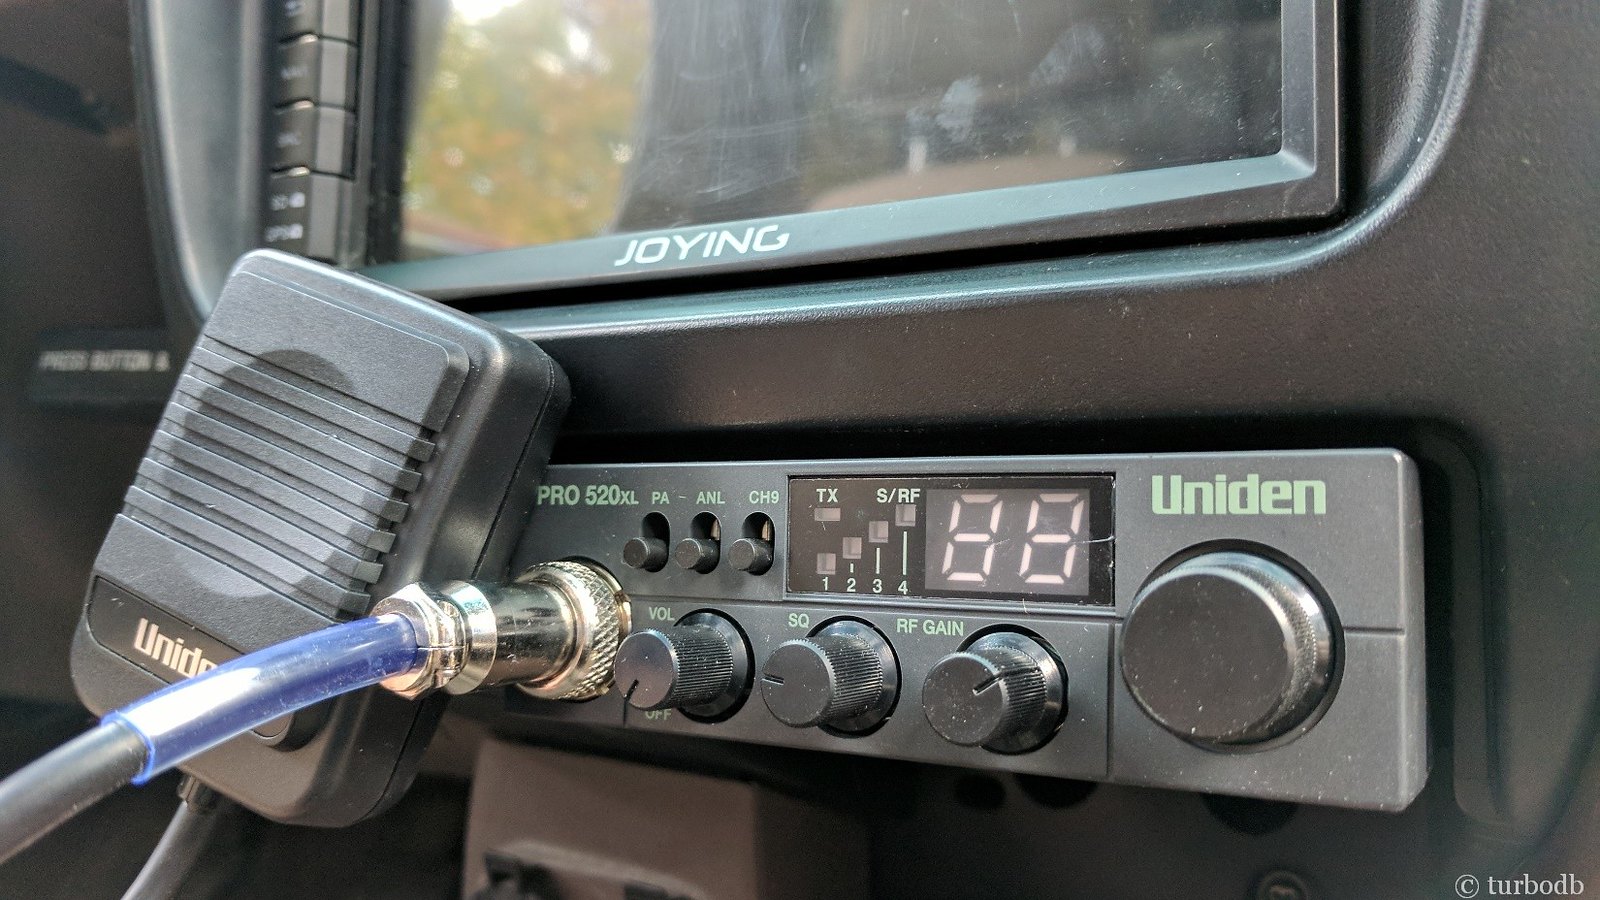
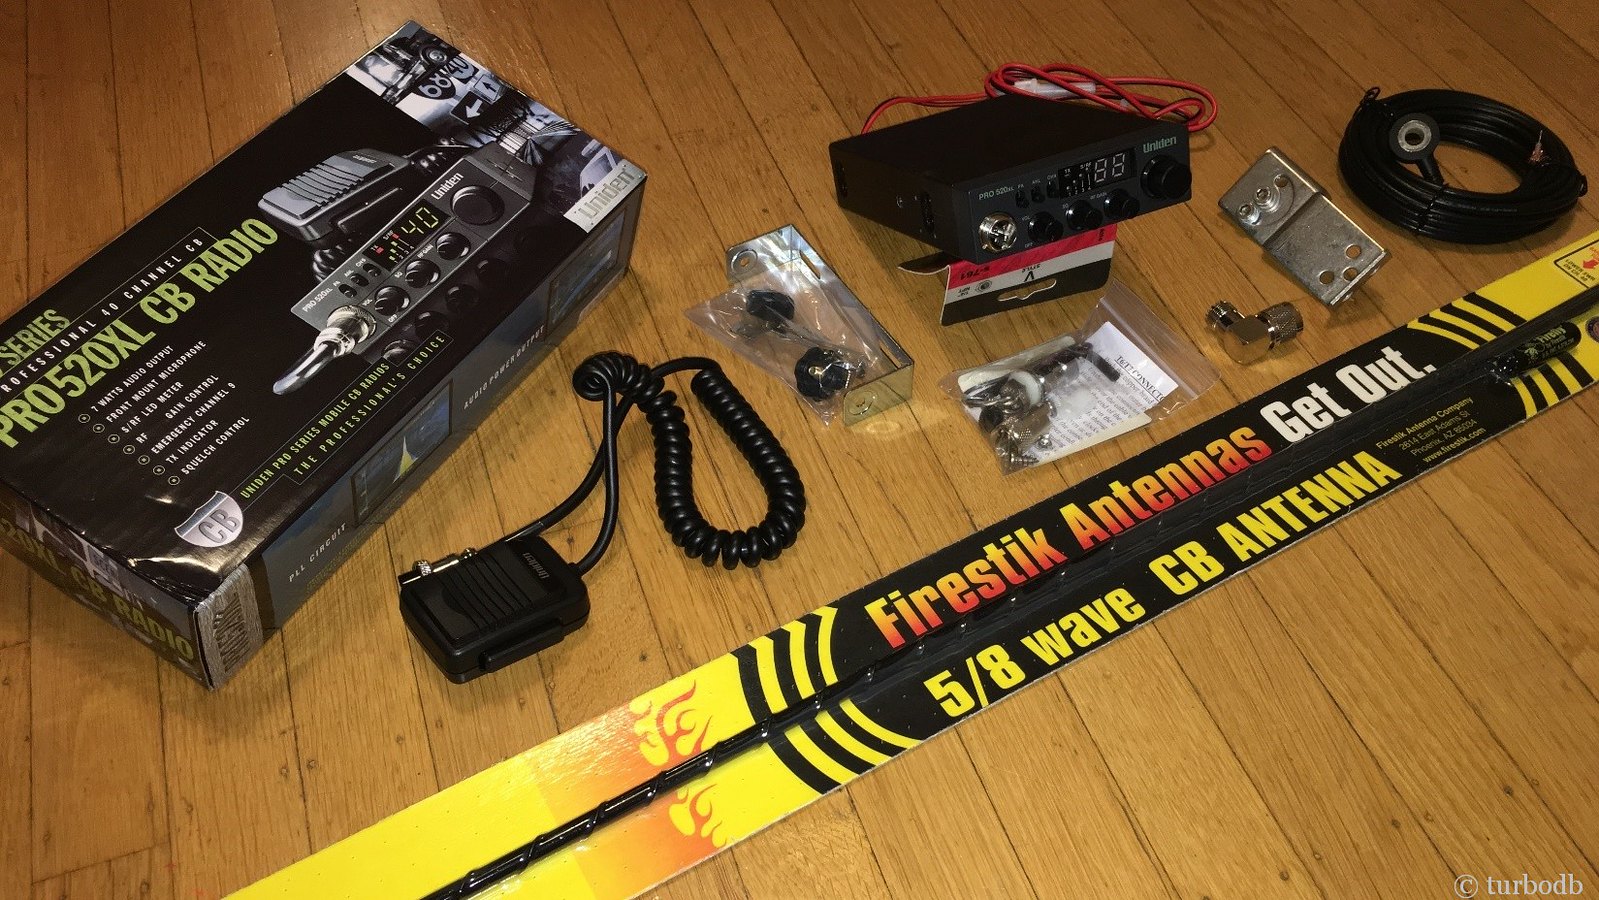
Shortly after installing the ham radio, I went on my first group adventure - The De-Tour. For that, the ham radio was no good - or at least, it wasn't enough - since all the guys used CB radios to communicate on the trail. And so, I installed a CB Radio - 'cause not everyone's a HAM. That little Uniden Pro 520XL has been a workhorse over the years, and is most definitely my most used radio - for truck-to-truck communication - on the trail.
But then, more than a year ago - perhaps even two - I won a giveaway. That never really happens to me, but somehow my name was randomly drawn for a pair of Midland T51 handheld GMRS radios, as well as a Midland MXT275 mobile GMRS that I could mount in the truck.
And now, I sound like the radio nerd that I am.

I (almost) never win anything, but it was super cool to win these radios!
Of course, with little actual use for the GMRS band - no one I travel with uses GMRS - it was only my nerdom that nagged at me to add a third radio band to my truck. In fact, not wanting to drill yet another hole in the roof, I didn't even open the box until recently.
When I did, I was pleasantly surprised to find two things that would make the install significantly easier than I'd worried about for the last twelve months:
- The antenna that came with the MXT275 is tiny - only 7" tall or so - and has a very strong magnetic base. That means I don't need to drill a hole to mount it, as long as I can find a way to run the wiring appropriately.
- All of the controls are in the microphone, rather than on the radio head unit. This meant that I could mount the head unit anywhere that was convenient, without worrying about access to it for operation.

I knew just where I wanted to install the Midland MXT275 - under the passenger seat, next to the Kenwood D710G. That is, if there was enough room.
Recklessly plunging ahead with no measuring of radio size, wire lengths, or anything of the sort, the first order of business was to get the scheel-mann passenger seat out of the truck so I could mount the radio to the seat bracket.

Four (4), 14mm bolts and a bunch of disconnected ham radio connections later, the seat was out of the Tacoma and headed toward the workbench.
After removing the seat from the bracket, I finally decided to see if the new radio would fit. Naturally, given where I'd mounted the ham radio there wasn't quite enough room - doh! Luckily, I was able to move the ham radio a few inches, allowing just a few millimeters of clearance between it and the GMRS unit.

Drilling and tapping a couple of holes to mount the bracket that will hold the Midland MXT275.

As a woodworker, my brackets are made of beautifully figured scrap that I couldn't throw away from some previous project.
With the radio installed - or at least, awaiting reinstallation of the seat - it was time to work on the antenna situation. My breakthrough came when I realized that 99% of the time, I don't need the full range of the 15W GMRS transmitter. In fact, I suspect that most of my GMRS use will be in CB-like situations, and so no more than a mile or two of range will be needed. And that means that most of the time, the antenna doesn't need to be in the ideal location, it just needs to be good enough. That meant that I could mount the antenna inside the truck... as long as I left enough extra cabling to run it out a window and up to the roof - for the rare moments when I need to realize the full potential of this little beast.
And so, I got to work on my second bracket of this project. This time it had to be steel, since - to my knowledge - there isn't any magnetized wood species as of yet. Luckily, I had a short length of flat bar that I could bend in a few places to make the perfect little perch that would sit in the back corner of the cab, completely out of the way and within just a few inches of windows where it could be run up to the roof.

A little Minwax paste wax will keep the bracket shiny for years to come.

Conveniently mounted out of the way, the magnet is super strong and keeps the antenna firmly in place.
With the antenna taken care of and the head unit positioned under the seat, it was a simple matter of putting together a wiring harness to connect the head unit to the electrical fuse panel that houses my second battery (see MOAR Power, More Redundancy - Dual AGM Battery Install) and get everything connected up.

One red and one black wire are all that are needed when the radio is powered through a Blue Sea fuse block.
The seat went in without fanfare, and after connecting all the antennas, power lines, and microphones to the Ham and GMRS radios, I was ready to go.
Almost.
All I needed to do was to find one other person with GMRS. Who knows, maybe I never will. But at least I can talk about my new transceiver installation the next time I'm hanging out on 146.520. 
Please Support the Airwaves
Unlike CB, GMRS use (over 2W) requires a license from the FCC. This is a bit like Ham, except that there's no test for GMRS. As of 2022, a 10-year GMRS license costs $35 and covers an entire family. That's not much money and helps to ensure that these "reasonably public" frequencies continue to be supported/available and not sold off to the highest bidder, so please do your part to support them.
You can get your license here: FCC License System
Midland Radios has a good page that walks through the process, here: Step-by-Step Getting GMRS License




I have the same in my gen 2. Mounted the controller in the console and put antenna on the hood (hide when I need to). Great recepetion. Now your idea of mounting inside is the better idea and I will reroute mine this weekend. Always felt like the antenna on the corner of the hood was like an advertisement to come and get it.
I considered the hood as well, but figured I'd try it in the cab first - mostly because I liked not having to snake the wire out through some grommet. I'd love to know how/if your reception changes when you move the antenna inside - that's the one thing I'm not sure about.
$35 ?
The FCC charged me $70 a year ago.
Yep, the cost went down by 50% for anyone picking up a license after April 2021. Not often you see that, but I'm not complaining! Really though, even $70 for 10 years isn't a big deal, IMO.
Hah!
After a gazillion years of "nerddom", I guess I've gotten to old to care!
I chose to go CB (already have the GMRS walkie talkies)....I went with a Midland, magnetic mount antenna on roof and cable going out the rear window of pickup. Cigarette lighter power and radio inside console. Simple.
But I do have fond memories of taking vehicles apart to mount radios, old style CBs, antennas... All the nerdy stuff! I loved it! Good memories. Glad to see you are keeping up the tradition!!
Nerd On!
I've been interested in trying out CB for a while now, mostly to try to tune into logging traffic in the woods. However, I've heard truckers don't use CB a whole lot these days (maybe more in the forest). GMRS/FRS has been a great way to get communications going with a group of novices though as you can buy any 'ol FRS radio from Walmart and you're in business.
I'd love to get more into HAM and APRS one day.
Yeah, CB is seeing less and less use these days as people move to GMRS I think. There's still plenty of CB use on public highways from truckers, but that's not always the most interesting of conversation and you just get the conversations of those travelling with you in the same direction, since CB distances aren't that great.
Speaking of logging and radio traffic - we just spent a week in Canada (see Unexpectedly Wet in Canada ... and you can get notified when the actual story gets posted) and up there, every FSR (Forest Service Road) has a designated RR (Resource Road) channel, from 1-35. Anyway, turns out that these are all frequencies in the Ham spectrum, so I printed out a sheet of them before leaving this time and it was a lot of fun to tune in and be in the loop as we wandered our way around!
That’s good to know about logging frequencies! I see tons of CB channel numbers painted on trees or signs in logging areas in the Olympics, I’ve always wanted to tune in and see if I can hear chatter, but haven’t had the opportunity yet.