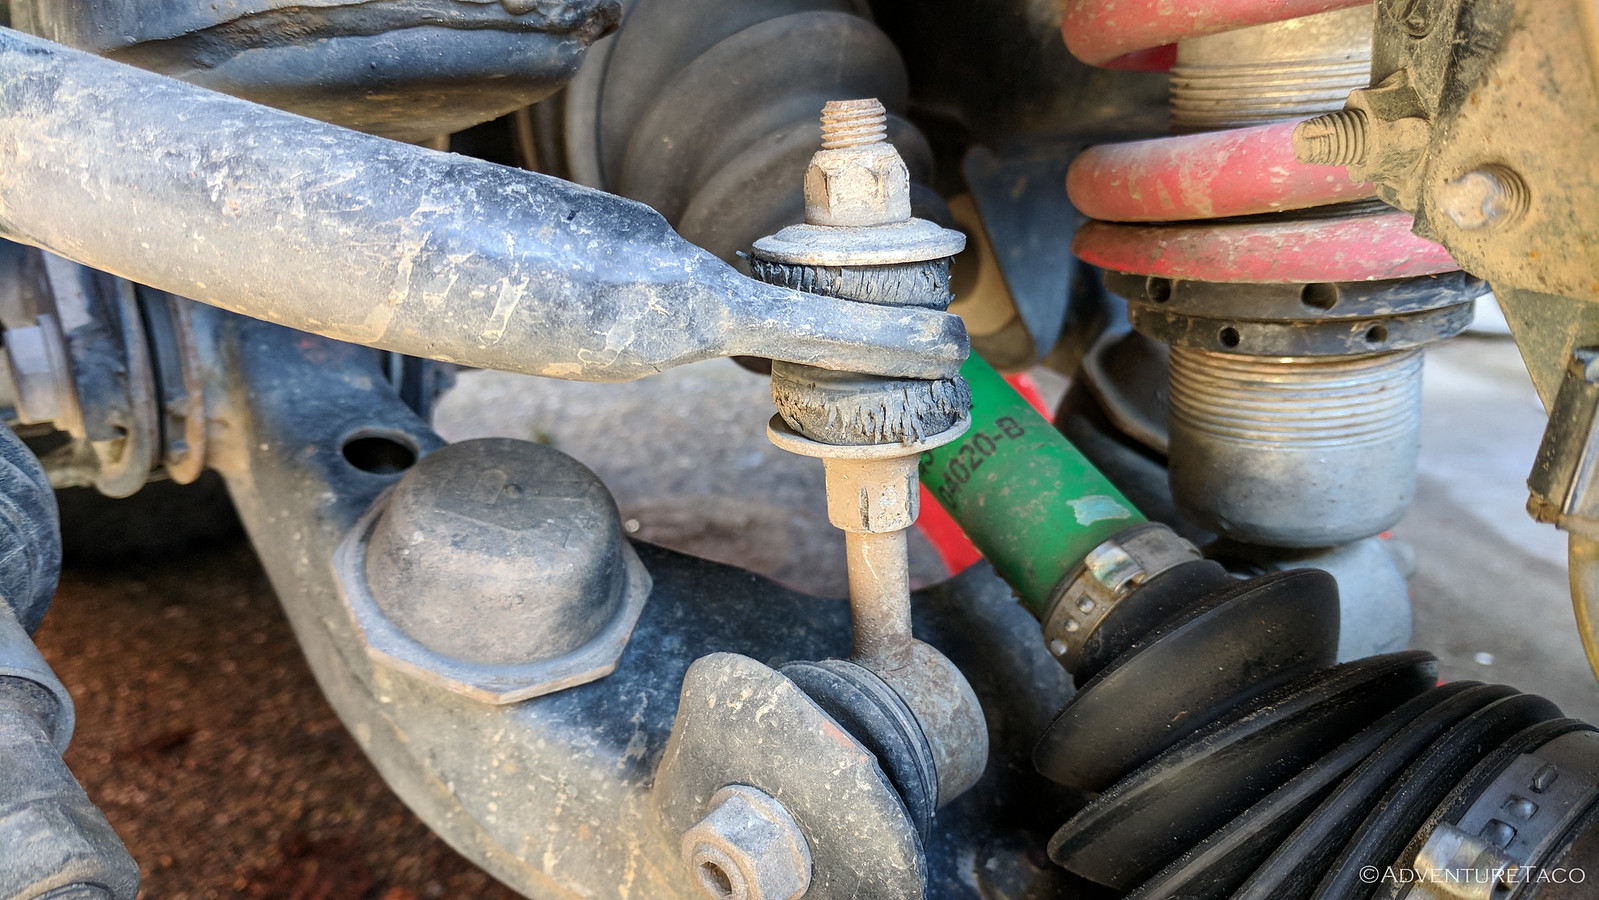
I've never been a car guy. I can tell you all about the details of construction and woodworking - how the various bits of a house work, how to precision tune a saw or plane. But when I looked down and saw two flaking, worn bushings that were connected to "some bar" and my lower control arms, I wondered, "What the heck is that, and how screwed am I?"
As it turns out, that was my stabilizer bar, and I wasn't really all that screwed at all.
But I'm getting ahead of myself.
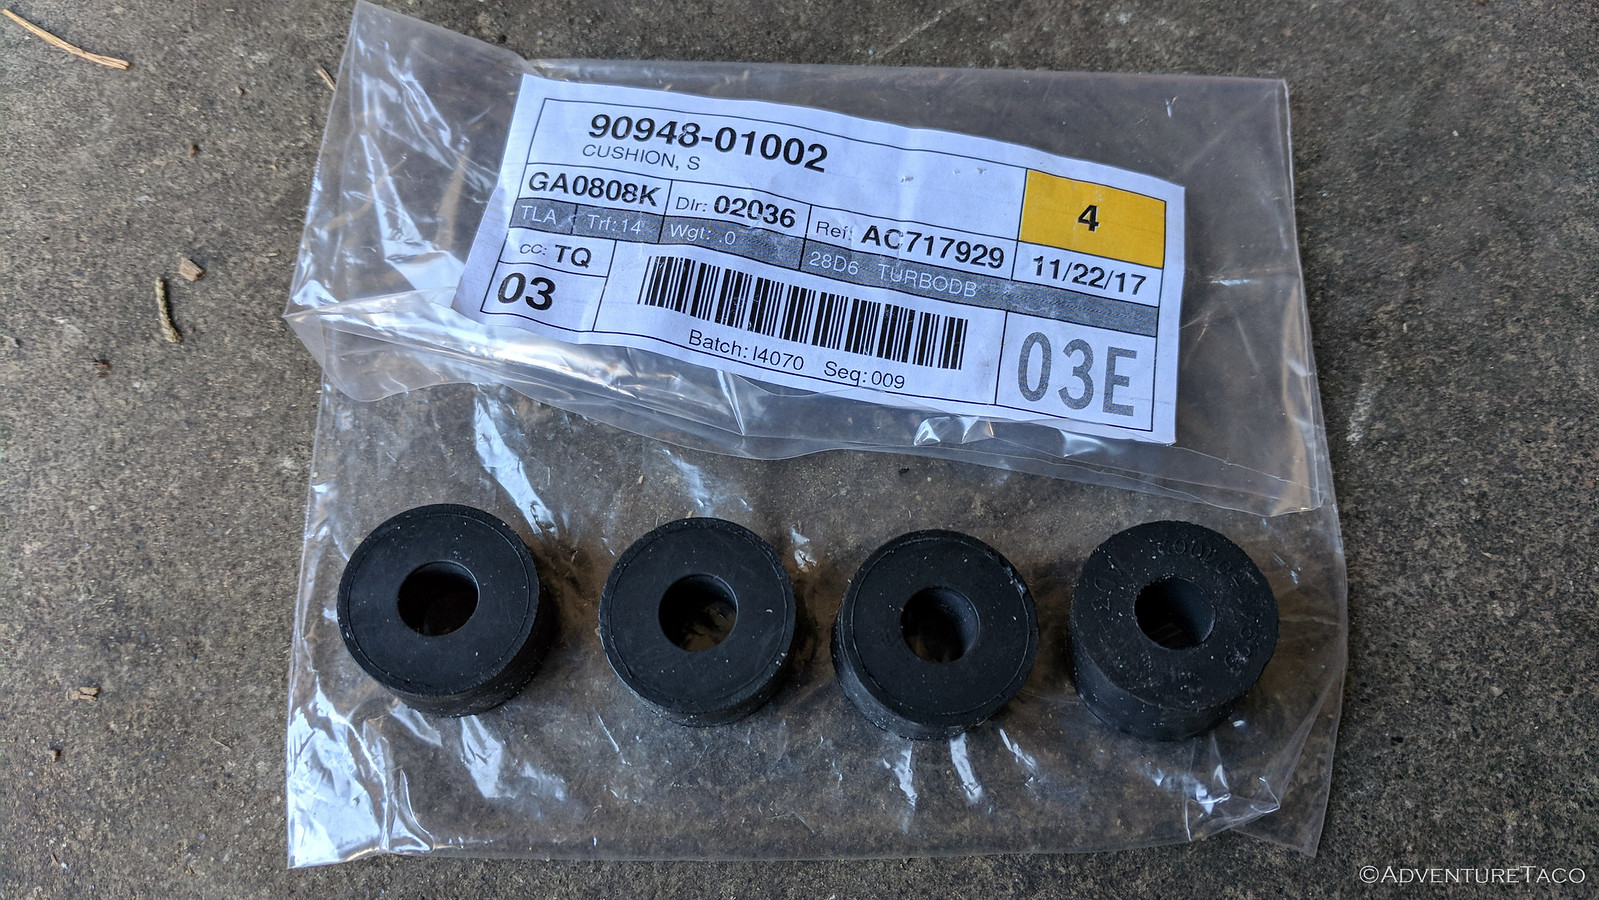
See, the first thing I did was consult my parts list and find out that those bushings are part number 90948-01002 (oem, polyurethane aftermarket); that there are two per side on 6-lug Tacoma's (and surprisingly to me, four per side on 5-lug); and that they are relatively cheap at a couple bucks each. So I ordered them, they arrived, and I promptly set them aside.
See, even though I'm not a car guy, I'm learning (I hope), and at some point between looking at the parts list and reading a billion posts on TacomaWorld, I realized that what I was looking at was probably my sway bar.
And when I realized that, I was in no big rush to replace the bushings. I'd seen many (literally dozens of) folks who'd removed their sway bar entirely, so I figured that even if the bushings complete disintegrated, I'd probably be OK.
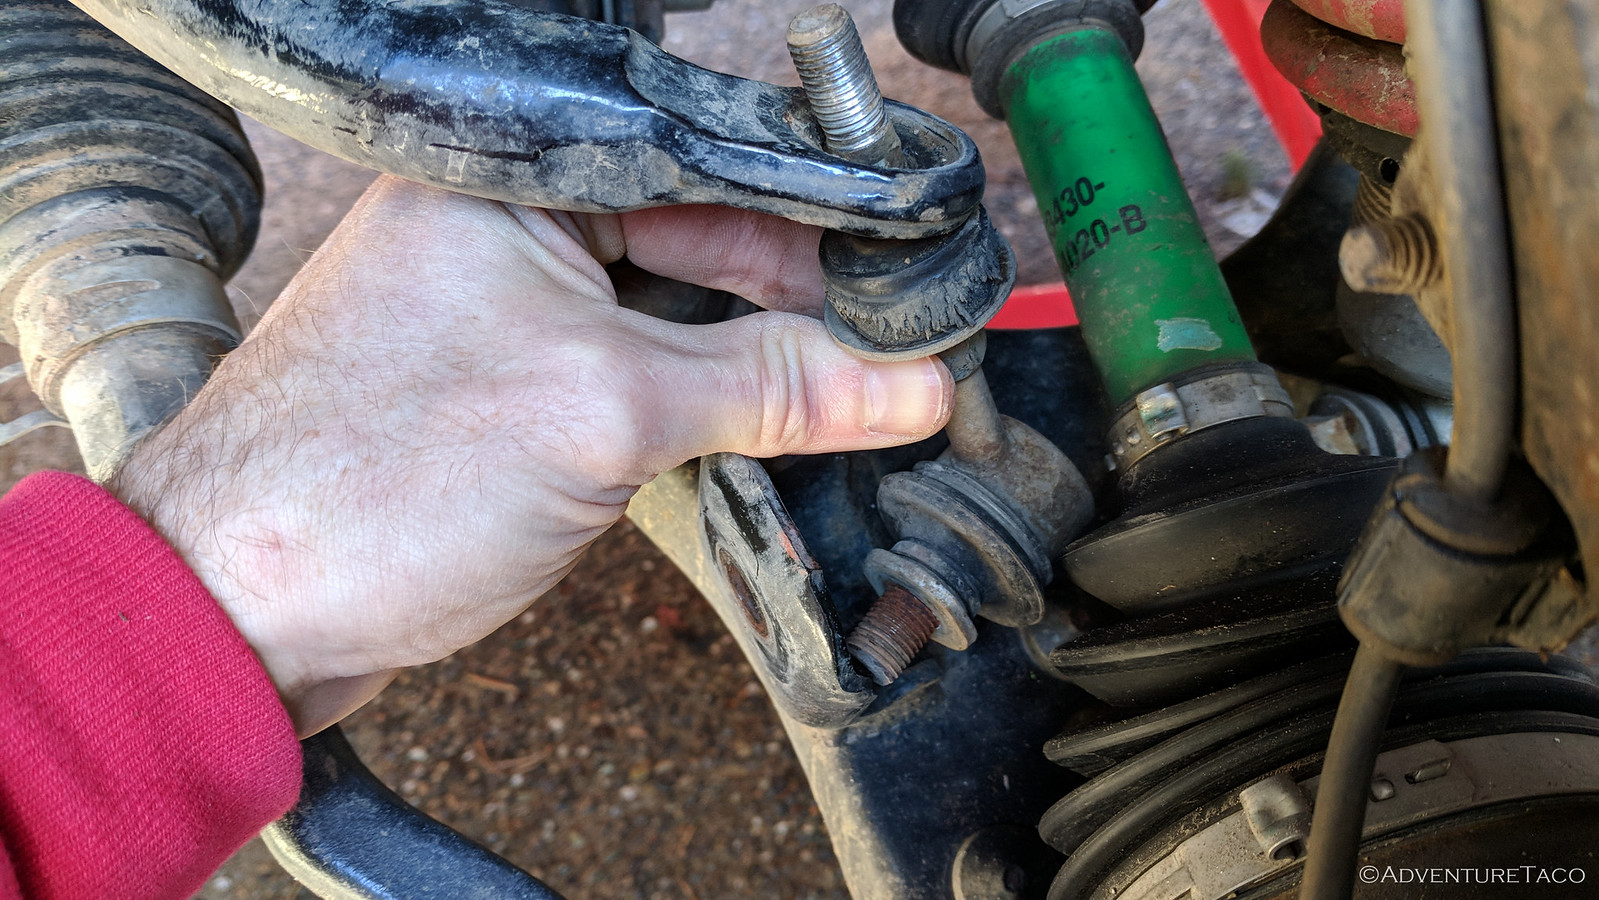
But after a few months, I figured I might as well install the bushings - afterall, I'd paid for them - so when I already had the SCS Stealth6 wheels off to do some more pinch weld bashing to accommodate the 3.5" backspacing, there was no better time. I got started by removing the top nut.
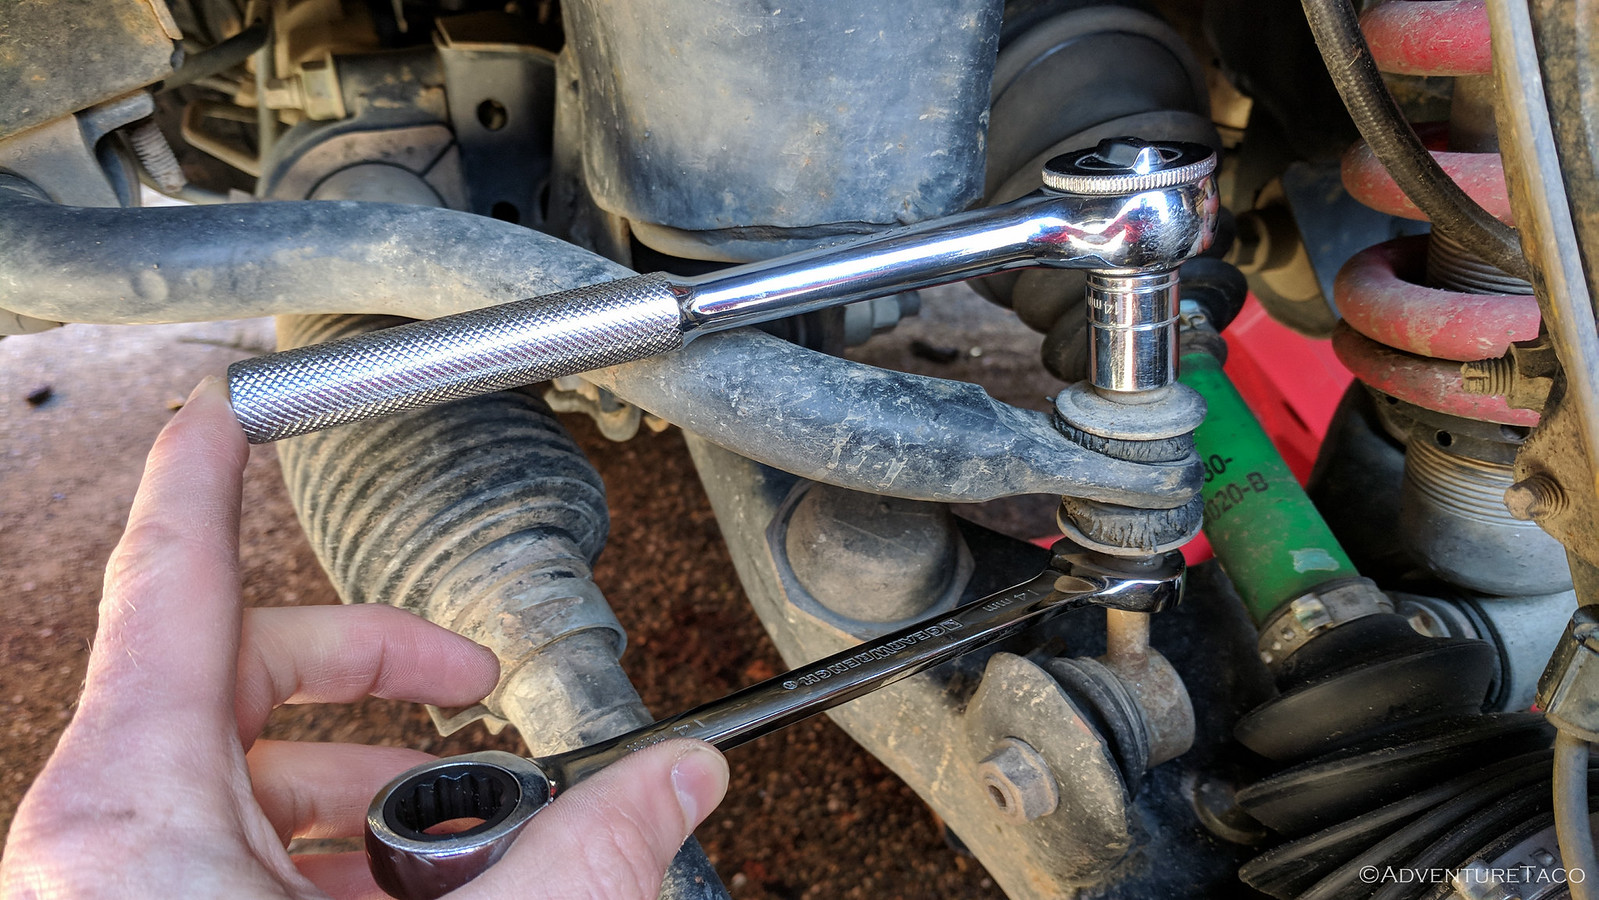
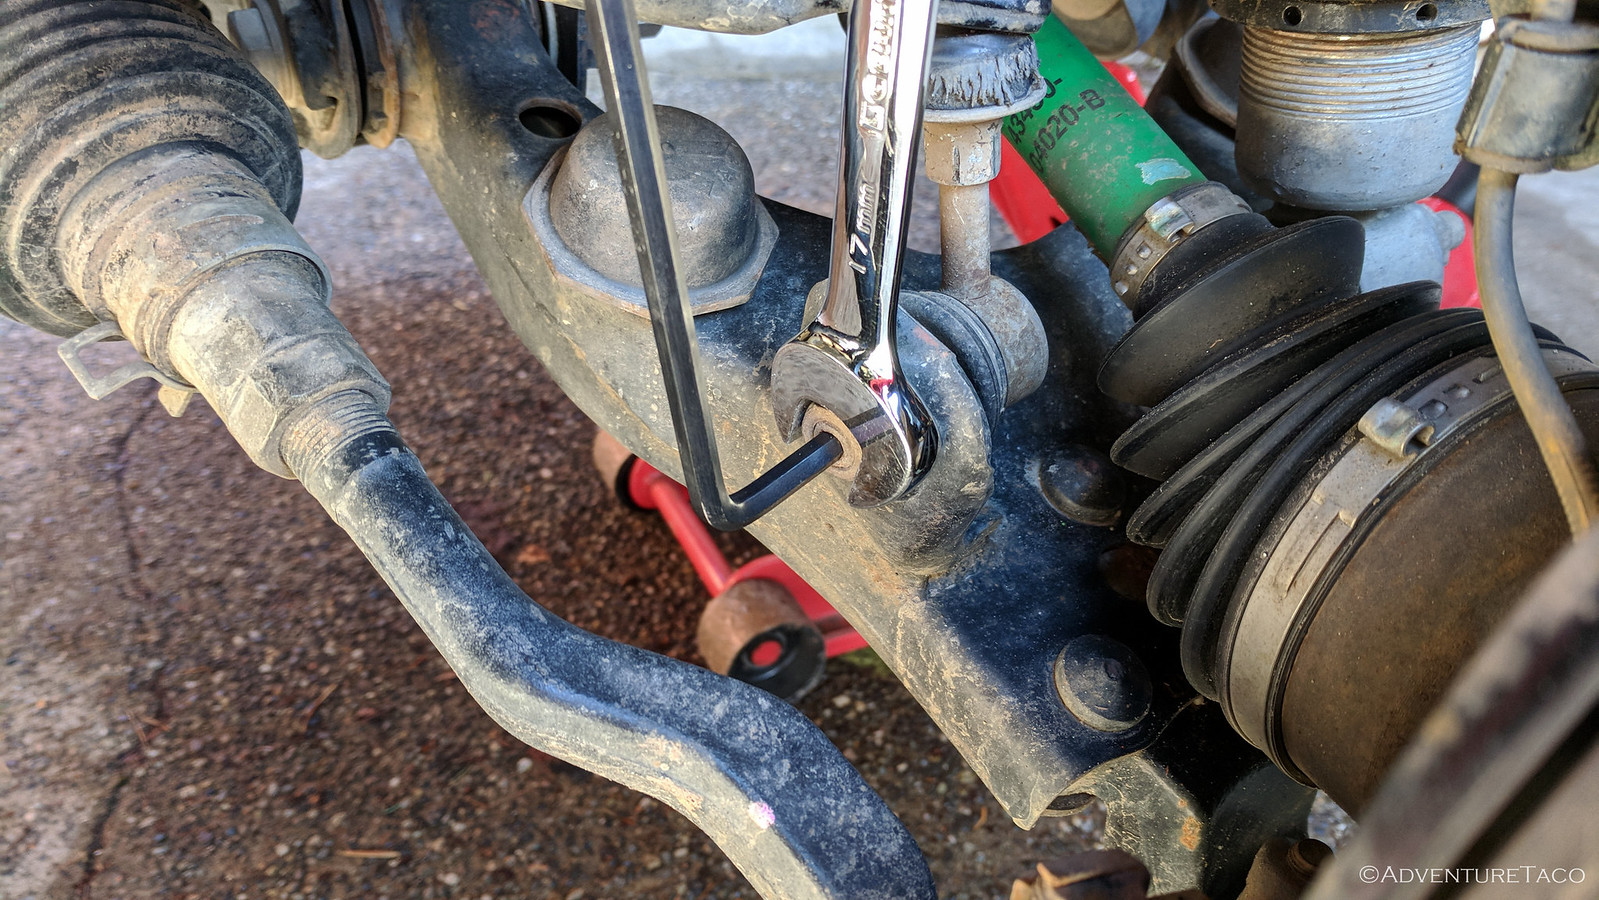
That went smoothly and it was onto the bottom nut that holds the stabilizer link to the lower control arm. This nut had a setup I'd never seen before - the bolt actually has a hex socket in it, to keep the bolt from spinning as the nut is removed. Very cool. With that nut removed, I was able to pivot the link out and access the bushings.
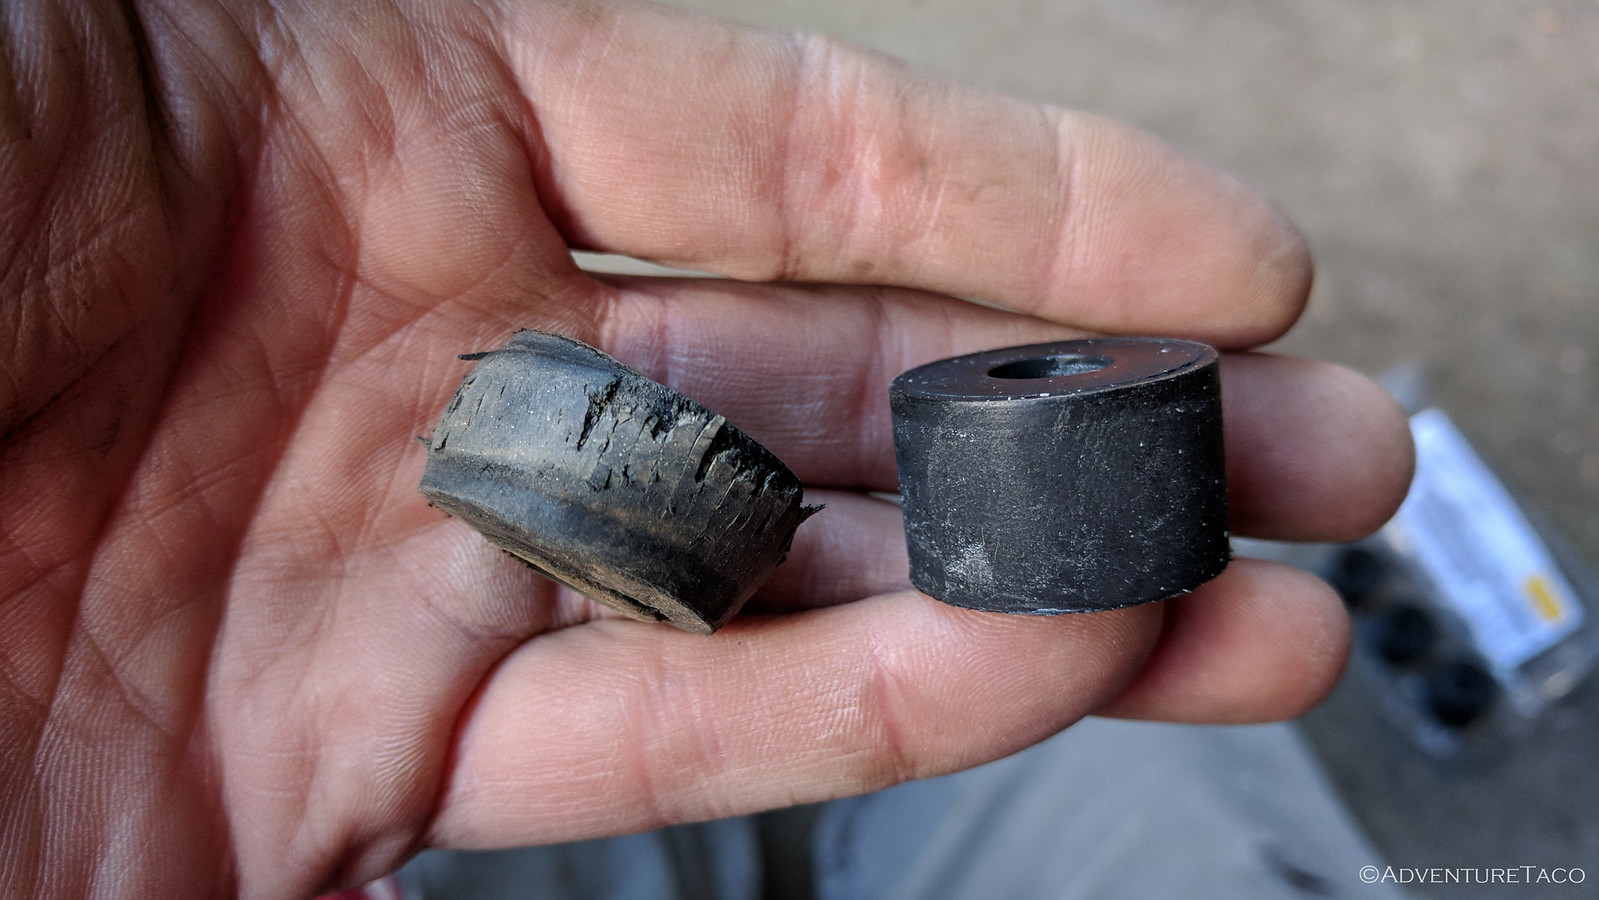
The old bushings were definitely worn compared to the new ones. Understandable I guess - they are original and 18+ years old at this point.
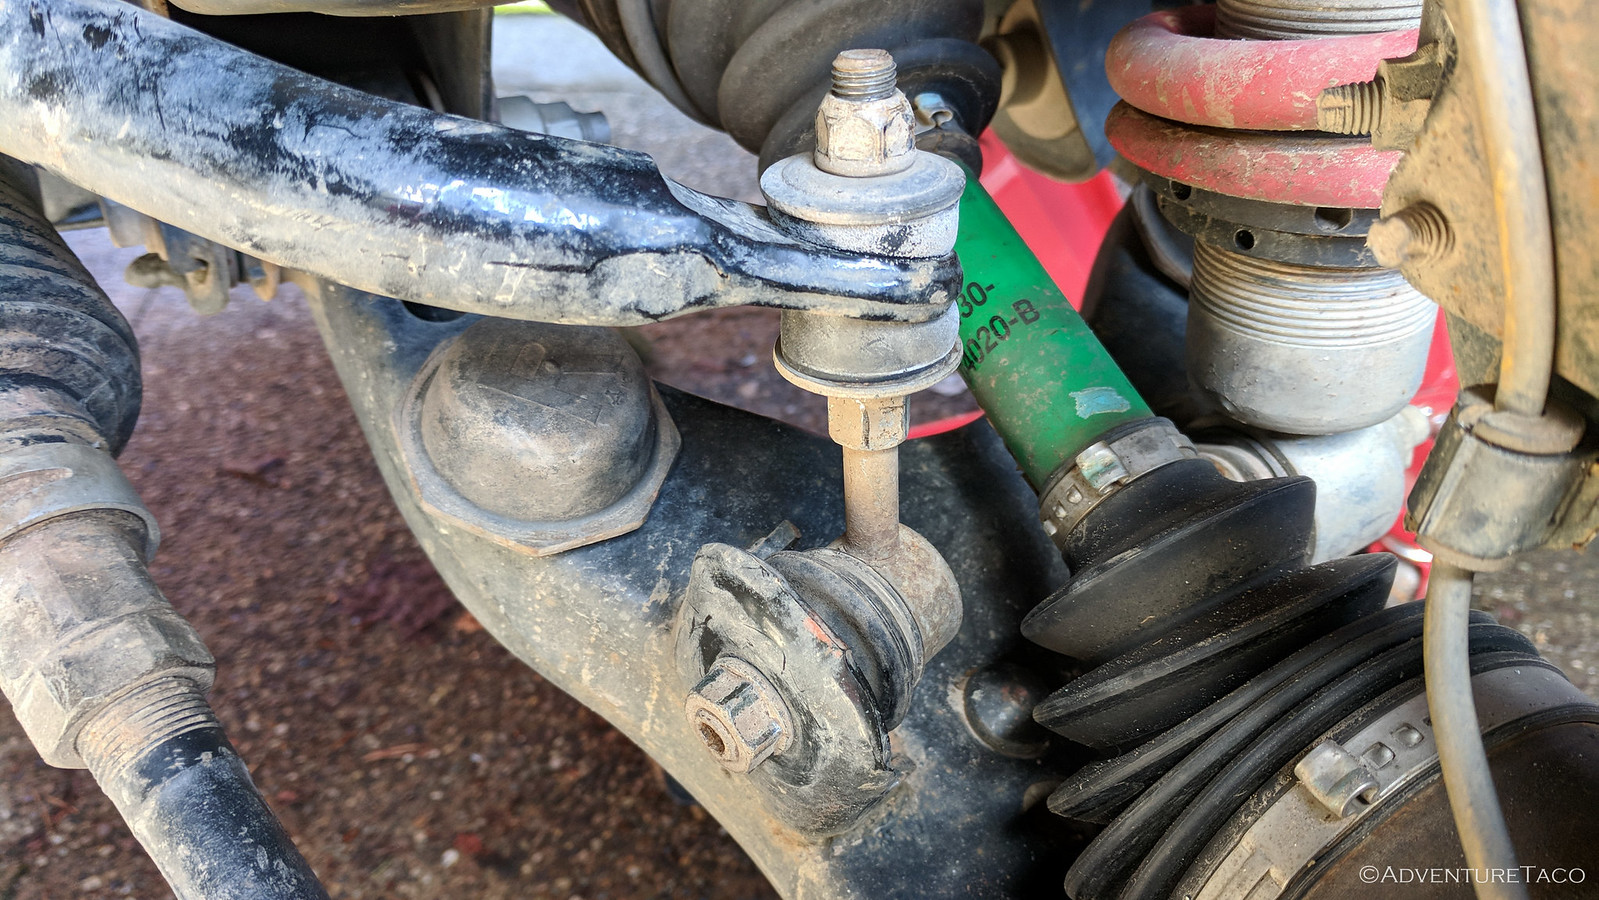
From this point it was obviously just a reverse procedure of removal. Slide on the new bushings, re-insert the link between the LCA and sway bar, and tighten everything to spec (22 ft-lbs for the top nut, and 51 ft-lbs for the bottom).
Easy peasy.
Of course, it's highly likely that sometime in the near future, I'll be removing the sway bar and links completely - about the time I realize that I don't have the same travel as guys with a similar setup - but that's not the point. The point is that I learned something, and some day I might even be able to fix something important.
As you know, I have a 1966 CJ-5 Jeep. You're lucky you even have a sway bar, my Jeep didn't even come with one. However, about 40 years ago, since at that time I was racing my Jeep in off road events, I smuggled a sway bar out of a Jeep ambulance and installed it in my CJ-5. It still has the same rubber bushings! So, to get to the point, I was wondering if I could have your old ones to replace my 40-year old ones?
hahahahaha! They're yours, if they fit. Though, I imagine that anything free could probably
be made to fit. 😉