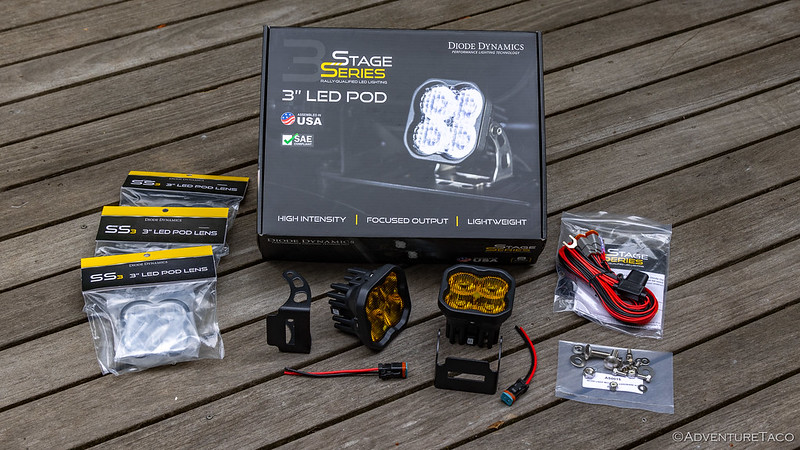
There are so many things I've loved about my Tacoma since the first day I got it. Nowhere on that list has been any of the stock lighting.
Over the years, I've taken care of the most prominent offenders. My first mod - back when the truck was still just a truck - was disabling the daytime running lights. Then, mostly to finish the "look" I was going for (I was explicitly trying to copy another truck I thought looked great at the time) I added Hellas to my front bumper.
But it wasn't until I added fog lights - a pair of Diode Dynamics SS3 Pros - that I really realized what good lights could do. Not long after, I upgraded my headlights using a custom wiring harness and high-powered halogens (the Ultimate Headlight Upgrade) and replaced the Hellas with a pair of Diode Dynamics SS5 Pros. Goodness me. I was suddenly chasing a mile of light down remote dirt roads. It was unreal.
But until now, there's been a glaring hole in my setup. Reverse. Luckily, I'm usually looking out the windshield.
Actually, it's not just reverse. It's everything having to do with my backward-facing lights - reverse, the red taillights themselves, and even my brakes. The situation is not helped by the fact that the RTT obscures my third brake light.
For years I haven't really been sure what I wanted to do. I figured I should do the same thing as Mike @Digiratus - he has a pair of flush mount white pods installed in the Redhead's rear bumper - but I wasn't sure I wanted to drop Diode Dynamics amounts of money on some reverse lights, and I didn't want to cut up my rear bumper for some no-name pods that might not work for very long and leave ugly holes that I couldn't fill.

But then, I discovered the Stage Series C2R. I hadn't ever talked to Diode Dynamics about everything wrong with the rear-facing lighting on a 1st gen Tacoma, so I immediately figured that they'd hired someone who could read my mind. On paper, these lights were everything I wanted:
- An amazingly bright white light output that I could use for reverse.
- A low-output red that would be great to supplement my taillights.
- A high-output red that would act as another set of brake lights.
- Made by a reputable company that stands behind their products, and that will have replacements available should something go wrong.


And so - as so often happens with new hardware destined for the Tacoma - I got my hands on a pair. And then, exactly as you'd expect, they sat in the delivery box on the living room floor - a small cardboard monument to good intentions - for 8 months.
Are You Ever Going to Install These Things?
In my defense, there was a reason for the delay. I got them just a few days after taking the Tacoma to Las Vegas for a winter of exploring all sorts of fantastic places, so my inability to install them until late June - a few days after the Tacoma came home for the summer - seemed like a reasonable trade-off.
I knew installation would be straightforward, if a little nerve-racking. So, I delayed the nerve-racking part - cutting a couple holes in my bumper - and got started by building a custom wiring harness.
Great News on the Wiring - No Relays Needed!
I think a lot of folks might just blindly tap into the taillight wiring in order to power these, but I've learned over the years that using plugs and harnesses makes maintenance a lot easier. Plus, I wasn't sure if I was going to need to use a set of relays for power, or if I was going to be able to take advantage of excess capacity on the existing circuits, and I knew that a custom harness would allow for either.
I knew the custom harness would tie into the existing taillight wiring harness that travels along the driver side rear frame rail, and then under the bottom lip of the bed to the passenger taillights. What I didn't know was whether I'd be using those lights as signals for a trio of relays or as direct power for the C2Rs. To figure that out, I needed to do some maths.
First, I measured the current required by the existing (stock) lights:
- Tail, provided by the low-powered filament on an 1157 bulb: 1.3A x 2 bulbs = 2.6A
- Brake, provided by the high-powered filament on an 1157 bulb: 4.2A x 2 bulbs = 8.4A
- Reverse, powered by an 1156 bulb: 4.2A x 2 bulbs = 8.4A
I already knew - from the Diode Dynamics spec page - that all illumination modes of the C2Rs pulled very little current, but in the name of science, I hooked the lights up to my bench power supply just to confirm the numbers.

High-output red (brake): 0.26A per side
High-output white (reverse): 1.45A per side
I was pretty sure that the wiring could easily handle this tiny increase - after all, trailer lighting is driven directly off the same wiring runs and I've never had a problem - but I wanted to give myself plenty of headroom, and so I picked up a full set of Sylvania Zevo Super Bright LEDs to replace all the stock incandescent bulbs, and bench tested them as well:
- Tail - a red, low-powered LED on 1157 base: 0.02A x 2 bulbs = 0.04A
- Brake - a red, high-powered LED on 1157 base: 0.10A x 2 bulbs = 0.20A
- Reverse - a white, high-powered LED on 1156 base: 0.10A x 2 bulbs = 0.20A
- Indicator - an amber, high-powered LED on 1156 base: 0.10A x 2 bulbs = 0.20A (I threw this in just so all the lights were consistent)

With all the numbers, I didn't even really need to do any maths in order to figure out that the wiring harness was going to be super simple, but I did it anyway.
| Position | Stock | DD C2R + Sylvania LED |
| Tail | 1.3A x 2 bulbs = 2.6A | (0.03A x 2 bulbs) + (0.02A x 2 bulbs) = 0.10A |
| Brake | 4.2A x 2 bulbs = 8.4A | (0.26A x 2 bulbs) + (0.10A x 2 bulbs) = 0.73A |
| Reverse | 4.2A x 2 bulbs = 8.4A | (1.45A x 2 bulbs) + (0.10A x 2 bulbs) = 3.10A |
| Indicator | 4.2A x 2 bulbs = 8.4A | 0.10A x 2 bulbs = 0.20A |
I wouldn't need any relays because the current draw of the C2Rs + LEDs was way below the current draw of the original incandescent bulbs, so the stock wiring would be just fine!
That made the wiring harness super straightforward. A pair of 8-pin DT Series Deutsch Connectors on the stock wiring, and the mating connectors on a harness that would branch off to the new C2Rs.


With the harness out of the way, it was time to get into no-turning-back territory. My first order of business was using the little templates that were provided with the lights to determine the positioning within my rear bumper. I found that I was able to index these on two square surfaces of the bumper, which was really nice.
With the harness out of the way, it was time to get into no-turning-back territory. Time to cut holes in the bumper. Permanent holes. Holes that, once opened, would be mine forever, staring back every time I walked past the truck, quietly reminding me that I was the one holding the die grinder.


Then, it was time to flake some steel. I used a 7/32 drill bit to drill out each corner and the holes that would ultimately secure the lights, and then got to work with the die grinder. First, with a cutting wheel, then with a carbide grinder. Finally, I used a metal file to clean up my still-rather-cringeworthy holes in the bumper.


I took a few minutes to prep them for paint, before spraying on a couple coats of primer and some topcoat so my crappy cuts wouldn't kick off a cascade of rust.

And then, all that was left was to push the lights into the holes and secure them.
Show Us How They Look Already
They look great. Genuinely. Which is a small miracle, because for about ten minutes back there with the die grinder, "great" was not the word I'd have put money on.


I suspect that I'll appreciate these lights just as much as all my other aftermarket additions, but only time will tell for sure. I'll be back with updates regularly, as always.
In this Series