April 2017.
Wires everywhere. That’s how it’s starting to feel with the various accessories that I’ve added to the truck. Sure, I tuck them away here, and zip-tie them away there to try to clean things up, but in the end I still have several pair of wires running from various fuses and relays in the engine compartment to accessories and switches on the truck. As someone who likes organization, it’s always bothered me.
Luckily, there are solutions out there for those of us who like order. There are pre-made fuse boxes from folks like Blue Sea Systems, and there are components from folks like Bussmann, each of which allow you to centralize fuses and relays for accessories.
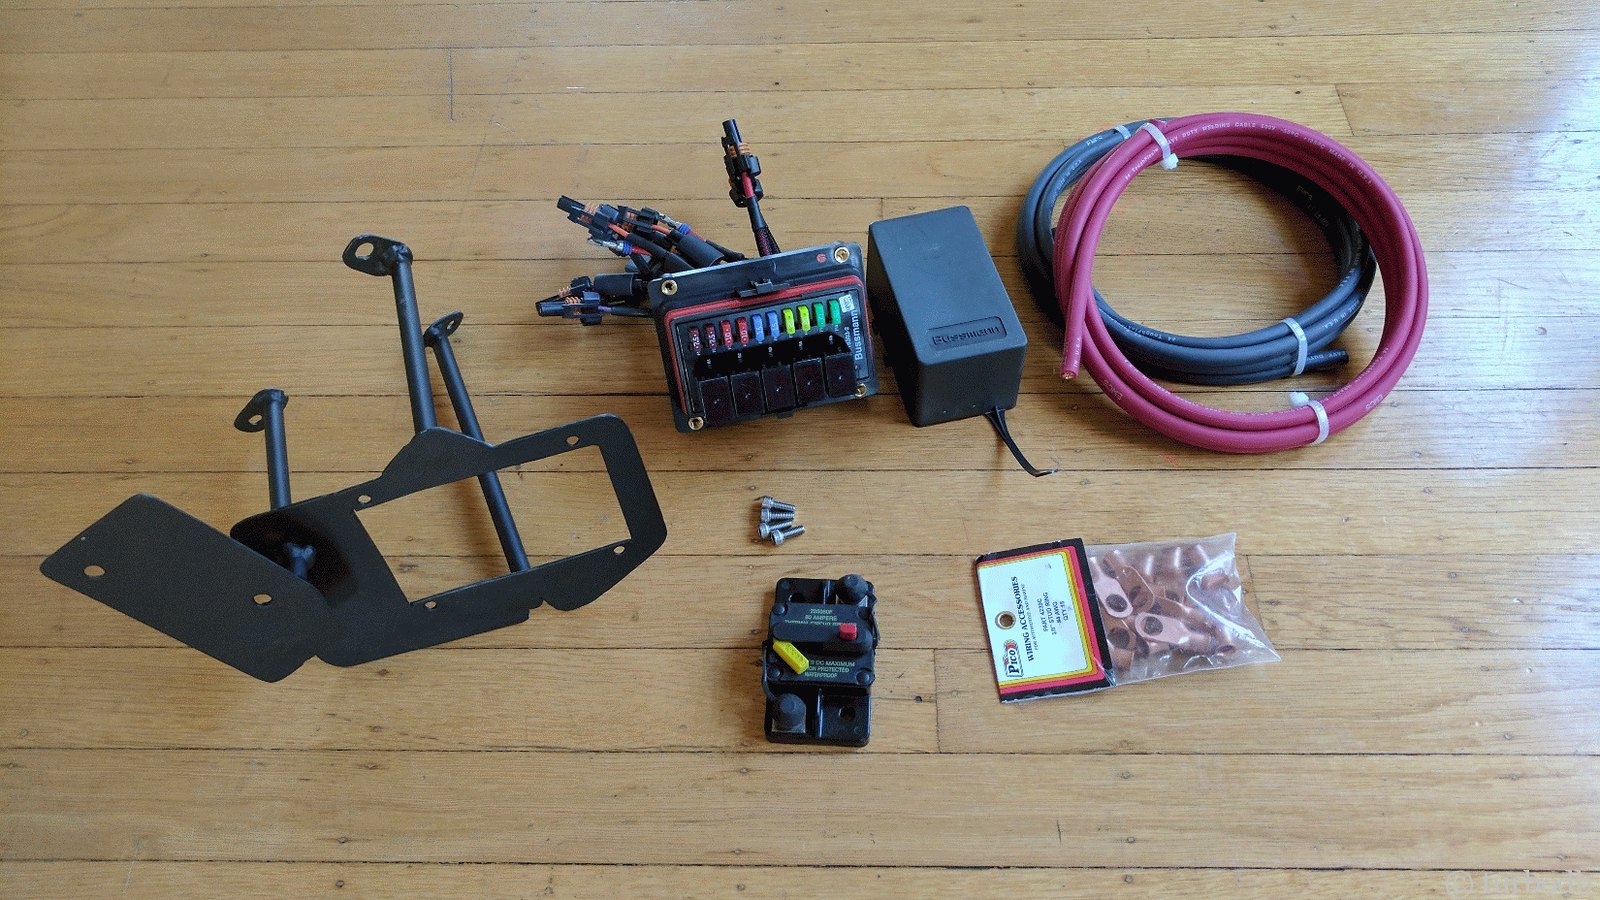
I decided to go with a Busmann box, and because at the time I ordered it (December), I didn’t really want to go through the hassle of building it out myself, I ordered one built for my by @Sandman614. It turned out great. (It also turned out that I ended up ordering a bunch of stuff to complete it - essentially weather proof connectors and such - and so I probably should have just built it myself, but I’m still totally happy with what I got from @Sandman614.)
The RTMR box I’m going with is a 10 fuse, 5 relay model - specifically Bussmann 15303-2-2-4, wired up with:
- 2 relays and 1 fuse with 10 gauge leads
- 3 relays and 1 fuse with 14 gauge leads
- All 5 relays have 18 gauge leads for switches
- A Blue Sea Systems 80A circuit breaker
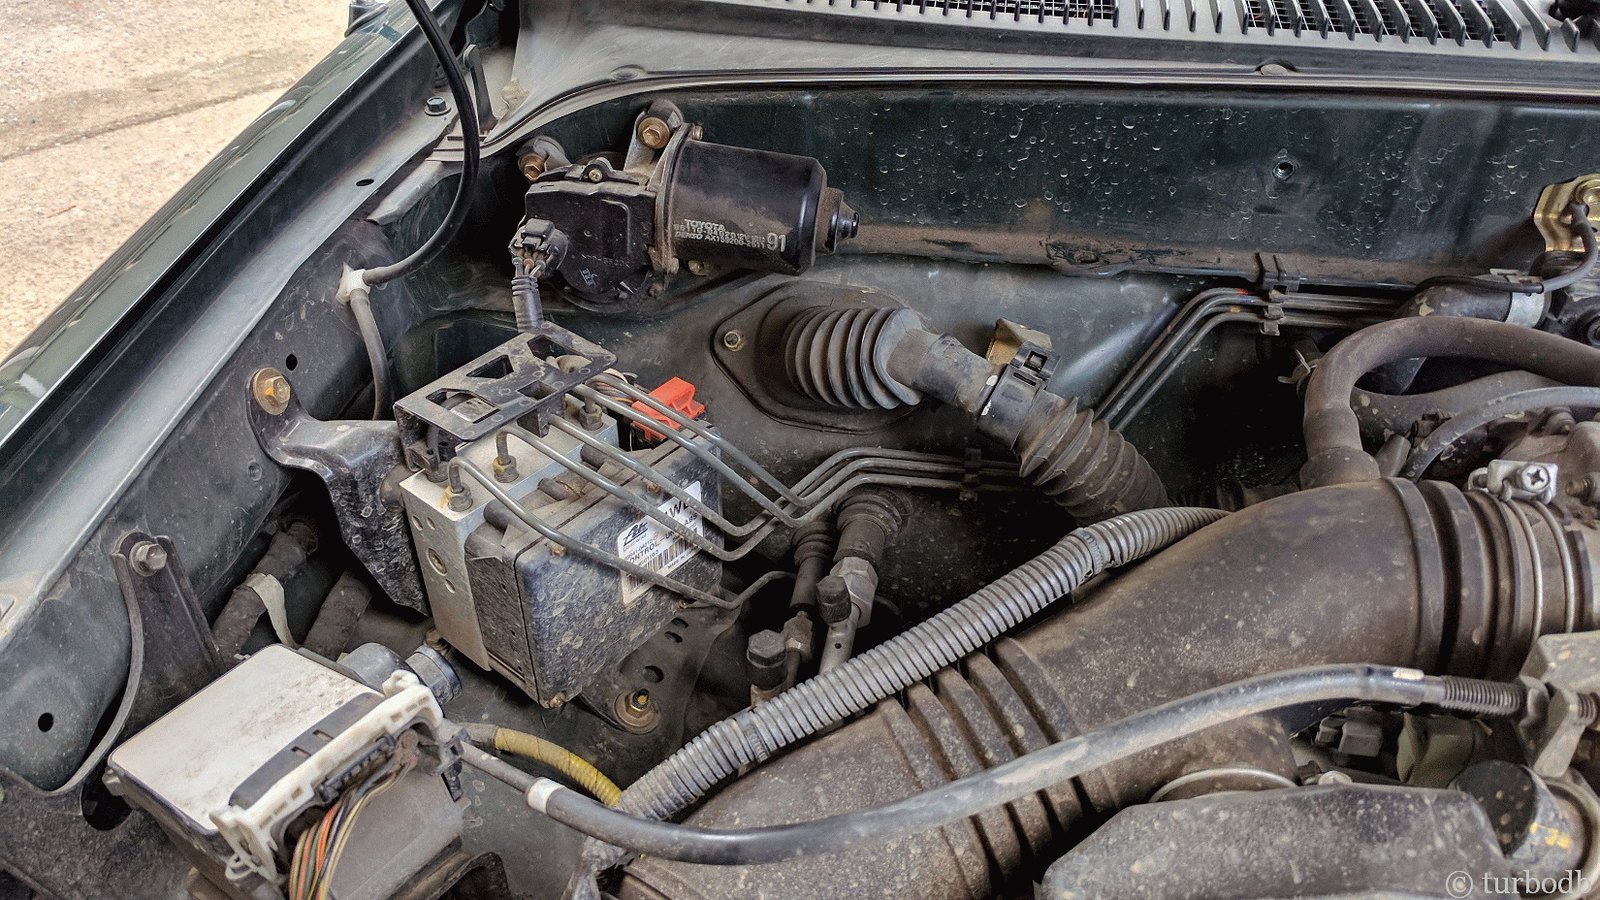
Of course before I could get anything installed, I needed to find a place to install the fuse box and circuit breaker. While not an easy task (a 2000 4WD Tacoma with ABS, AC, and cruise control has apparently the least amount of room under the hood of any Tacoma), I was finally able to find a location where I could squeeze everything, but I’d need a custom bracket.
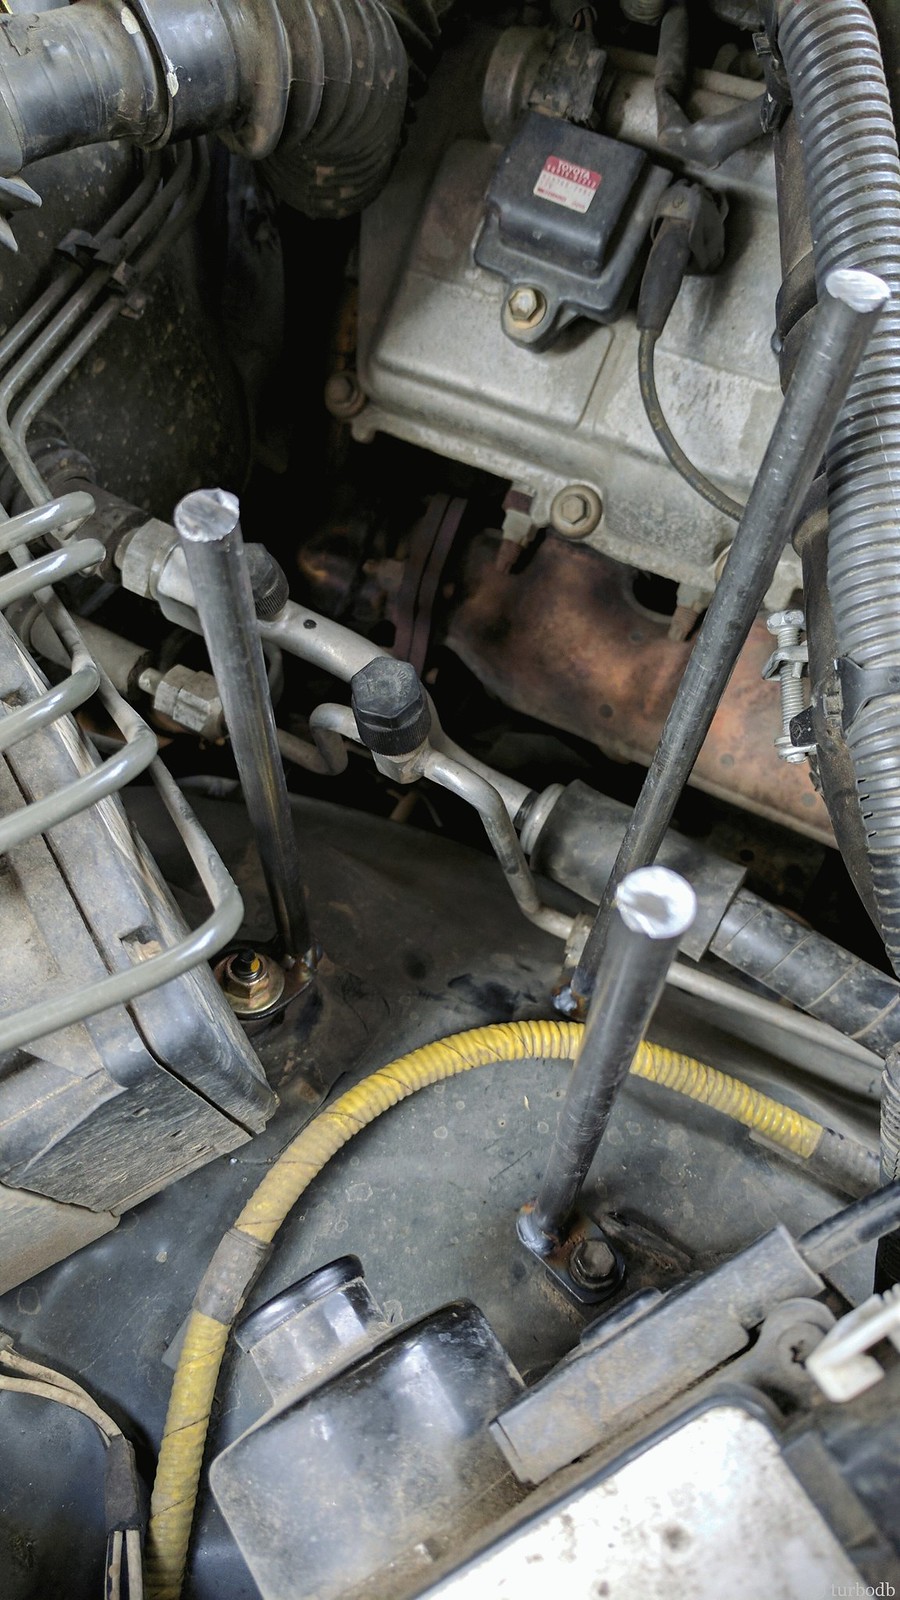
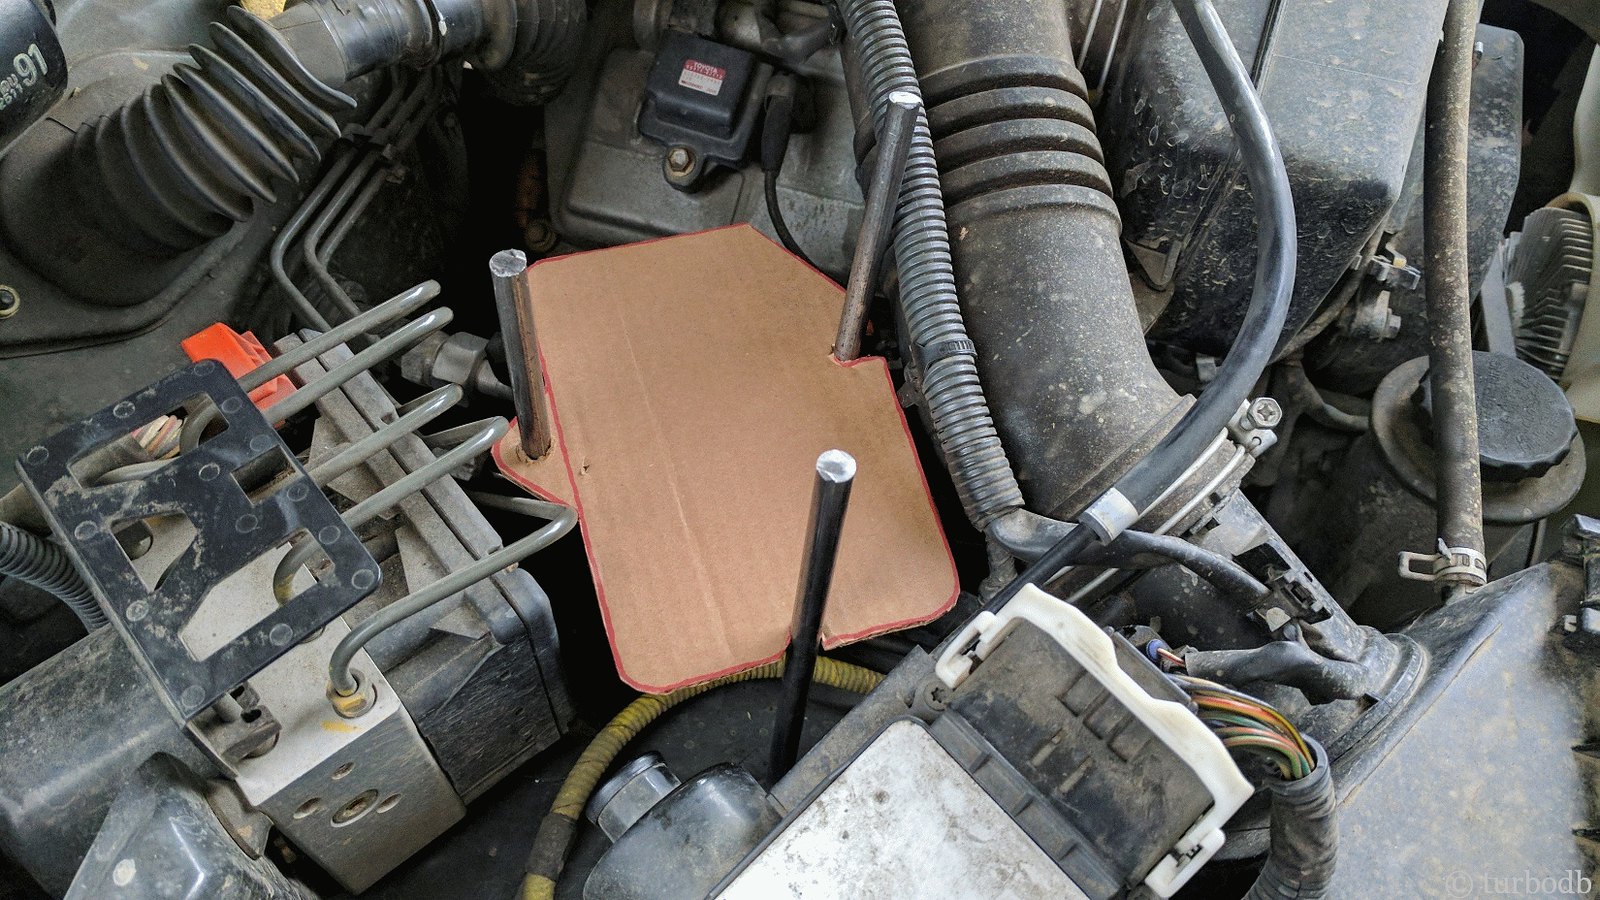
The bracket started with some round rod and sheet metal, which I cut from cardboard templates and tacked together to get “just right.” I ended up mounting the bracket on three existing bolts - one for the ABS ECU, one for the cruise control module, and one holding a pair of brake lines to the inside of the fender.
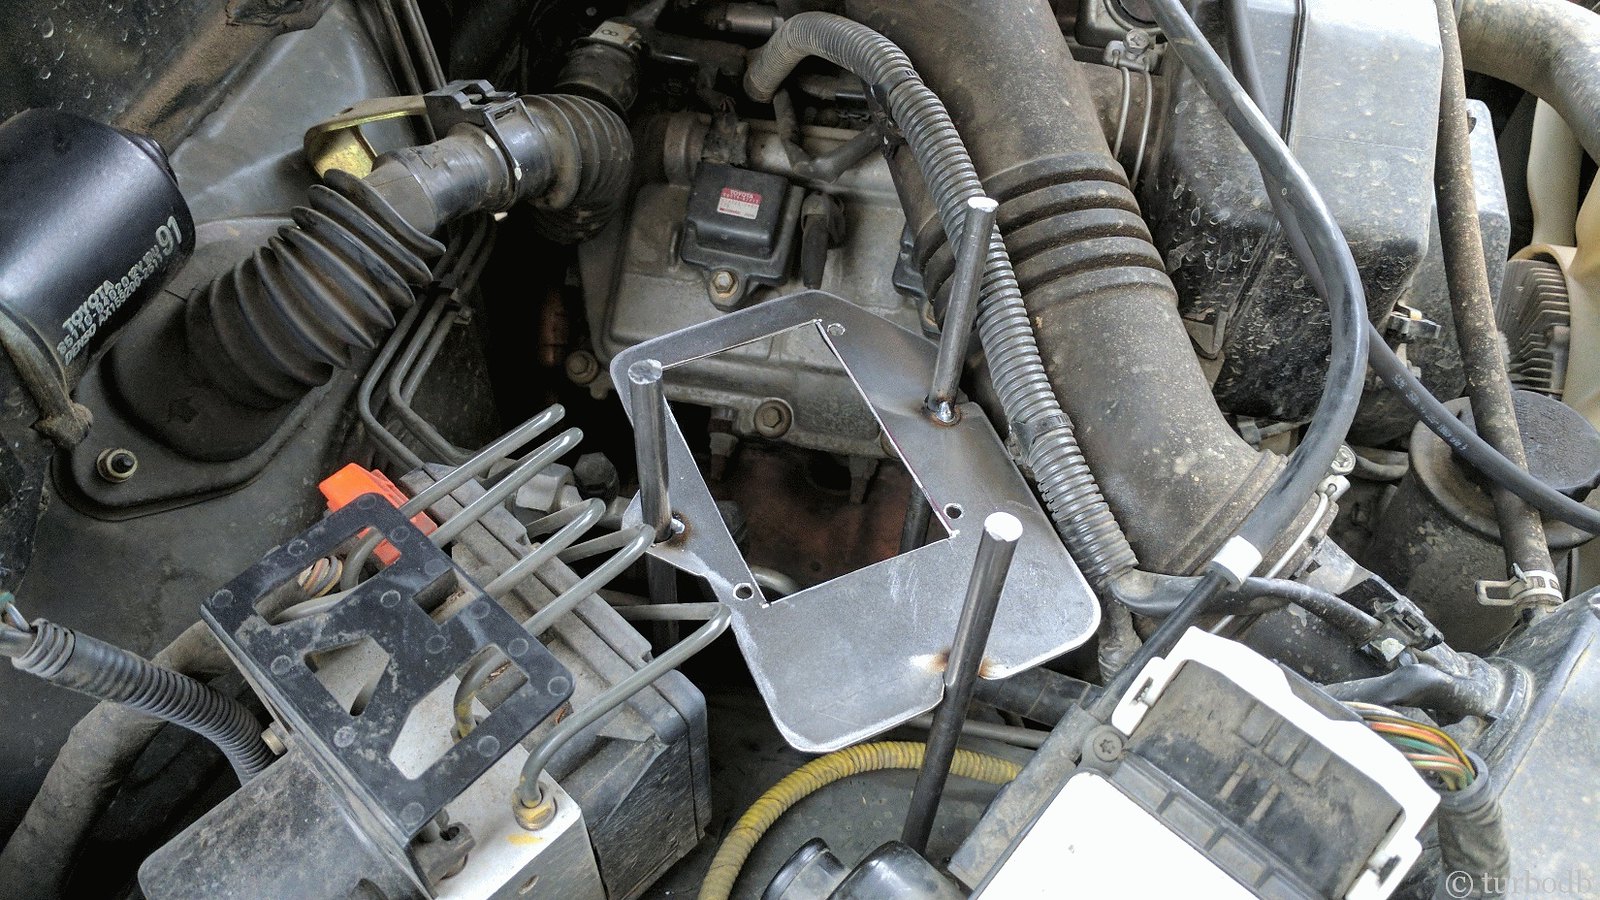
After getting everything situated and tacked up, I pulled the entire assembly out for full welding, grinding, priming and painting.
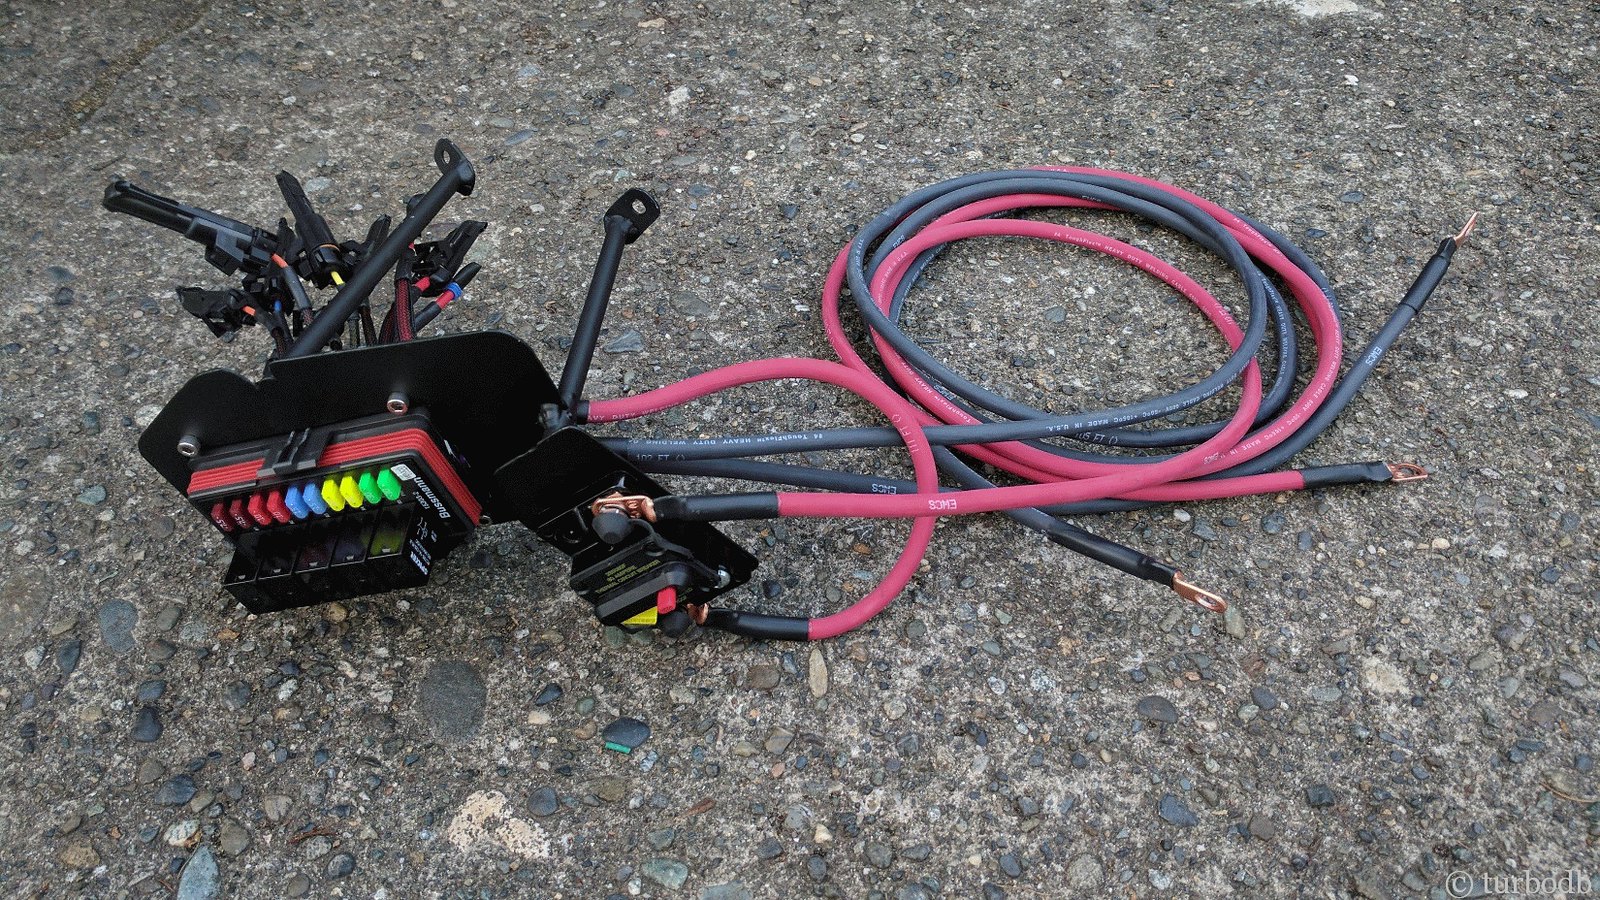
And then I put the project on hold for two weeks. I realized that one of the things I wanted to do was get connectors added to all of the wires - to ease installation of accessories, so I ended up ordering all the other parts I needed in order to get that accomplished, as well as the larger gauge wire I’d need to hook the whole thing up to the battery.
It was at this point - as I was ordering “minimum quantities” of the various bits (in the hundreds sometimes) - that I realized I should have just built this whole thing myself. Life. Anyway, who knows - maybe if @Sandman614 is busy, I can step in and build a few of these for folks now - I’ve got enough supplies to make several. 🙂
For anyone interested in the parts, there’s a great write-up here on how to build your own Bussmann, and I used the parts listed there - Metri-pack 280 connectors and all of the supporting bits. I also ordered some 4 gauge welding cable (10-feet) (20-feet) and lugs from amazon since I wanted only 10’ of cable (vs. 250’).
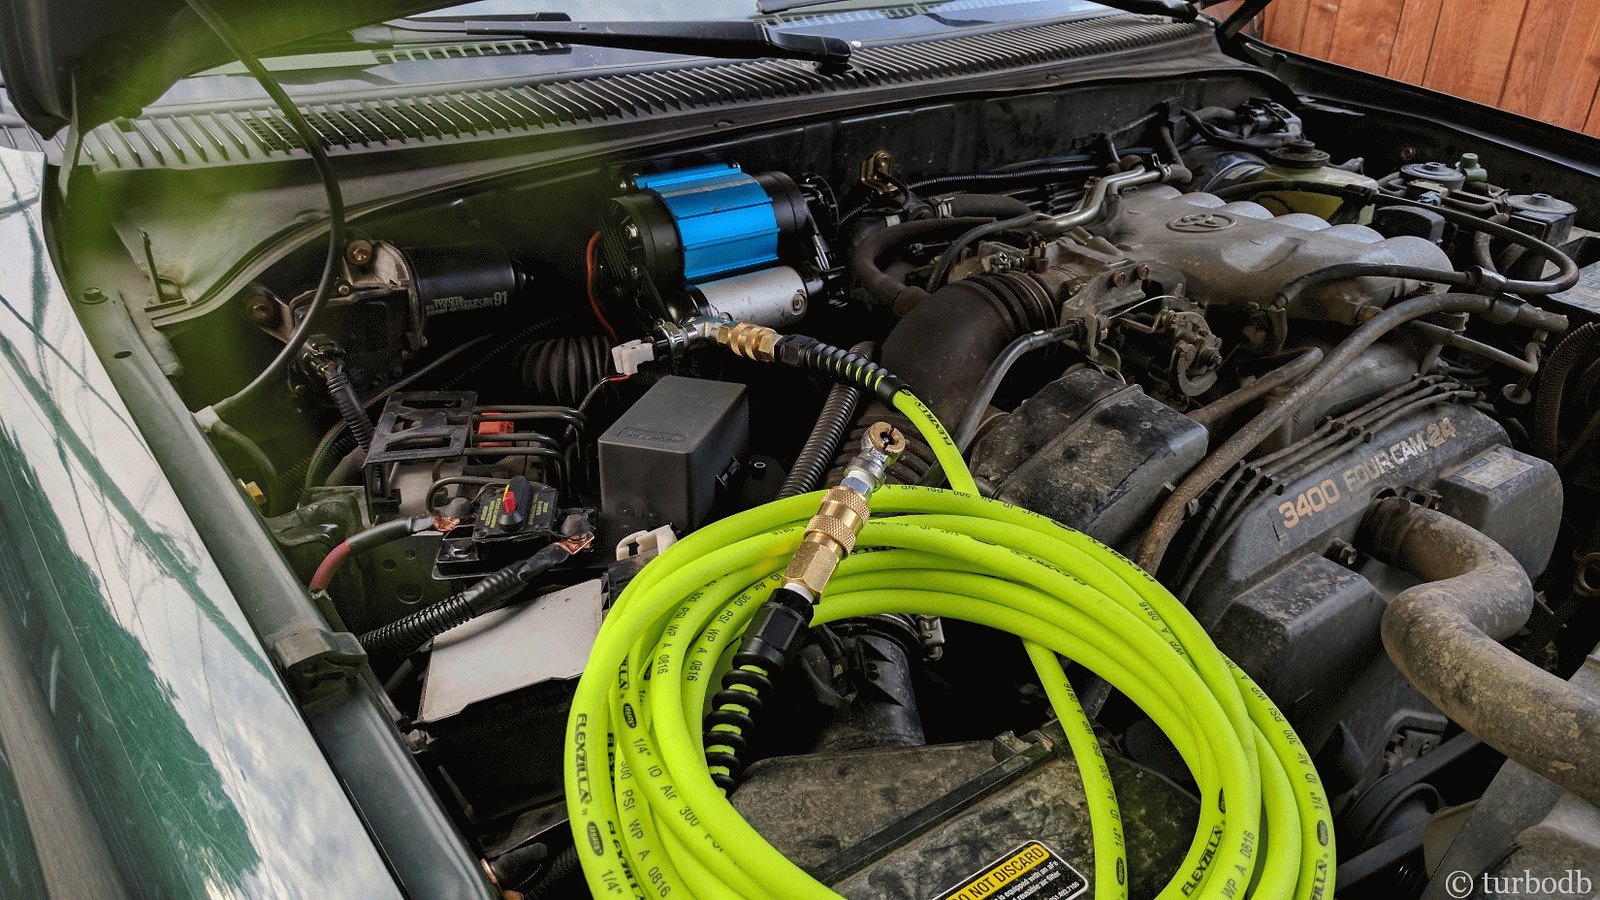
Ready to go, it was a simple matter of bolting in the bracket with the existing bolts, and plugging in the requisite accessories - in this case, my Hella 500’s and an ARB CKMA12 compressor I installed at the same time.
And now, the wiring is oh-so-much cleaner.
Related Mods and Maintenance
")
 House Electrical - 3 month review")


 Battery?")


 quick connect")


")
")
")

 Battery Replaced")
 Battery Seems to be Low")

")