July 23, 2019.
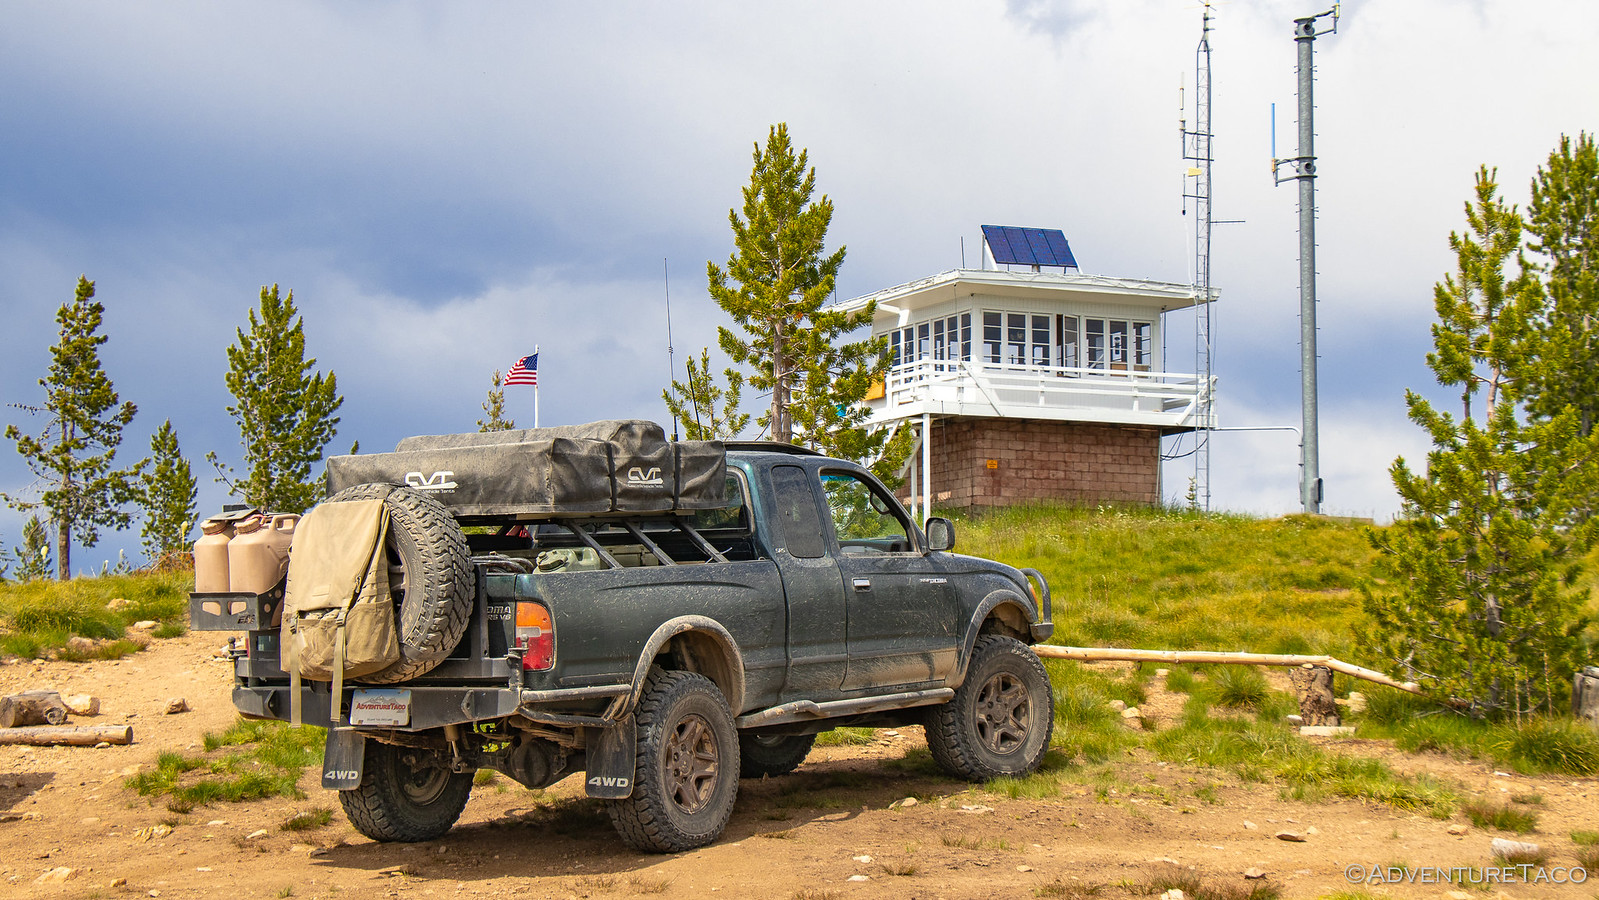
We couldn't have chosen a better spot to setup camp when we pulled up to Rocky Point lookout. Our view east was spectacular, and the clouds and lightning storms from the night before had cleared out, leaving just enough moisture in the air for an amazing sunrise - the orange on the horizon slowly emanating out to a pink before transitioning once again to the deep blue of the clear sky.
Unlike most mornings where a few shots of the glow™ are enough for me and I climb back into bed, this morning was something special. I grabbed my chair and went to enjoy it from the helipad, where we'd spent the evening before watching distant lightning. An already-warm breeze and my current action-thriller (In the Crosshairs) on my Kindle Paperwhite making the morning even more enjoyable.
Eventually, splitting my attention between reading and what was going on around me was more than I could stand. The woman staffing the lookout had come down to say good morning before letting me know that she was off to pick wild huckleberries, and so I made my way back up the hill to capture the scene from a different perspective.
Lookouts it seems are always captivating, but silhouetted by sunrise makes them - for me - irresistible. As the sun worked its way closer to the horizon, I was madly hopping around to different vantage points, trying to capture the moment - always a futile effort.
Finally, as the sun crested the horizon, I took my final shot. Well placed logo there, @Cascadia Tents. 😉
Excited to finally run the Lolo Motorway, I woke @mrs.turbodb (well, not wake as much as suggest she get up so we could get going). We prepped a breakfast of instant oatmeal and fresh blueberries. We'd had the oatmeal on a previous trip and felt it was too sweet, so this time we mixed in a bit of plain oatmeal with the package of Maple and Brown Sugar.
It was a bad idea. One not even rescuable by fresh blueberries.
Deciding to skip breakfast in favor of tent deconstruction, we were soon ready to go - the Lolo Motorway at our finger tips. Pulling out of our parking spot, I asked where my hat was - and that's when we realized that we'd forgotten it at Lolo Hot Springs.
Dang!
But soon, we'd realize - leaving my hat behind wasn't such a big deal. As we started down from the lookout, we noticed a squealing. Thinking it was just something caught in the driver front brake dust shield, I assured @mrs.turbodb that we'd be fine and we continued on - rounding a corner to see the our lookout host headed back up the trail. We shared "good mornings" all around, and marveled at the berries she'd found on the hillside. We thanked her for her hospitality, and graciously thanked her again for her offer to "come back any time," even though our plans would take us hundreds of miles away by nightfall.
And with that, we were off - our plan to back-track a little bit on the Lolo to the point that Mike @Digiratus and I had entered the previous year, and then head west - along a route that many had traveled before us. Except that within a few hundred feet, it was clear that this section of the FS-500 road hadn't been driven in many years. In fact, to suggest that it was a road was giving it a lot more credit than it deserved!
Later, we'd discover that last year's route - which I never ended up running - actually parallels the official Lolo Motorway for several miles before joining up with it in the same place we'd entered it the night before. So, we got turned around and continued on our way...to the sound of a squeaking front driver brake.
Wanting to make sure that everything was going to be OK, it was at this point that I decided it would be good to check things out a little bit. I mean, we'd had no trouble at all leading up to this point, but I cycled the truck into forward/reverse a couple times and pumped the brakes to try and clear up any bit of debris that may have gotten lodged in there and started to squeak.
To no avail - the squeaking continued.
Then, I figured I should check the temps of the brakes - you know, just to see if there was any extra friction. And boy, was there ever. A bit of water sprayed on the passenger side rotor just spilled off onto the ground, while on the driver side - it immediately boiled upon hitting the hot metal. This was clearly not good.
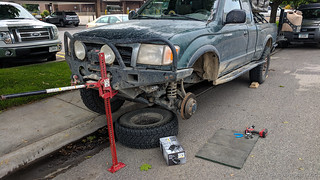
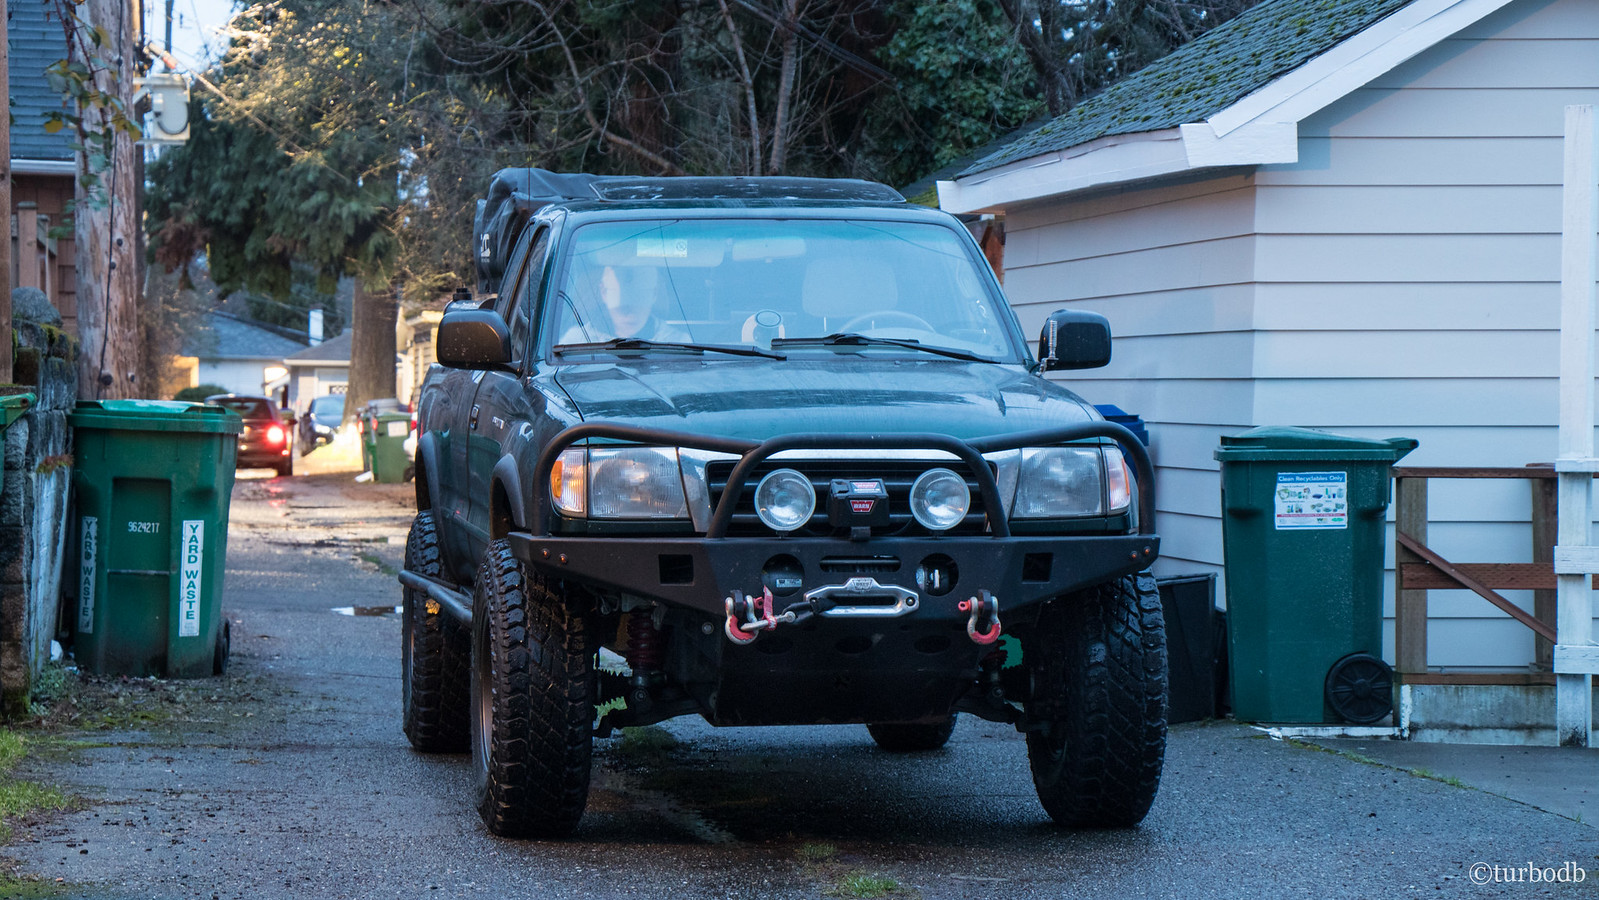
I found a spot to pull over and into the shade and proceeded to jack up the front of the truck, the @Relentless Fab bumper having - unnoticed to me before this incident - strategically placed cutouts for the Hi-Lift. ?
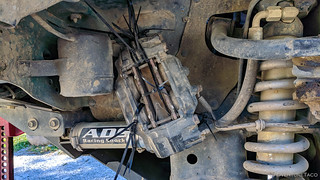
It was quite clear after removing the wheel and tire that my driver side brake caliper had seized. The outer pad was significantly worn, and I was unable to compress one of the pistons into an open position at all. Houston, we have a problem.
Knowing that we couldn't continue with things as they were, we ultimately decided to descend from the Lolo back down to Highway 12 and to the Lochsa Lodge, where we hoped to use their phone to call Napa in Missoula in order to get a new caliper. So I pried the caliper as far open as I could, reinstalled the wheel, and used only engine braking to make our way back.
Upon arriving at the lodge, they were extremely accommodating - allowing us to use both their land line phone and WiFi to coordinate the parts. I gave Napa a call, and was assured that - while they no longer carried the Eclipse brand 13WL calipers that I'd installed when I'd done the Tundra brake upgrade, they did carry 13WL calipers from a new vendor, and they had one in stock.
Knowing that it would be less-than-ideal and possibly disastrous to drive the 55 miles to Napa with my caliper seized, a quick text-exchange with Zane @Speedytech7 confirmed my plan to zip tie the caliper into the wheel well and drive back using engine braking and the e-brake was the right plan (to avoid cooking things like my wheel bearing). So - once again, this time in the Lochsa parking lot - I pulled out the Hi-Lift and got to work.
Fashioning a spacer with a piece of one of my 2x6 levelers, and with what seemed like several billion zip ties, I got the caliper secured well enough that I felt safe driving.
Safe enough was of course relative, and it assumed that there would be no tight right hand turns of any kind - the rubbing of my tires on the ADS reservoirs nothing compared to the disastrous amount that would occur on the caliper.
With many thanks to the good folks at Lochsa - and @mrs.turbodb delighted about having purchased two additional books for our journeys (Roadside History of Idaho and Roadside History of Montana) - we aired up and set off.
Perhaps the most uneventful part of the day, our drive to Missoula was actually quite pleasant. We tooled along at highway speeds, the highway one of the more beautiful we've traveled, and the knowledge that we could recover my hat, a silver lining to the breakdown. And, for me, it was a fun challenge - a 55 mile drive with no brakes - that I am happy to say went off without a hitch, only one short use of the e-brake needed at a long red light.
A new caliper and a few new crush washers easily obtained at Napa, we found some shade a block away and I semi-confidently set about fixing caliper, the first steps - of course - to get the truck up on the Hi-Lift for the third time in as many hours, and then spend 10 minutes cutting out all of the zip ties that had successfully served their life's purpose.
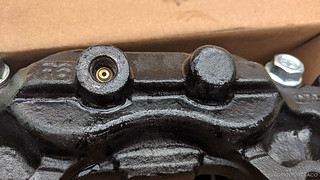
Now, I say I started this job semi-confidently because - as I'd looked at the new caliper provided by Napa - I knew it didn't look quite right. There were two issues with it, both a result of the vendor's rebuild process. First, it looked to me that the threaded hole into which the banjo bolt would thread was too shallow for the bolt I had. Second, and perhaps more worrisome, the surface for the banjo bolt was powder coated (vs. being machined).
Hoping for the best, it wasn't long before I had the new caliper bolted up and the brake pads moved over from the old caliper.
And now, it was time for the moment of truth. I removed the banjo bolt securing the brake line to the old caliper and tried to stem the gush of brake fluid as best I could as I maneuvered it into position on the new caliper. As I hand tightened it, I could already tell there was going to be a problem - the bolt was much too long - and even after tightening it with a ratchet, there was a good 1/16th of an inch play in the banjo. Crap.
In addition, the new crush washers I'd been given were quite clearly too big - so while @mrs.turbodb ran back to Napa, I removed the banjo and used my fingers to apply pressure and stop the brake reservoir from draining out. And then I waited. Turns out that Napa had "misplaced" the container of crush washers, and it was a good 20 minutes before they could finally put their eyes on it. Then, they felt like they didn't have the right size - the inside diameter of their closest washer being about .5mm larger than what I had installed on the truck - so they refused to sell them to us. What!?!
Finally though, after much convincing that there was no alternative, @mrs.turbodb was able to purchase the washers and ran them back over to the truck. Stacking washers - and asking for trouble - I was finally able to get the bolt cinched down enough that nothing was dripping out on the side of the road.
And I hoped it would be enough.
I cleaned everything up as best I could, got the wheel re-installed, and then we headed back to Napa to return the old core.
I don't know if we got a bum Napa shop, or just bum employees, but the core return was just as wonky as the purchase and crush washer process had been. I'd paid full price for the new caliper - knowing that I could return the old one for a warranty refund - and for some reason it took 15 minutes to convince the person helping us that I should get more than $2.47 refunded to my card. 
But, we finally got it sorted, and hoping that everything was good, we found a taco joint that promised delicious meats wrapped in tortillas where we could rejuvenate ourselves before heading back to give the Lolo another try.
To think that we'd get off so easy though would be naive. As we pulled into the taco shop, I took a look at the caliper to make sure there was nothing leaking out through the stacked crush washers. There was brake fluid everywhere. 
Our tacos were eaten - but not truly enjoyed - as we discussed next steps. Dealing with Napa had taken way longer than we'd expected, and it was getting close to 4:00pm at this point. We formulated a plan to check with the local Toyota Dealer, as well as a couple local brake shops, but in the end those options all fell through. Toyota wanted $407 for a single caliper ($37 over MSRP) and couldn't get it delivered for two days. Local brake shops couldn't get us in for two weeks - and to my surprise were unable to fabricate a hard line adapter for the caliper (like this Tacoma-to-Tundra Hard Brake Line Upgrade Kit), so didn't really have any ideas on how to fix the underlying issue.
Wondering what to do, it finally dawned on me that I could give O'Reilly and AutoZone a try. Historically, the general consensus has been that Napa remanned calipers are the ones that fit - but perhaps that's outdated knowledge. Perhaps, in the same way that Napa calipers no longer work, calipers from another part store do work. It was worth a shot, and both O'Reilly and AutoZone had a caliper in stock.
We ended up at O'Reilly - it was on the closer corner as we approached them both - and picked up a caliper that looked like it might work. The threaded hole was deeper, and more importantly the mating surface was machined so it would seal against the crush washer.
So, it was back up on the Hi-Lift - this thing had really gotten a workout today - for another brake change. Now an expert, the entire process took less than 15 minutes, and as I tightened down the banjo bolt, I knew everything was going to be fine. Now, with the correct number of crush washers, and a flat surface to mate with, everything was snug - just the way it was meant to be.
We quickly got the core returned and after a quick shower at the local Flying J Travel Plaza, we headed out of town. By the time we arrived at the Lolo Hot Springs to get my forgotten hat, it was a little after 7:30pm, and we decided that our best bet - you guessed it - was to head right back where we'd started the day - to Rocky Point Lookout. After all, though I'm sure none of the three of us had thought it would happen, we had been offered to "come back any time." 🙂
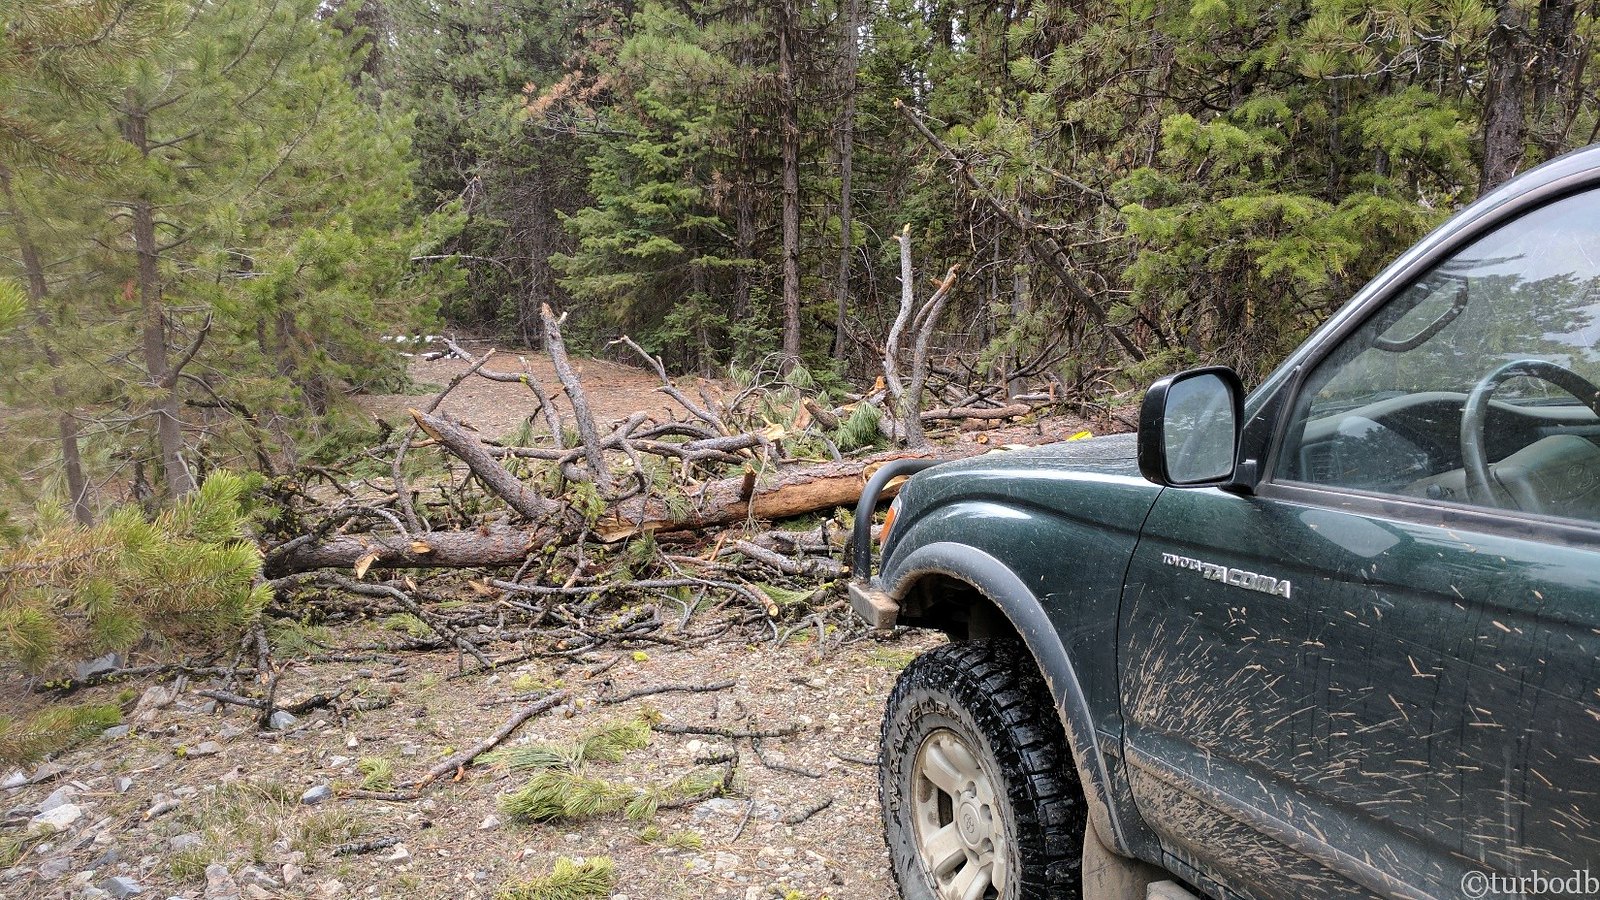
As we pulled in just after sunset, the greeting we received was warmer than we could have ever anticipated. All of us happy for the other's company, we each shared our events of the day - hers nearly as exciting as ours, having been caught in a hailstorm and needing to cut 10 fallen trees from the road in order to return to the lookout - as @mrs.turbodb and I cooked up sausages and green beans for dinner. It was, in my opinion, one of the nicest ways to end what had been a completely unexpected road bump in our trip. After an hour of chit-chat and general merriment, we each retired to our evening routines before calling it a day.
A day the likes of which we hoped to avoid for a long time to come; a day we could only refer to as The Curse of the Lolo Motorway.
Epilogue
As a short aside to the story, I think it's prudent to share a couple thoughts I have about the caliper issue we encountered. I'm sure I'll cover these in more detail in a future post, but for now, here are the summaries:
- The tribal knowledge that Napa remanned 13WL calipers are the ones that work best for the Tundra upgrade is no longer correct. If you can't get your hands on part numbers (L: CAL SE3263) (R: CAL SE3264) - or even if you can - the important thing now is to physically verify that the surface face of the brake line hole is machined/polished and not powder coated/painted, if you plan to use banjo bolts to supply brake fluid to the caliper. Otherwise, you'll never get a good seal.
- Which brings me to my second point... There is an ongoing debate in the 1st gen Tacoma community as to whether flexible lines with a banjo bolt should be used (as is the case with OEM Tacoma calipers) or if - as part of the conversion to Tundra 13WL calipers - the supply lines should be converted to a combination soft/hard line (as come stock on a Tundra - and, as a point of reference - 3rd gen 4Runner). I'd previously been of the opinion that it was not worth the added cost (~$125) of installing hard lines as I considered Napa Eclipse calipers to be easy to come by and unlikely to change. Now however, I think it is definitely worth switching to hard lines in order to enable compatibility across a larger number of parts store calipers. More on this in later posts.
If you're looking to do the Tundra brake upgrade, this page has a great step-by-step guide (with pics) on the upgrade, as well as links to all the parts needed (at varying price points). It also ensures that you're able to use any 13WL (or 13WE) calipers, as it uses a hard-line to make the final connection to the caliper, ensuring you'll never run into the issue I did on the Lolo Mortorway. 
The Whole Story











Hey Turbo,
So this is the 'excitement' you referred to? I hope this is it anyways? I hope something worse didn't happen? I'm glad you had the tools and knowledge to get the correct parts and put it back together, so you could complete the trip. Good job.
All those nights around the campfire with Monte and Mike, talking about trucks, probably helped a little...and if not, at least you now have a story for them...
Great trip report and fantastic pics (as always)
Durwin
This is the excitement I was talking about!
Definitely has been nice over the last few years learning more about the truck from everyone, made me at least feel like I had a chance in hell of getting it fixed, hahahaha.
at least, I was able to stumble through it and came out with a good story ?.
great seeing you out there, and we should get out together sometime!
Yeah I still smile when I think about meeting you, I mean what are the odds?
I should have ran to town and bought a lottery ticket... haha
Yeah lets do it. I would love to join you on an adventure.
Hi -
I'm almost done reading about your trek and looking at your photographs. Absolutely fabulous!!! I was thinking about scouting out the Idaho mountains, but, at 75, I changed my mind. Your descriptions and photos were just about the same as being there myself.
As for myself, I've been driving in the Henry Mountains (south of Hanksville, UT) for the last 28 years. Certainly not as interesting as what you've seen, but good enough for me. I drive a 1998 Tacoma TRD Limited, by the way, and do my trips alone (except for a little dog that I took most of the time but that passed away last October).
I feel that my traveling days are just about over, having been on just about every dirt road between Grand Junction where I live, and the mountains of eastern Nevada. I take my trusty camera along but rarely take any photos. Never see the need - until I get back home. Oh well....
Once again, you do fine work. Your writing is perfect as are your photographs. I will read the rest of your trip, then read about your Oregon trips. I hope you and your wife have many more interesting miles in the coming years. Best wishes and happy travels!
Clayton
Thanks, and glad you are enjoying the trips! We tried to make it to the Henry's last October, but snow had already closed the route. Had quite the night with gale force winds - one of the windiest nights we've ever had! The few days that cover the Henry's are: https://www.adventuretaco.com/tag/henry-mountains/?order=asc